Today, I show you how to turn a hand-drawn pencil sketch into the Photoshop equivalent of digital ink. By which I mean d’ink, which of course precisely rhymes with Deke.
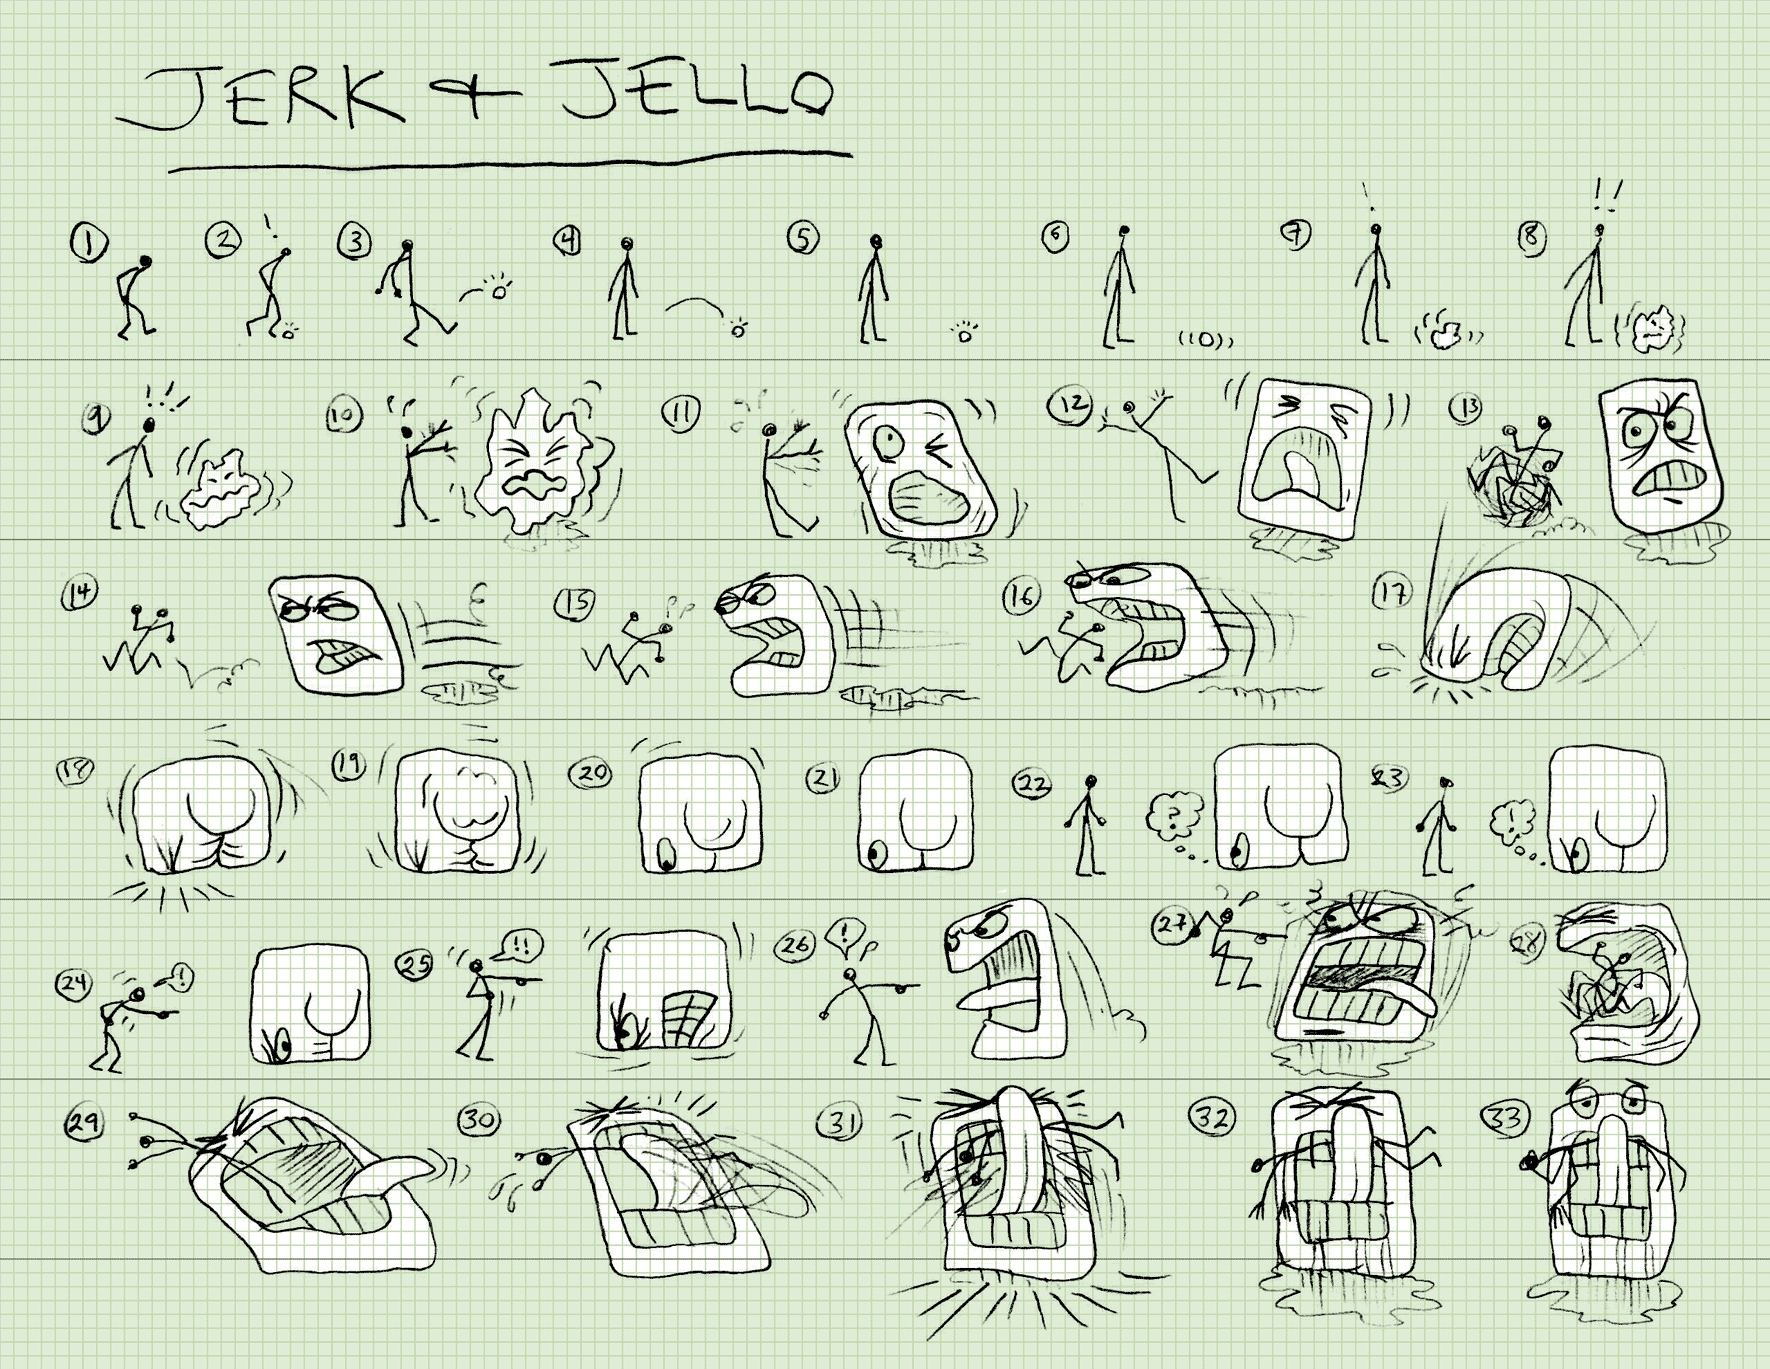
By way of example, I feature a silent comic strip that I used to draw on lined notebook paper back when I was in 7th grade. Titled “Jerk & Jello,” it documents the antics of a stick figure running for his life from a giant blob. Sadly, I don’t have any originals because, after getting passed around and sniggered at, they would inevitably wind up in the trash can after being confiscated and wadded up the teacher. (Something about them being disruptive. Whatever. Teachers are such attention hogs.) So some 37 years later, I decided to draw a new one. And then clean it up in Photoshop.
Anyway, this technique works for any scanned pencil drawing, whether a puerile cartoon, like mine, or a legitimate work of art, like mine. Here’s the official description from lynda.com:
In this week’s free episode of Deke’s Techniques, Deke McClelland shows you useful tips for cleaning up a scanned pencil sketch in Photoshop, turning those faint graphite lines into what Deke likes to call robust digital ink. For his sample file, he’s used a recreation of a comic strip he drew in his youth. (Unfortunately, all the originals were confiscated by unimaginative teachers who didn’t understand the potential genius of the young artist.) Step-by-step, he turns the scan into a bold digital tour de force that still retains the whimsical, hand-drawn nature of the original. And as Deke points out, digital ink is much easier to apply than real ink.
After recreating his characters with pencil and paper, Deke scanned the comic with an ordinary low-end scanner to create this crappy-ass JPEG file:

The first step is to get rid of some color effects that were created during the scanning process. Because the renegade detail is living in the Blue channel, Deke uses Photoshop’s Channel Mixer to reduce the effects of Blue by mixing in greater values of the Red and Green channels. The process also creates an opportunity for darkening the outlines.

Next, he strengthens the black outlines with a Levels adjustment:

Deke applies the Despeckle filter to reduce the noisy edges created by the JPEG compression. A couple of white rectangles cover the shadowy right edge of the paper created by the scanner.

One advantage of digital ink is the ability to reconsider details. For example, on the right (above), the lines below Jello’s eyes look a little sloppy. Deke erases those areas so he can reapproach them.

Finally, after switching his brush color to black, he redraws a more refined expression of gelatinous rage and reconstructs the side of Jello’s face that got cut off by the scan:

And in the end, you get all the benefits of being able to draw in the real world, and refine in the digital one. To see all the nuance and detail of the process, check out the movie at the top of this post.
For members of lynda.com, Deke’s got an exclusive movie this week in which he shows you how to add a graph paper background behind these scanned characters.
I lifted this second technique from Saša Popovi?‘s “Photoshop for Math,” a Grand Prize winner in the recent Deke’s Techniques: The Challenge. Here’s the finished product. Click on it for a high-res version, in which you can see the cartoon in all its splendor. (The first 33 frames anyway.)
Lemme know what you think. Should I make future installments? If so, do you promise not to confiscate them?


Nice toon!
I especially like the channel mixer technique. I’ll have to try using that more in other projects.
Awesome
Nicely done. I’m forever doodling (while I should be working or taking notes) and wanting to scan them in to keep them. But the scanner we have sucks and I get tired of touching up in photoshop, mainly using the brightness and contrast settings.
This tutorial is great, and an idea I wish I had sooner. Thanks Deke!