
In this week’s free episode of Deke’s Techniques, Deke finishes his robot portrait in Adobe Fresco, using Fresco’s masking features to separate the robot from its background of invading digital oil paint.
This epic Fresco-fueled saga picks up where we left off last week, with our intrepid hero facing down the evil(?) oil paint smears that threaten his way of life, or at least his clean, shiny exterior.
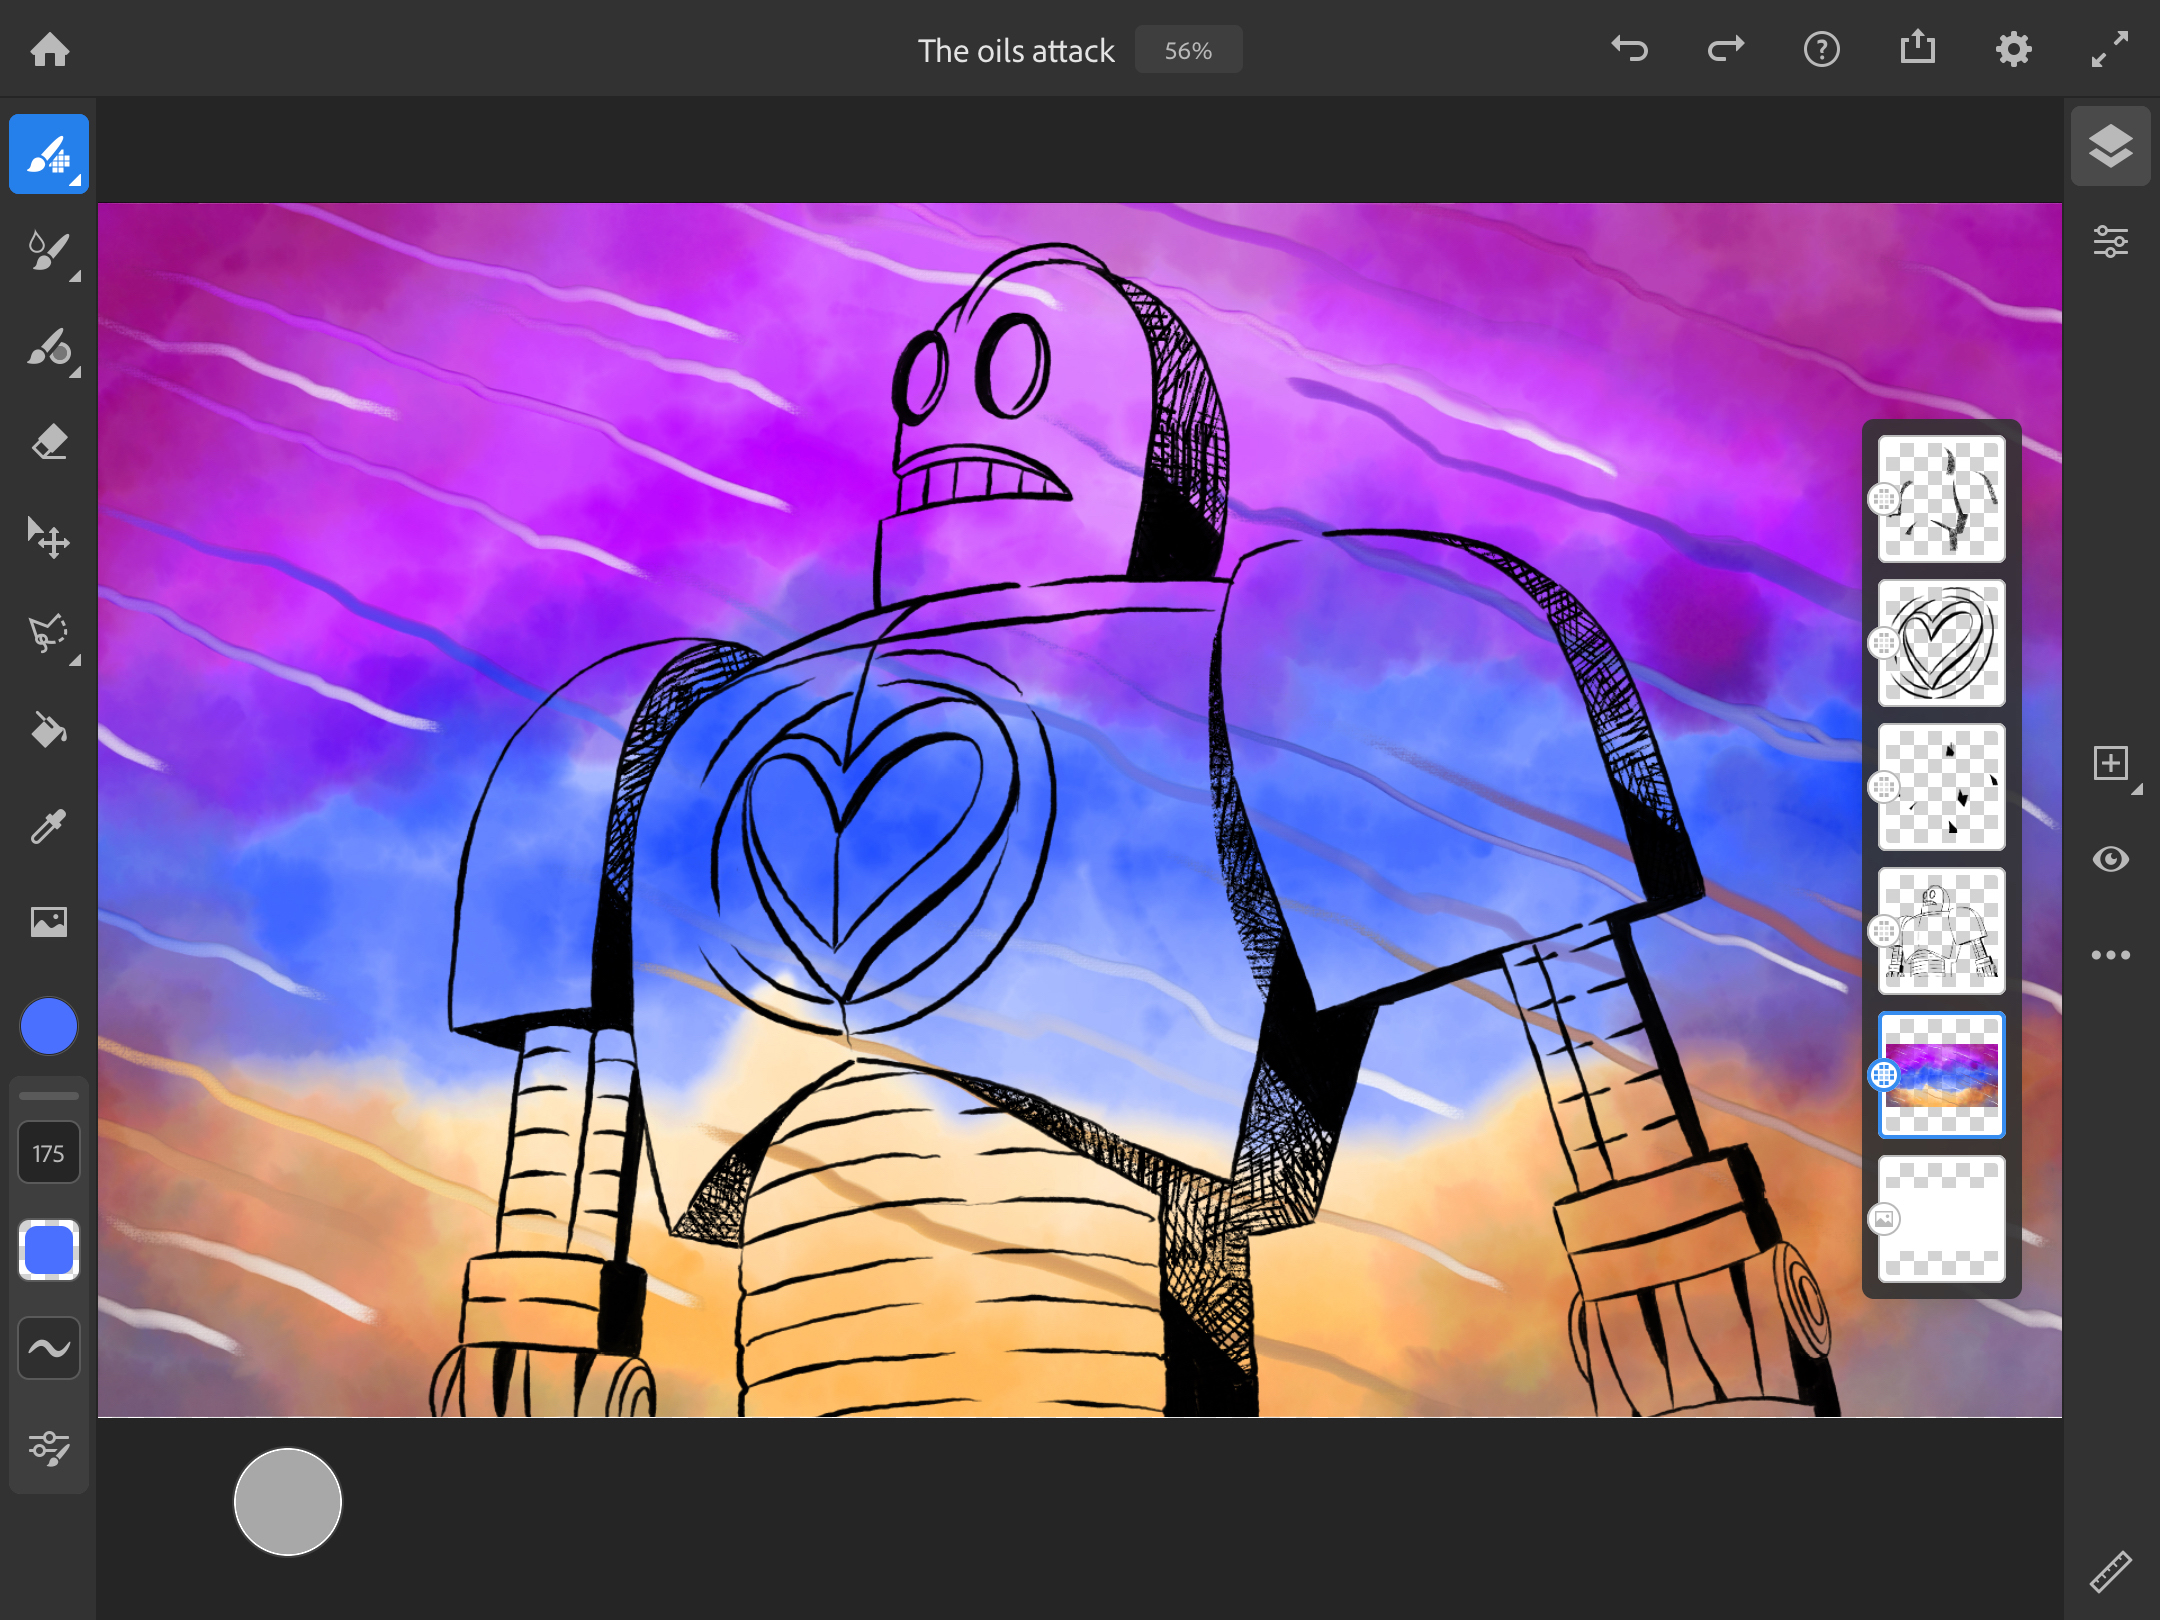
By adding a mask to the background layer (which was created with watercolor brushes in Fresco), using all the various and fairly useful tools that Fresco has to offer, our hero can once again face the messy missiles that previously marred his outer shell:
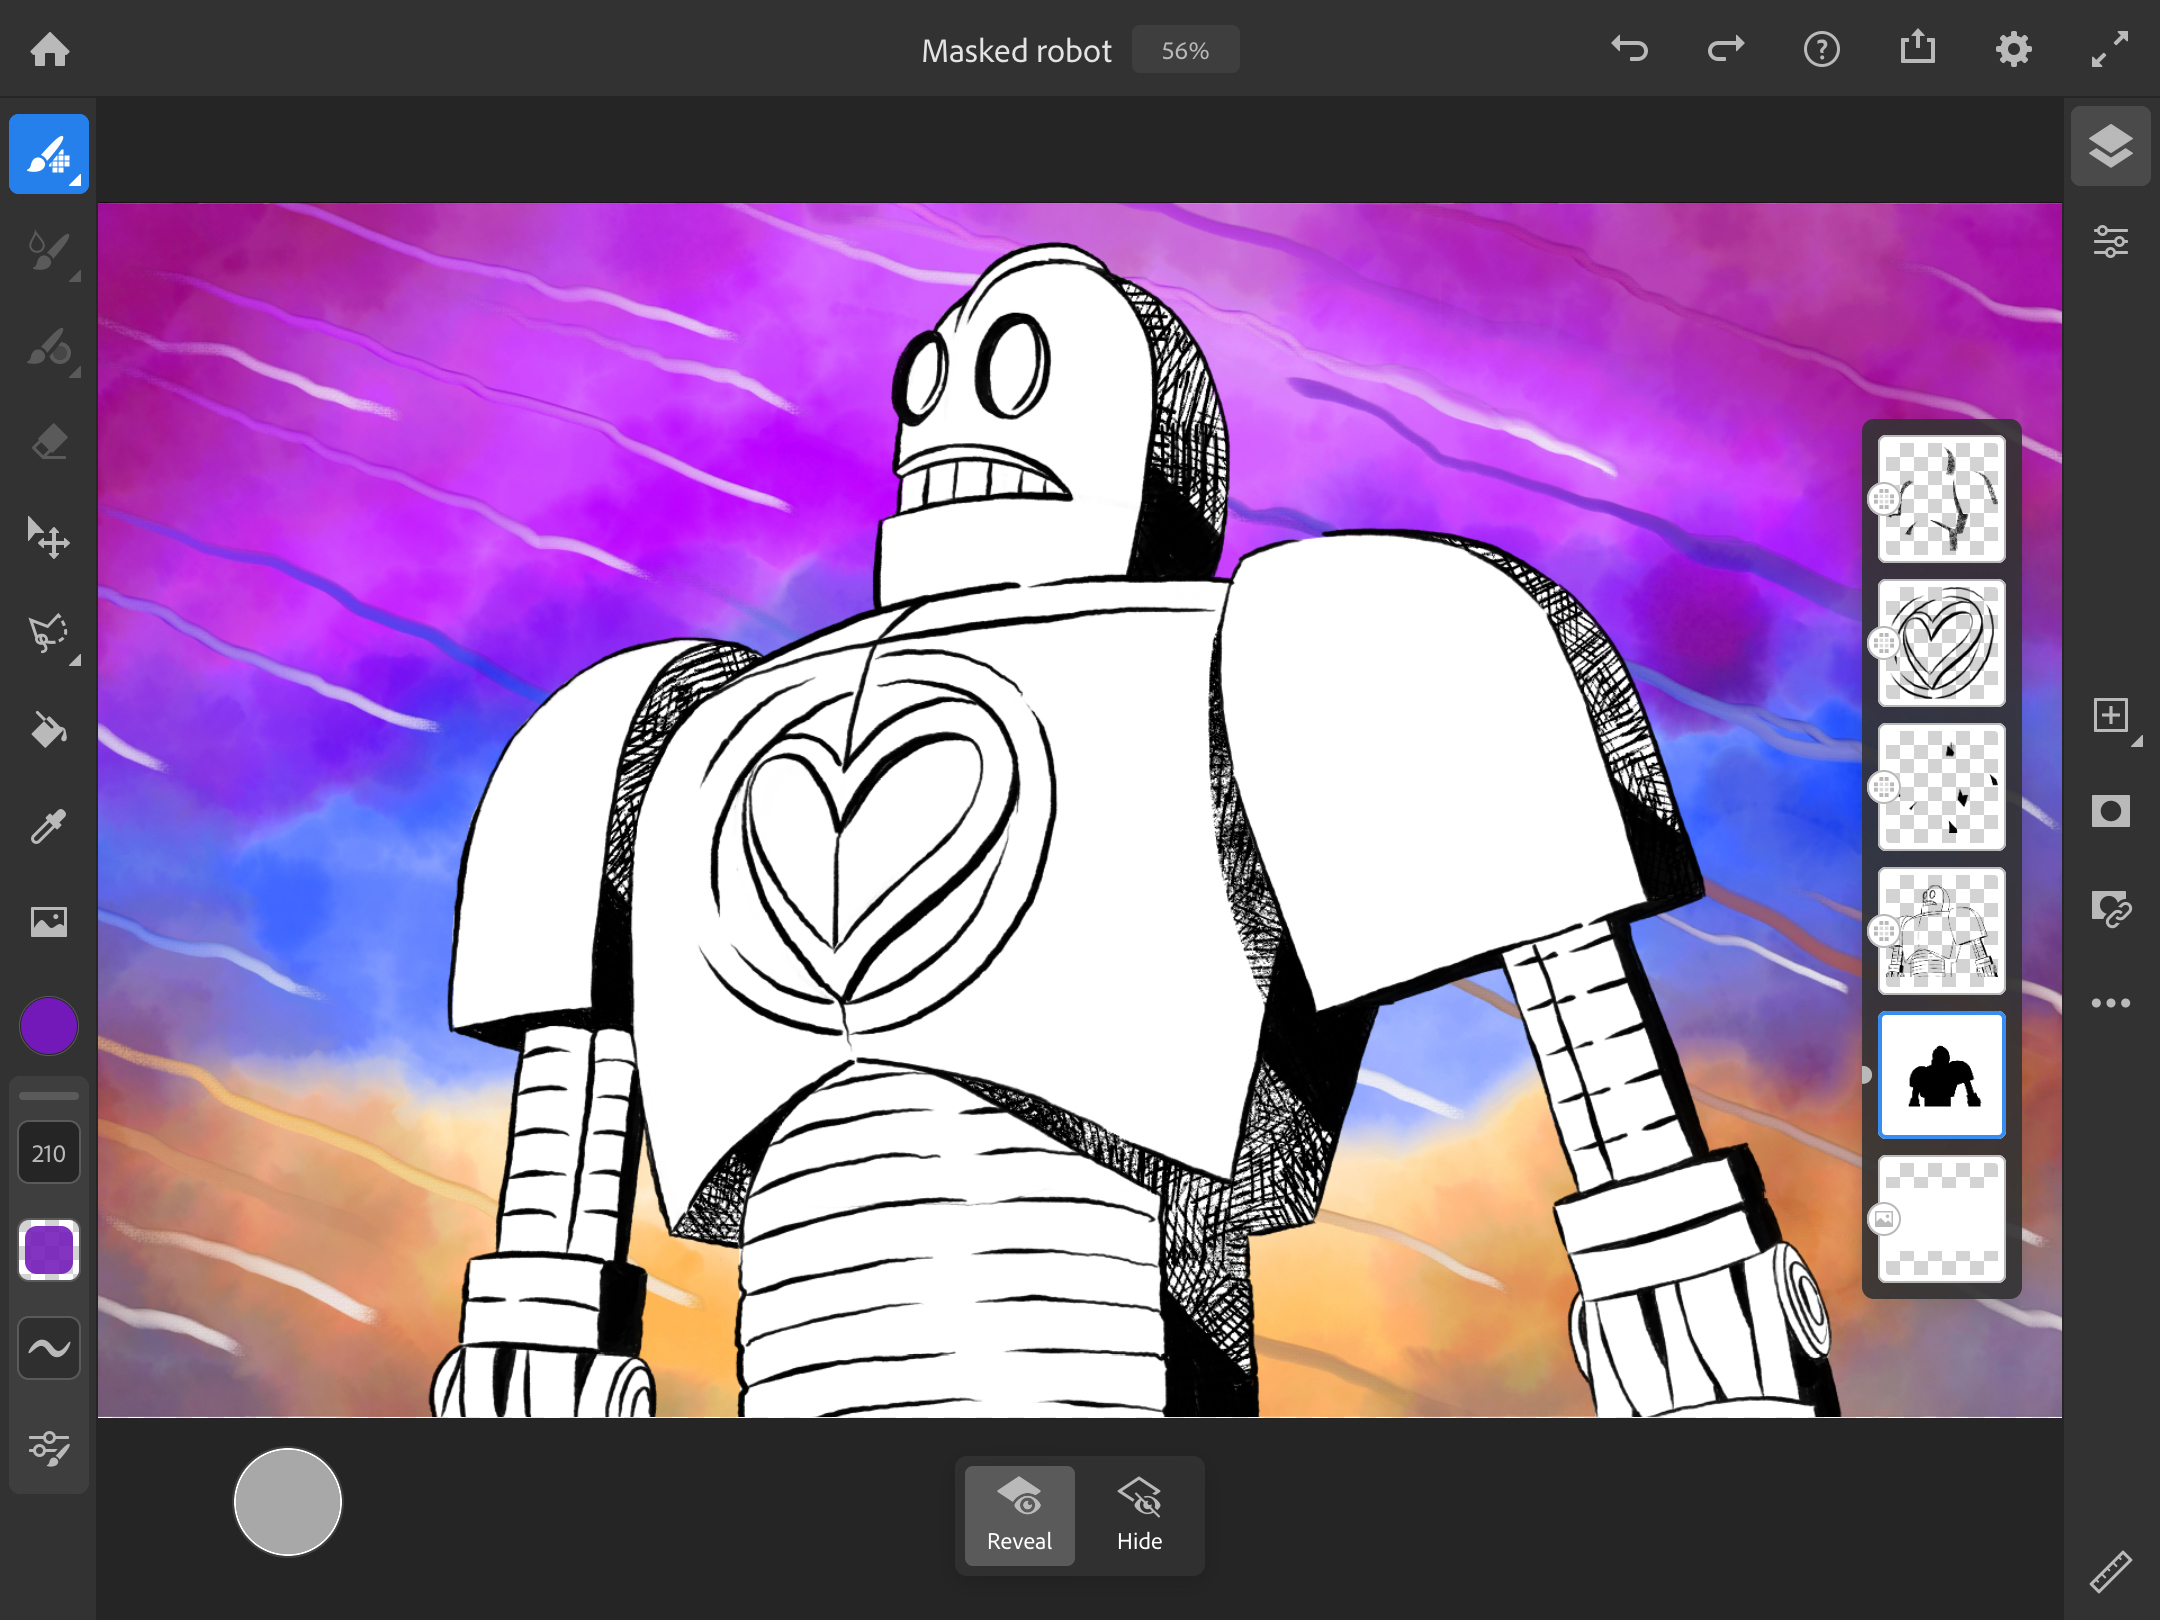
If you’re a member of LinkedIn Learning, Deke’s got an exclusive movie this week in which he shows you how he reuses that mask to add exactly confined shading to the robot, as you can see in the final portrait above.
Deke’s Techniques, defending the world from misplaced digital paint.
Deke McClelland
Self-appointed expert on all things graphics and imaging, here to answer your questions and serve your needs. More dekeBio here.
More Deke

dekeNow: Retouching AI Portraits in Photoshop
Have you ever used an app like Lensa? Feed it a bunch of selfies and it generates a handful of AI portraits. Which are flattering, to be sure, but they're hardly impeccable. In fact, they can be riddled with flaws. All of which you can fix using the copious retouching tools in Photoshop.

Download Asset for Impressions of Impressionism
Here is where you can download the asset for Deke's Impressions of Impressionism video from Patreon, even if you're not (yet) a patron.

Deke is Now Again!
Renown expert and deep diver Deke McClelland returns to the fray with dekeNow: a look at the current Photoshop and Illustrator state of the art of the art
Mastery Courses for Photoshop and Illustrator Are Now Updated: Series Complete!
Deke completes the One-on-One series for both Photoshop and Illustrator at LinkedIn Learning.
Comments