My thoughts behind my latest dekeNow video. This one.
Have you tried an AI image generator? If not, no worries. It’s all very new and expanding rapidly. It was hardly six months ago that OpenAI permitted public access to its text-to-image generator Dall·E (now Dall·E 2). Weeks later, the open source Stable Diffusion made its debut. On its heels came Midjourney, which operates through Discord via the command /imagine.
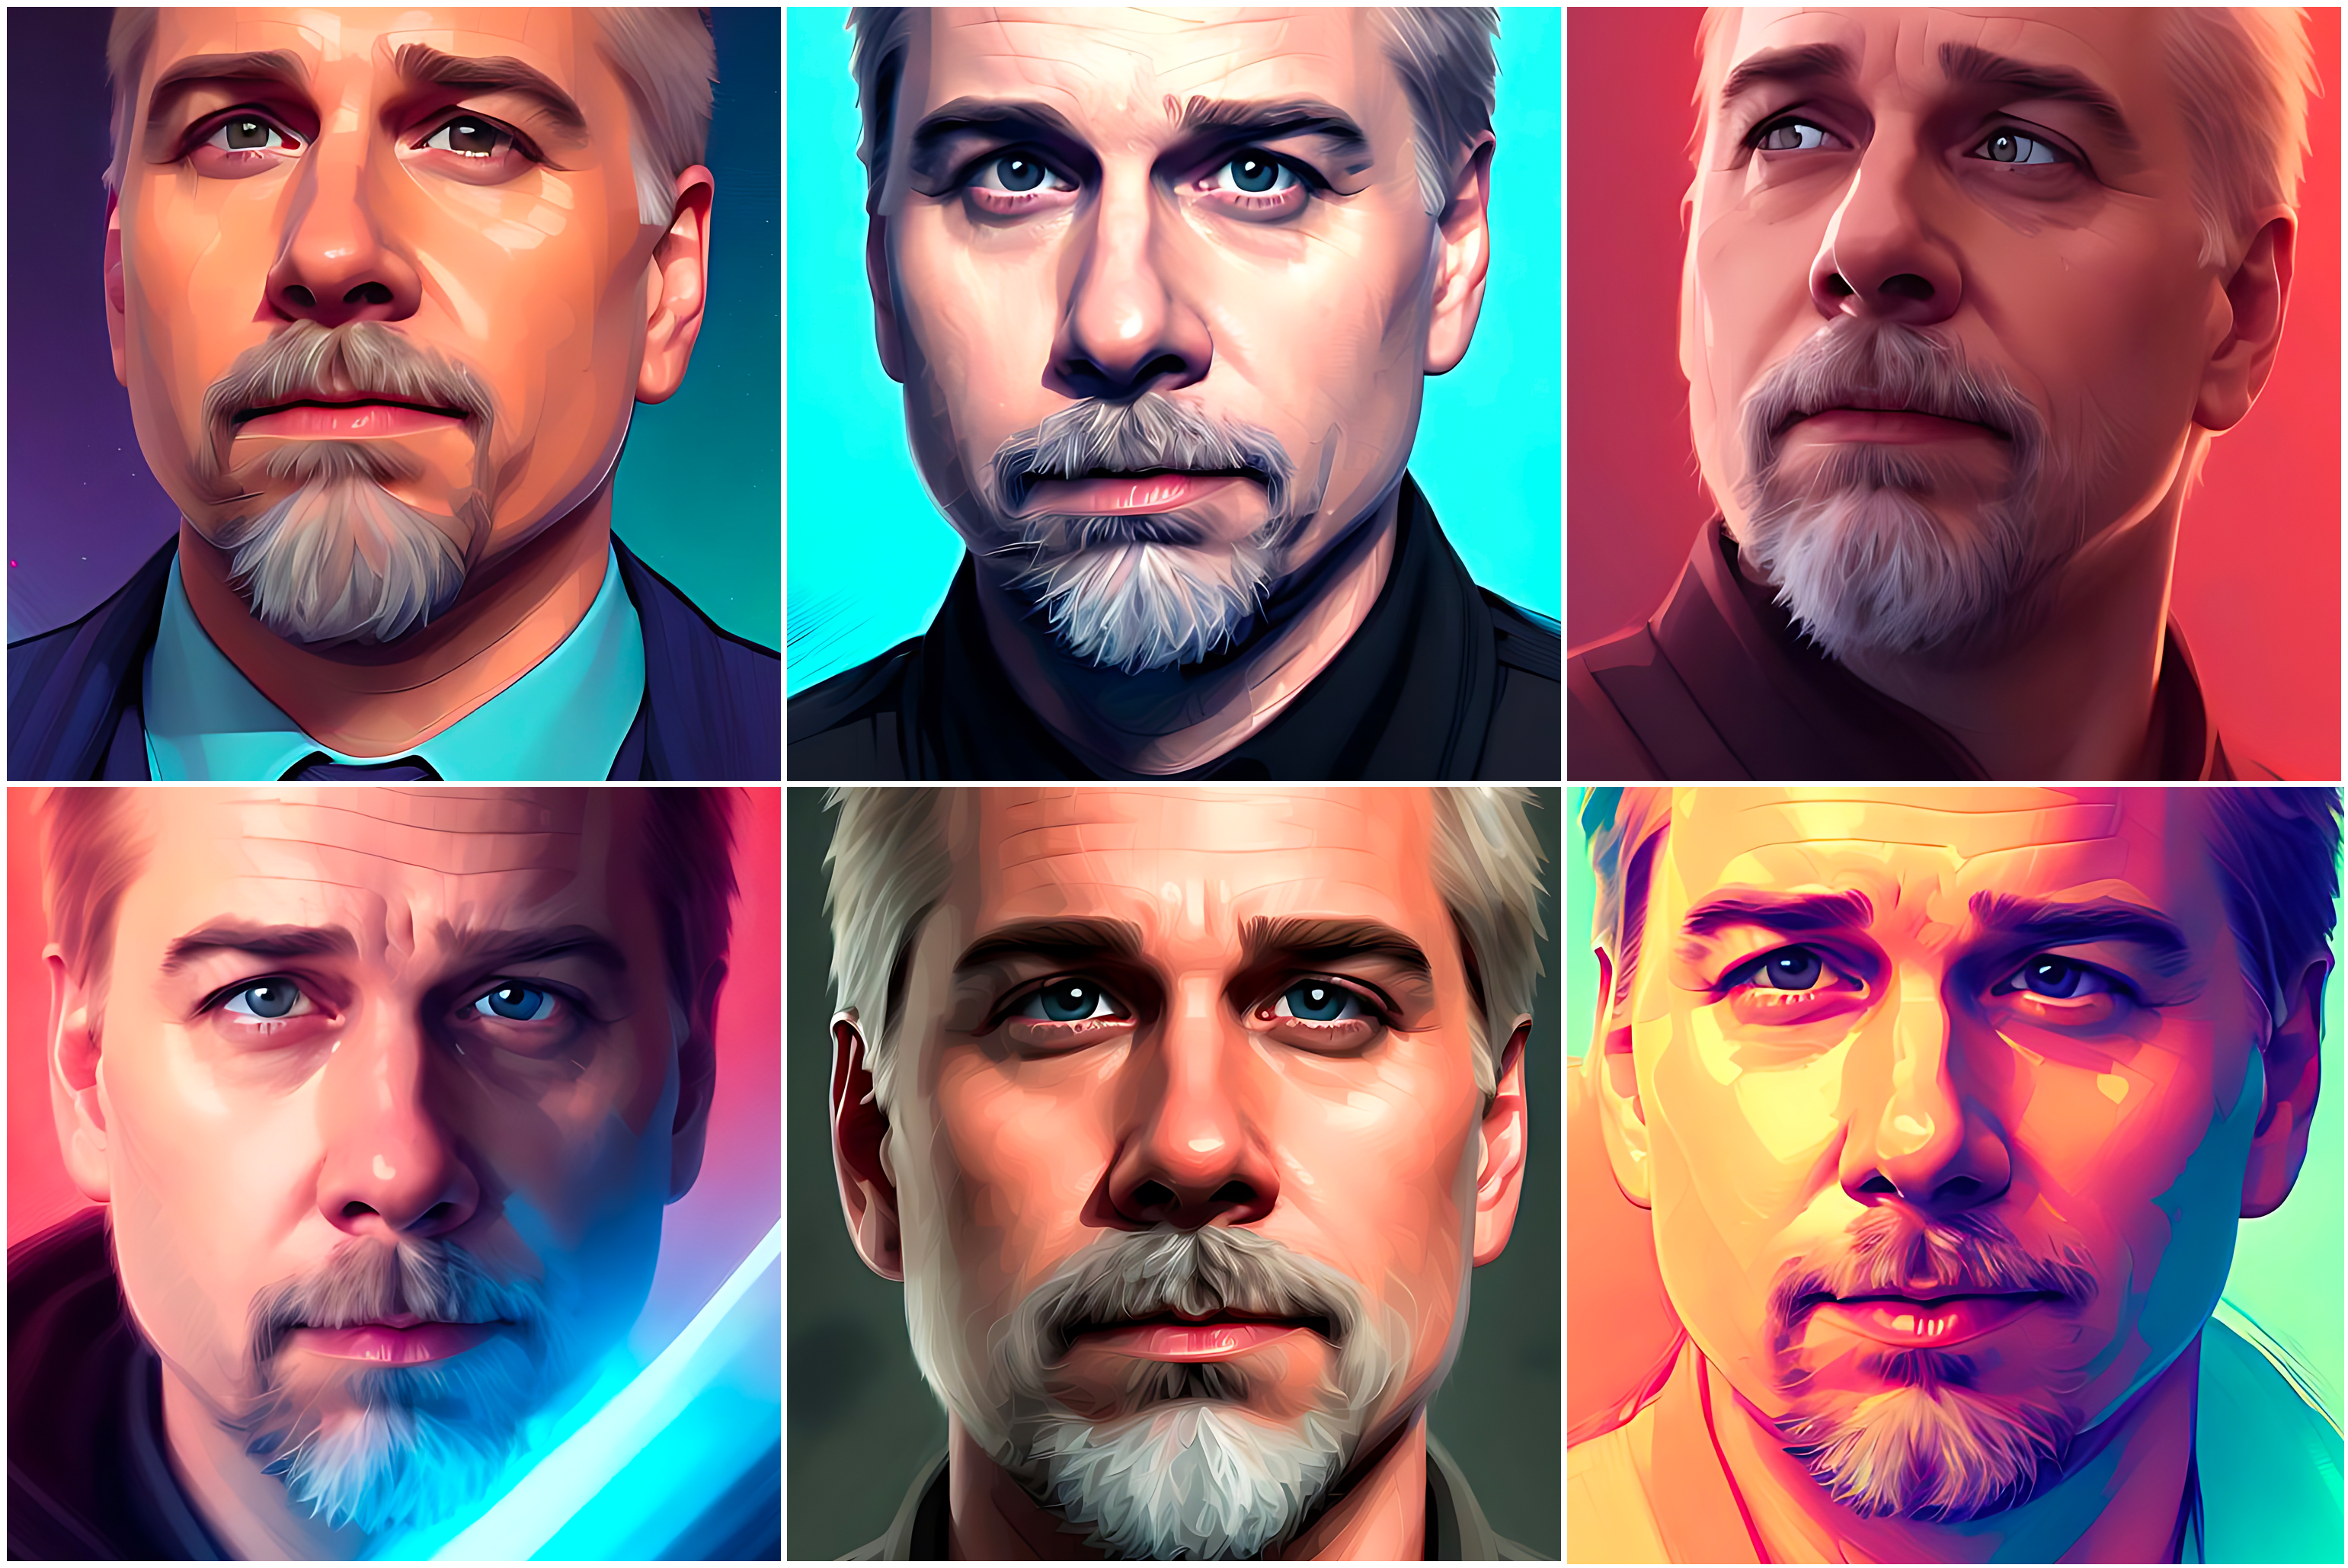
A few months later, in November, Lensa hit our mobile app stores with its so-called Magic Avatars, powered in part by Stable Diffusion. No text prompt required. Just feed the app a bunch of images, wait minutes or even hours for the bots to do their thing, and out come a slew of idealized AI portraits in which you look slimmer, younger, and shinier than you do in real life, not to mention more affluent, romantic, and adventurous. Often in faux painterly styles. I mean, look at me, I’m handsome as all get out.
Dall·E, Stable Diffusion, and Midjourney have stirred controversy; Lensa and the Russian company behind it, even more so. But there’s no disputing that a seismic change is afoot, one with long-term ramifications.
Which led me to this week’s dekeNow video, “AI Portrait: Flattering? Flawed? Fix It in Photoshop!” Imagine if you will a near future in which AI portraits are common and you have moved inevitably beyond your delight with their various eye-catching flatteries. Instead, you notice their glitches, the cracks in their shimmering patinas, their considerable flaws. At which point, no need to throw them away! For one thing, they cost money (a few cents each). But more to the point, they possess an eerie inventiveness that—like a good-but-imperfect stock photo—may serve as a useful jumping-off point. And so why not do what you’d do with any other third-party asset? Give it some spit and polish in Photoshop!
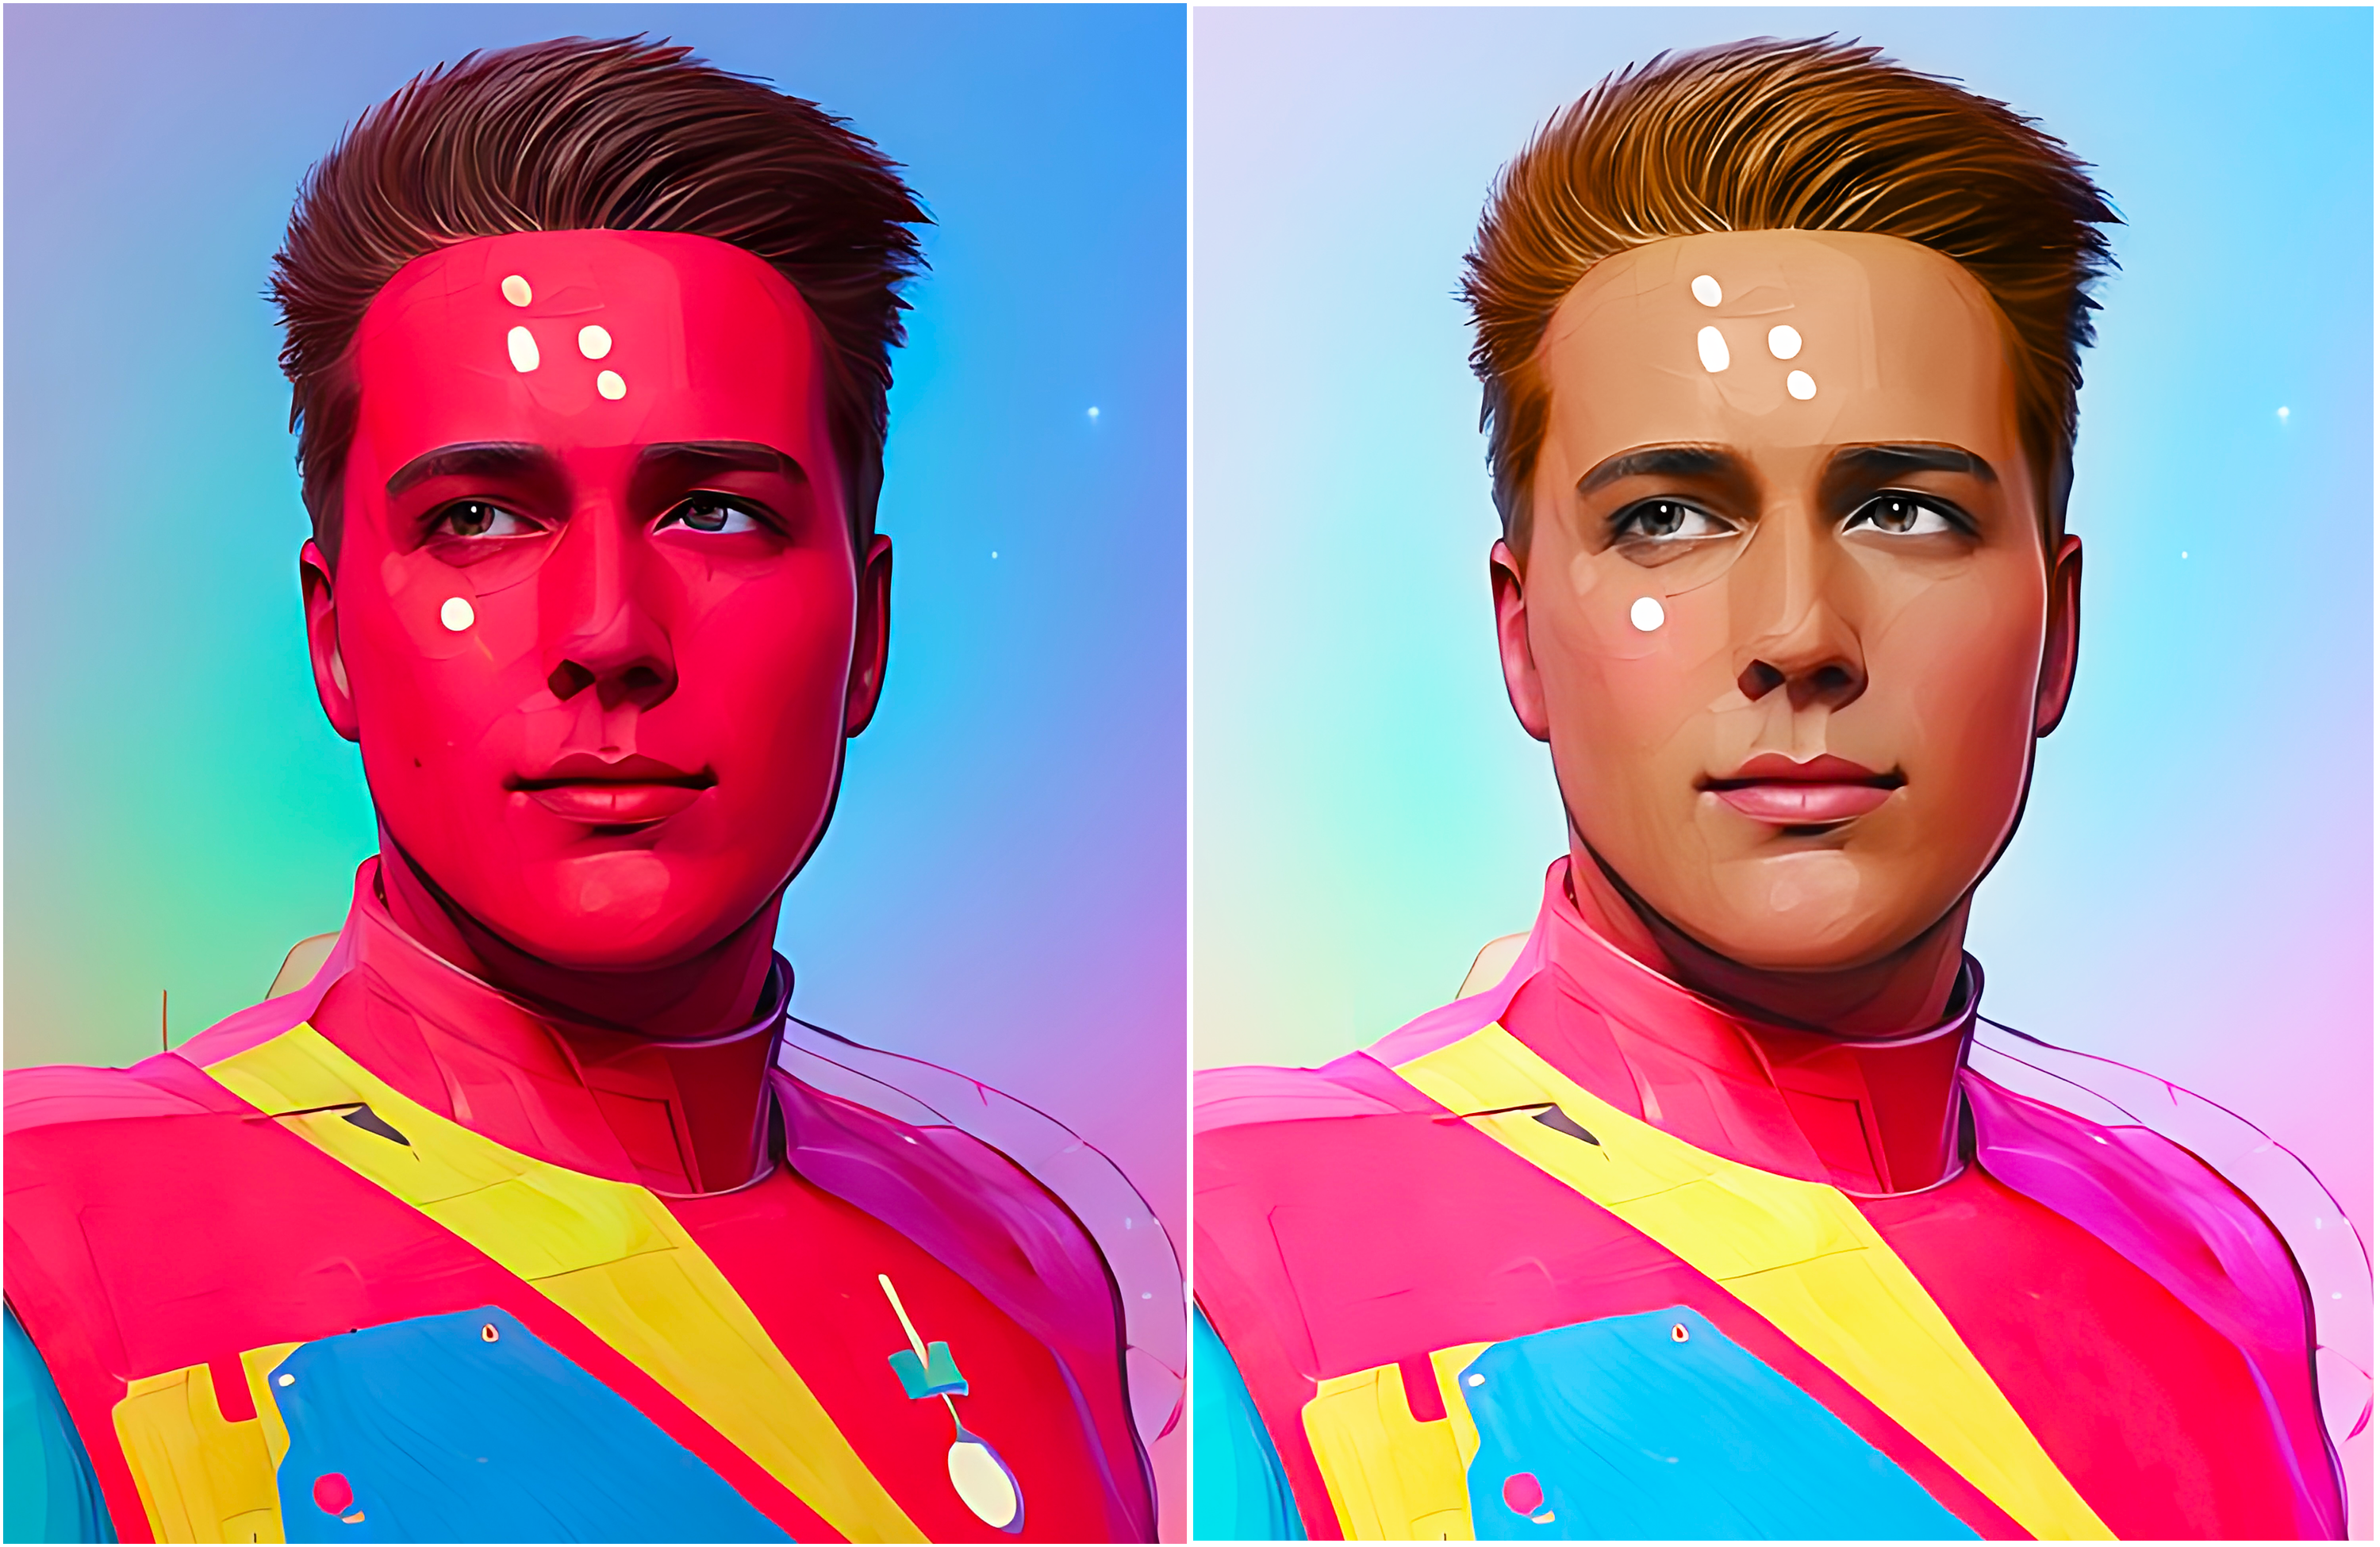
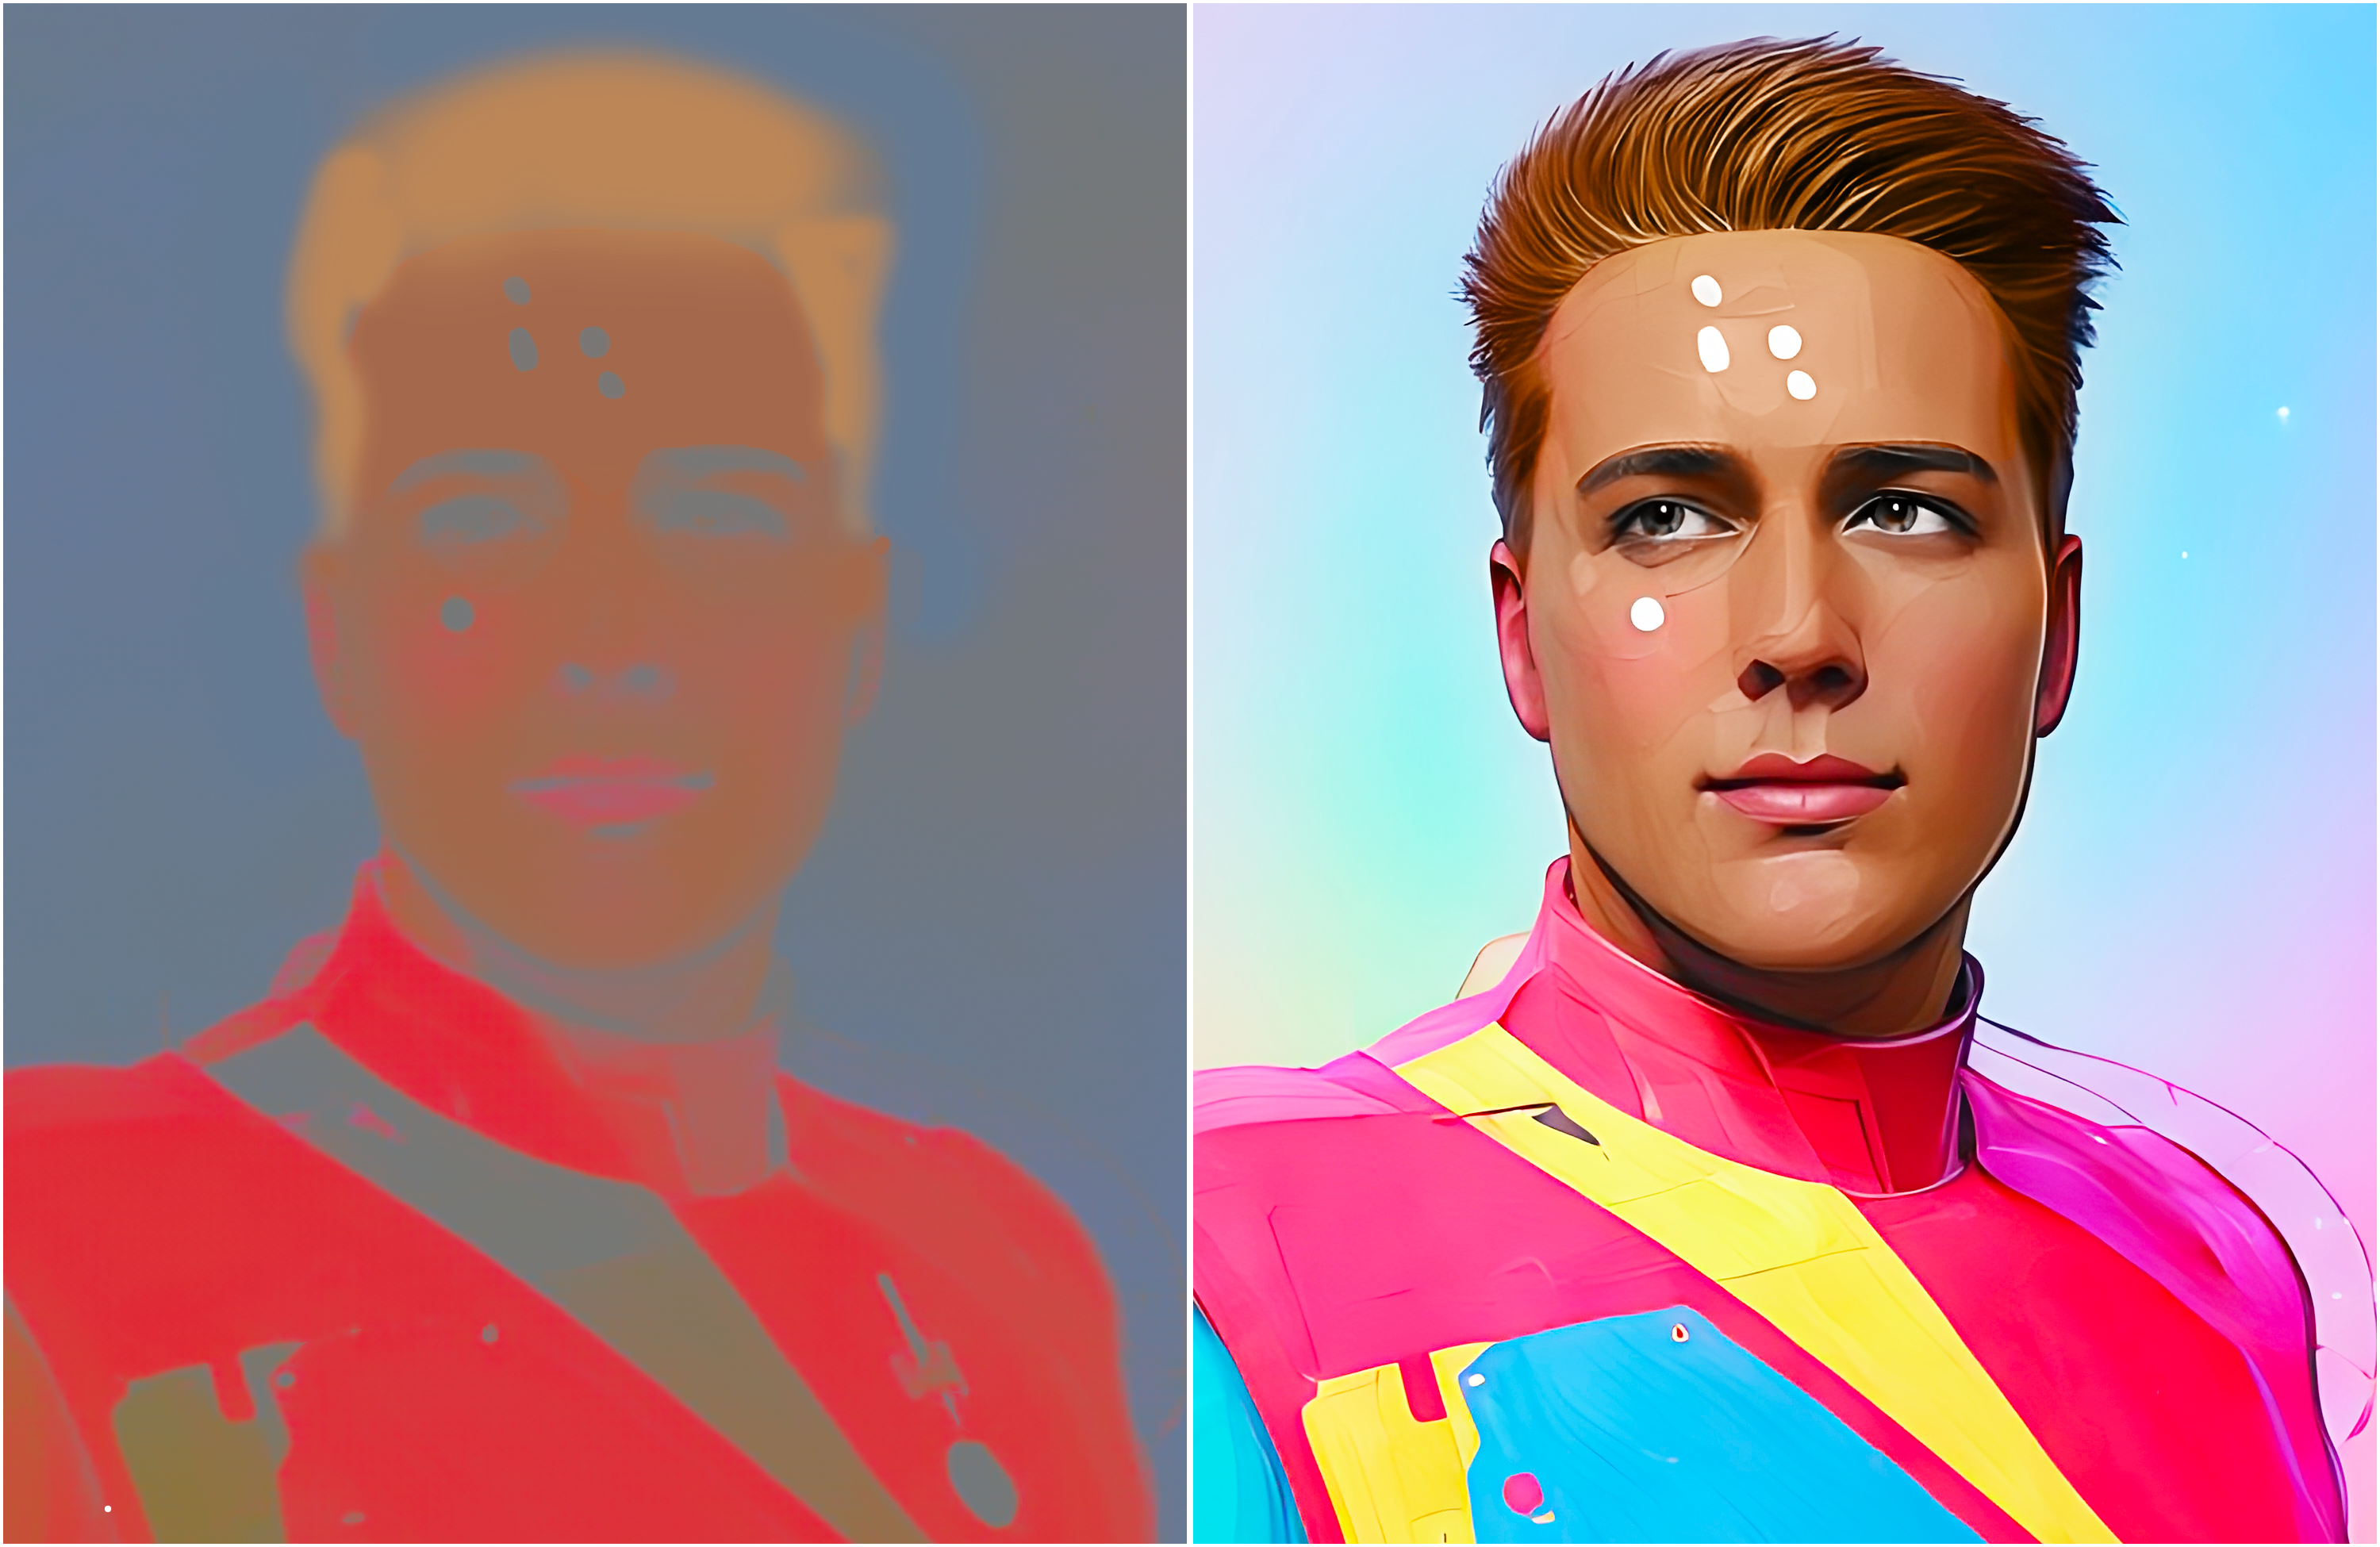
By way of example, consider the wildly colorful portrait of my son Max (below) before and after I retouched it.
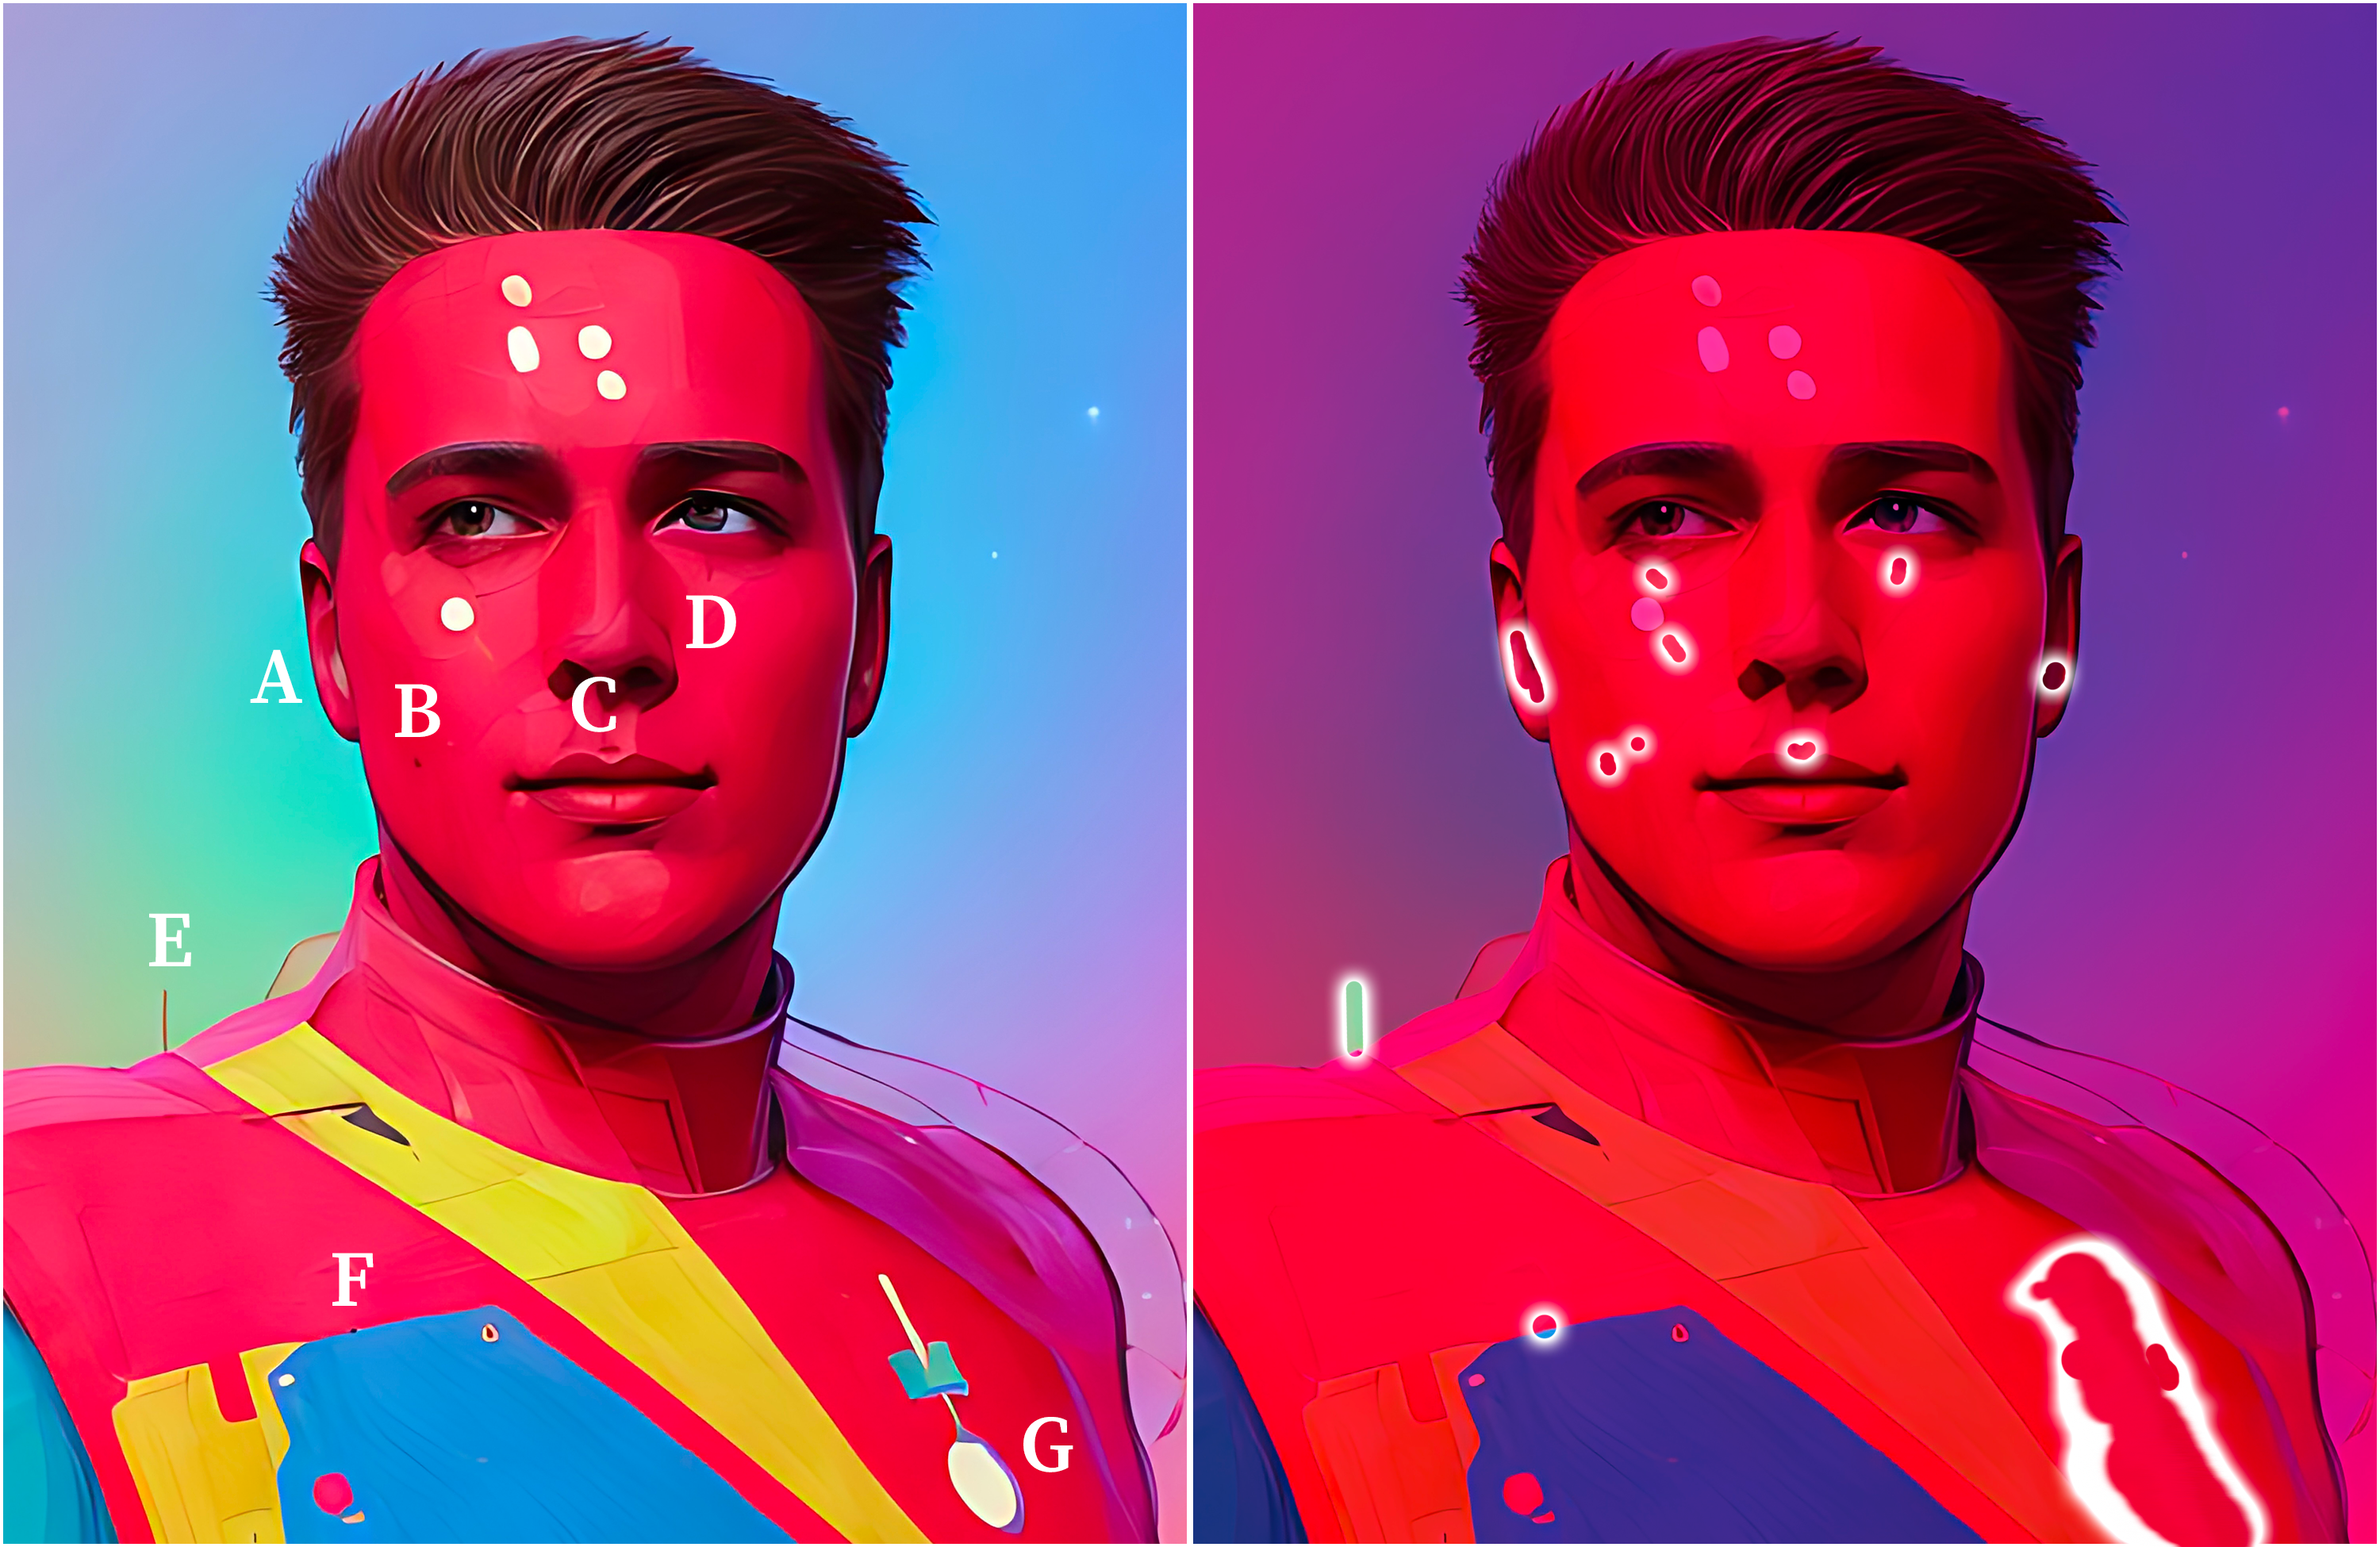
What Lensa got right is that it’s compelling, vibrant, and it looks like Max, down to his trademark wall of hair. What it got wrong is (below left, A) weird highlights inside ears, (B) random flecks, (C) horizontal mark above lip, (D) vertical clown line descending from eye, (E) antenna?, (F) black fleck above blue field on uniform, and (G) spoon taped to chest—which I gotta say, is a really weird call, even for AI. I was able to remedy all this with the Spot Healing brush (highlighted right). The colors in the former spoon zone also required some smearing with the Smudge tool.
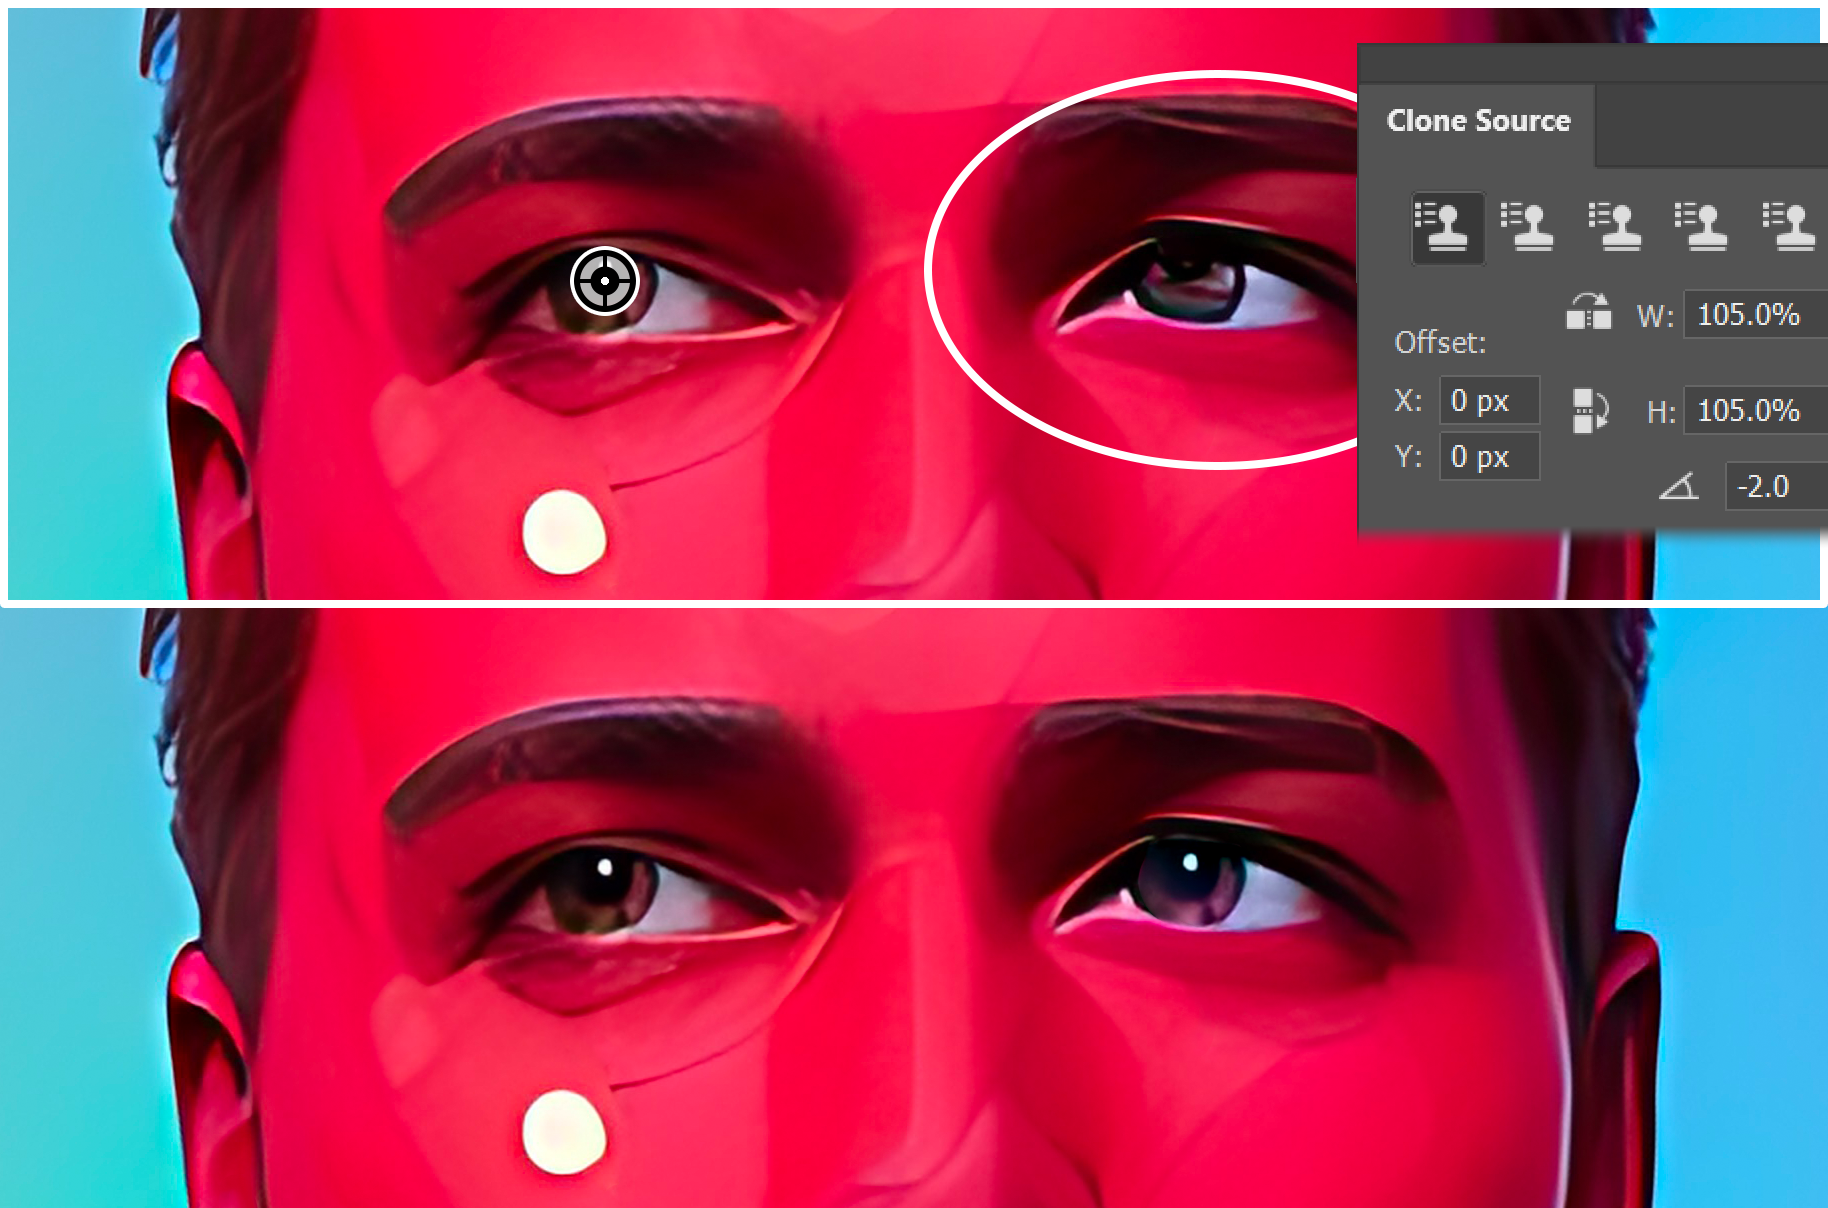
The eyes are an absolute mess, especially the one on the right. I used Liquify to enhance their size slightly. Then I used the standard Healing brush to clone the left eye onto the right, with the help of a few scale and rotate settings in the Clone Source panel (all illustrated before-and-after style below).
The electric red of Max’s face was not to my liking. I mean, what, is this guy the Red Tornado? (If you’re thinking Red Hood, fair.) So I added a dose of the Colorize filter that I outputted to a new layer (below left), hand-colored to taste, and masked to contain Max’s face and neck (right). After all, the other colors are fine as is.
Those are the broad strokes, anyway. As with a photograph, every retouching job is different. To learn the whole story—applied to an entirely different image, mind you—go my free YouTube channel, youtube.com/@dekenow! I also formally request that you join my Patreon, where you’ll find dozens of exclusive videos found nowhere else, in context, so that they make perfect sense!


Be the first to drop some wisdom...