Mind the gap, my dekeOtonians. In this week’s free Deke’s Techniques episode, Deke shows you how to successfully blend four motion-filled photos of the London Underground into one image that captures the speed and movement (and happiness) of being in a tube station as trains pass by.
By aligning the four layers, then applying transformations and masks to take the best parts of each, Deke takes these four component photos:

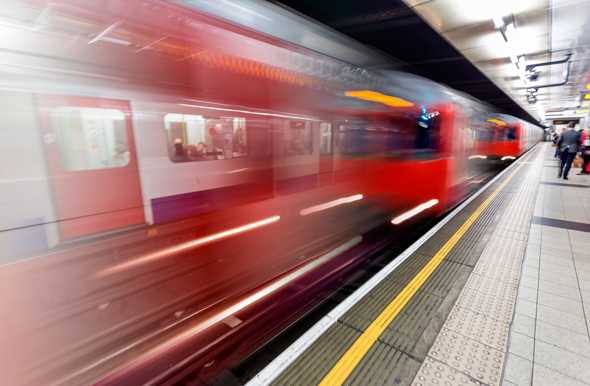
And turns them into this “like being there” experience:

This is one of those movies in which I find myself making a bulleted list of things I learned along the way:
- Where Photoshop hides the “Load Files into Stack” command. And that Photoshop has a “Load Files into Stack” command.
- That you can reverse the layer order with one click from the Layer menu. (Layers > Arrange > Reverse)
- That you can select the intersection of layers in order to effectively crop away transparent scraps brought on during an alignment process.
- Deke’s masking tricks for choosing the parts he wants of each component.
- That Deke either doesn’t believe in tripods or is to lazy to carry one. (In fairness to Deke, we were running up and down tube station stairs, cathedral stairs, and, of course, pub stairs all over London day.) Either way, a tripod is not necessary when you use this approach.
If you’re a member of lynda.com, Deke’s got an exclusive movie this week in which he shows you how he created this bold and brazen high pass color effect.

If you’re not a member of lynda.com, you can get a free 10-day trial at lynda.com/deke in order to check it (and the vast library of other Deke’s Techniques) out. Carry on, dekeTravelers!


Be the first to drop some wisdom...