
In this week’s free Deke’s Techniques episode, Deke takes that oh-so-familiar Type 15 pentagon pattern he created in Illustrator and applies it to a photograph in Photoshop.
So he begins in Photoshop, with this image from our friends at Dreamstime.com:

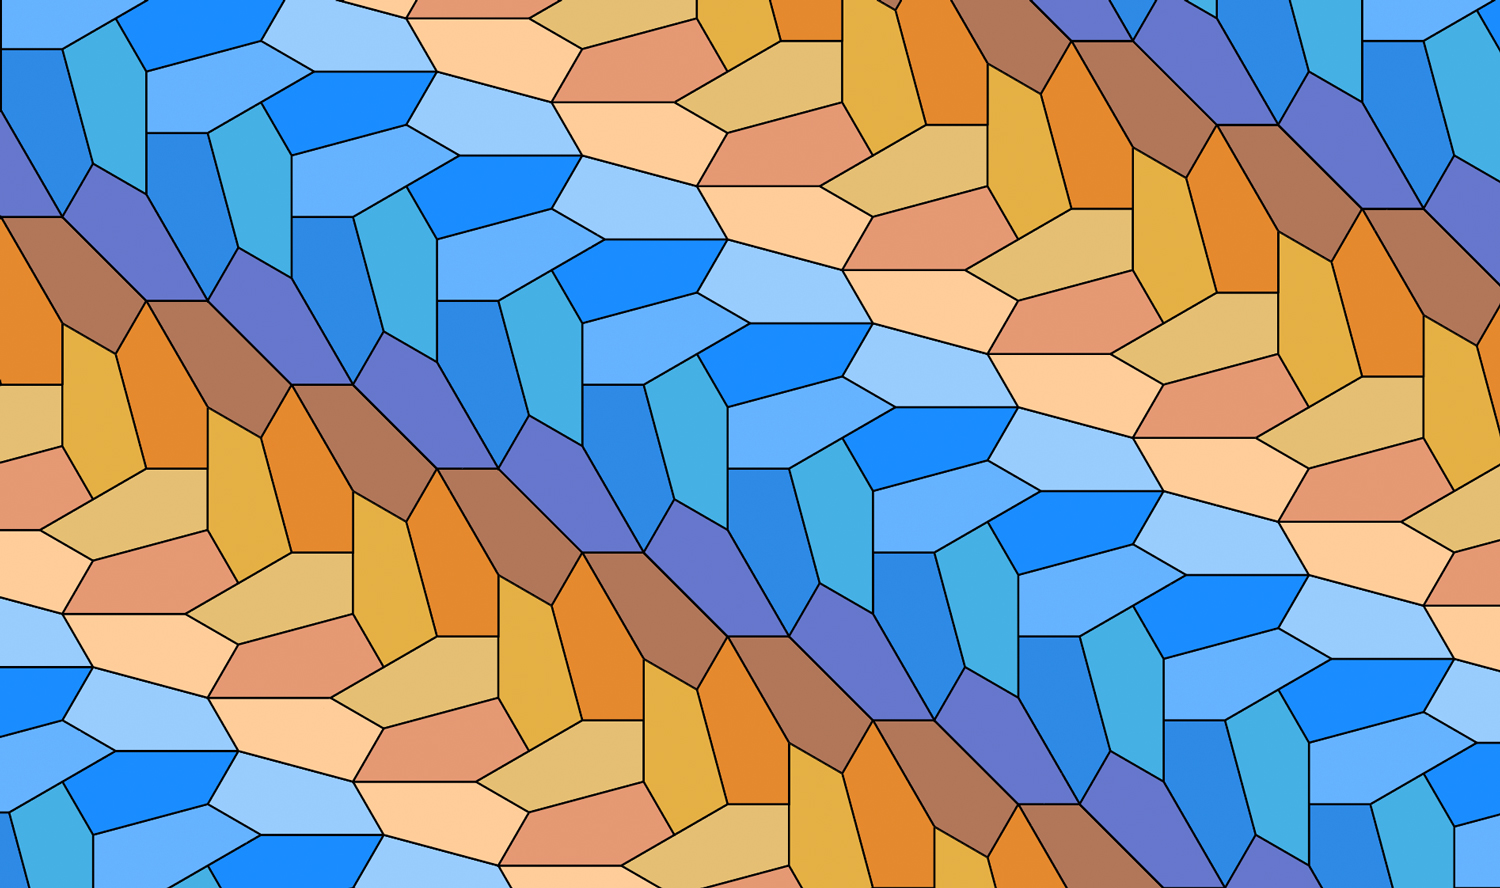
And then grabs his pattern from Illustrator:
And pastes it as a smart object back in Photoshop. After combining it with a few blend mode variations. A bit of contrast courtesy of a Levels adjustment layer and a double-helping of Gaussian blur, et voila:

(By the way, if you’ve updated to Photoshop CC 2019 you can now preview blend modes on the fly: check it out from Deke’s new course on Photoshop CC 2019 New Features! It’s unlocked for everyone until October 29. Free Deke!)
If you’re a member of LinkedIn Learning (or Lynda.com), Deke’s got an exclusive movie this week in which he demonstrates how to modify your pattern in Illustrator so that it works better with the photograph. Because it’s a smart object, you can instigate this change from within Photoshop.
(I had to stop and remove the pattern from our model’s teeth; I just couldn’t let it go. You can learn about masking and selecting in Deke’s new Channels and Masks course if that kind of thing makes you crazy as well. Or if you just want really great Photoshop selection skills.)

Deke’s Techniques, Photoshop and Illustrator living together in colorful harmony (except on your teeth!)


Be the first to drop some wisdom...