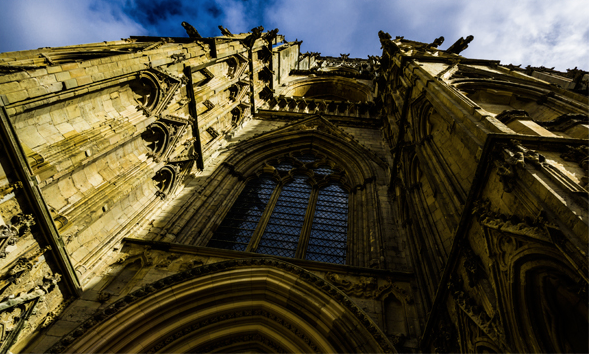
In this week’s free Deke’s Techniques video, Deke works on an exterior shot of the York Minster cathedral he used for last week’s mysterious interior panorama, and uses Camera Raw to develop an exterior shot that’s equally hyper-realistically dramatic. Here’s the before and after view:

Let’s face it, you can’t always—as in ever—control the weather, your access to advantages angles, the existing lighting conditions, or the presence of annoying (other) tourists in your travel photography. And given that, it’s nice to have some options for developing a detail, increasing the visual impact, or interpreting the scene in some other creative way.
And that’s really where these “developing drama” photo techniques are most useful. Deke’s Techniques has a long tradition of getting around those types of challenging vacation shots. Here are a few movies that are still available here at Deke.com to check out after you’ve seen this week’s episode:
- Deke’s Techniques 022: Removing People with Image Stacks
Deke removes an annoying tourist from the Teatro Olympico in Vicenza, Italy. - Deke’s Techniques 203: Developing a Dramatic Castle in ACR
Deke decidedly dramas-up a castle in Co Cork, Ireland. - Deke’s Techniques 297: Correcting a Distorted Panorama
Deke manages to get most of the Guggenhiem Bilbao into one spectacular photo.
And if you’re a member of lynda.com, there are two exclusive movies this week in which Deke shows you how to develop this photograph in Lightroom and how to sharpen your dark-and-stormy photo for print. If you’re not a member and you’d like to check it ou, you can get a free 10-day trial by going to lynda.com/deke.


Comments