In this week’s free Deke’s Techniques episode, Deke takes last week’s Vector Island scene and applies a depth-of-field effect to the illustration inside Photoshop (with some help from Illustrator along the way).
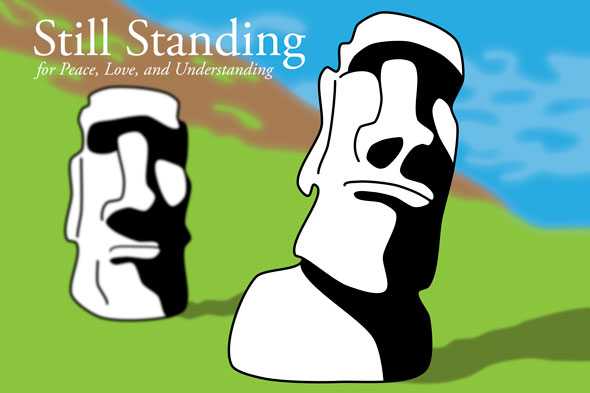
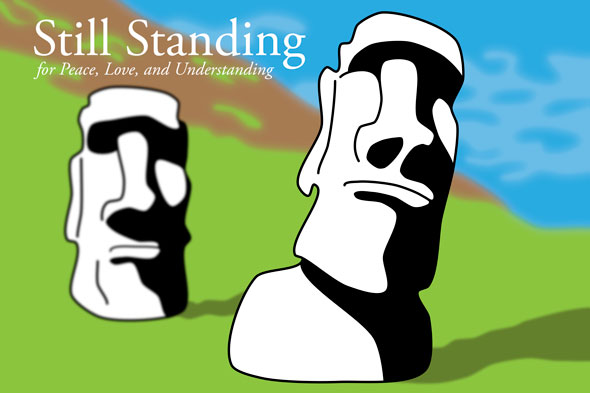
The “depth-of-field” in this case, consists of doses of plain ol’ Gaussian Blur applied as a smart filter. The trick is to create an independent smart object for each level of depth (blur) and then isolate desired objects for each depth of field by editing the smart objects in Illustrator.
In this case, for example, one layer/smart object has just the backdrop. Each of the other layers is stripped down to just a specific head. The result is that a blurry background, a sort of blurry guy on the left, and a completely sharp guy on the right creates the illusion you see here:
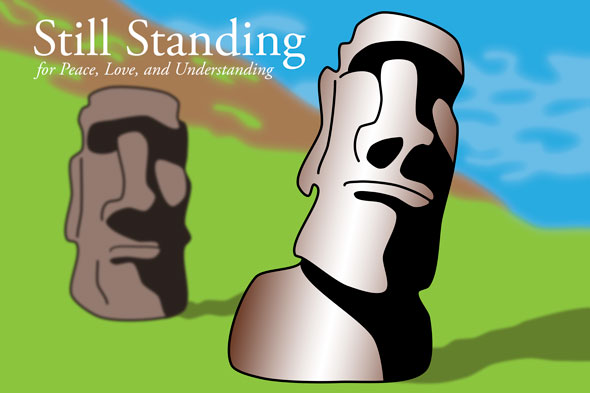
If you’re a member of lynda.com, Deke’s got two follow up movies this week. (If you’re not a member, you can get a free 10-day trial at lynda.com/deke.) In the first movie, he shows you how to add gradient and color overlays to this scene for this effect:
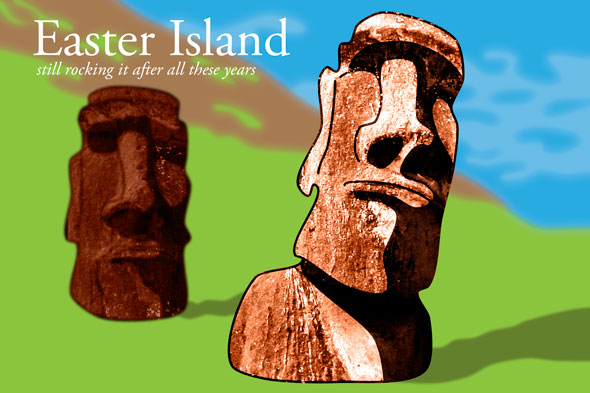
In the second, you’ll see how he incorporated textures from the original Easter Island photograph that was the inspiration for the illustration.
Deke’s Techniques, bringing your head(s) new tweaks every week.


Be the first to drop some wisdom...