In this week’s free Deke’s Techniques movie, Deke pulls back the meta-curtain and shares some techniques for building a better (Photoshop) screenshot in, well, Photoshop.
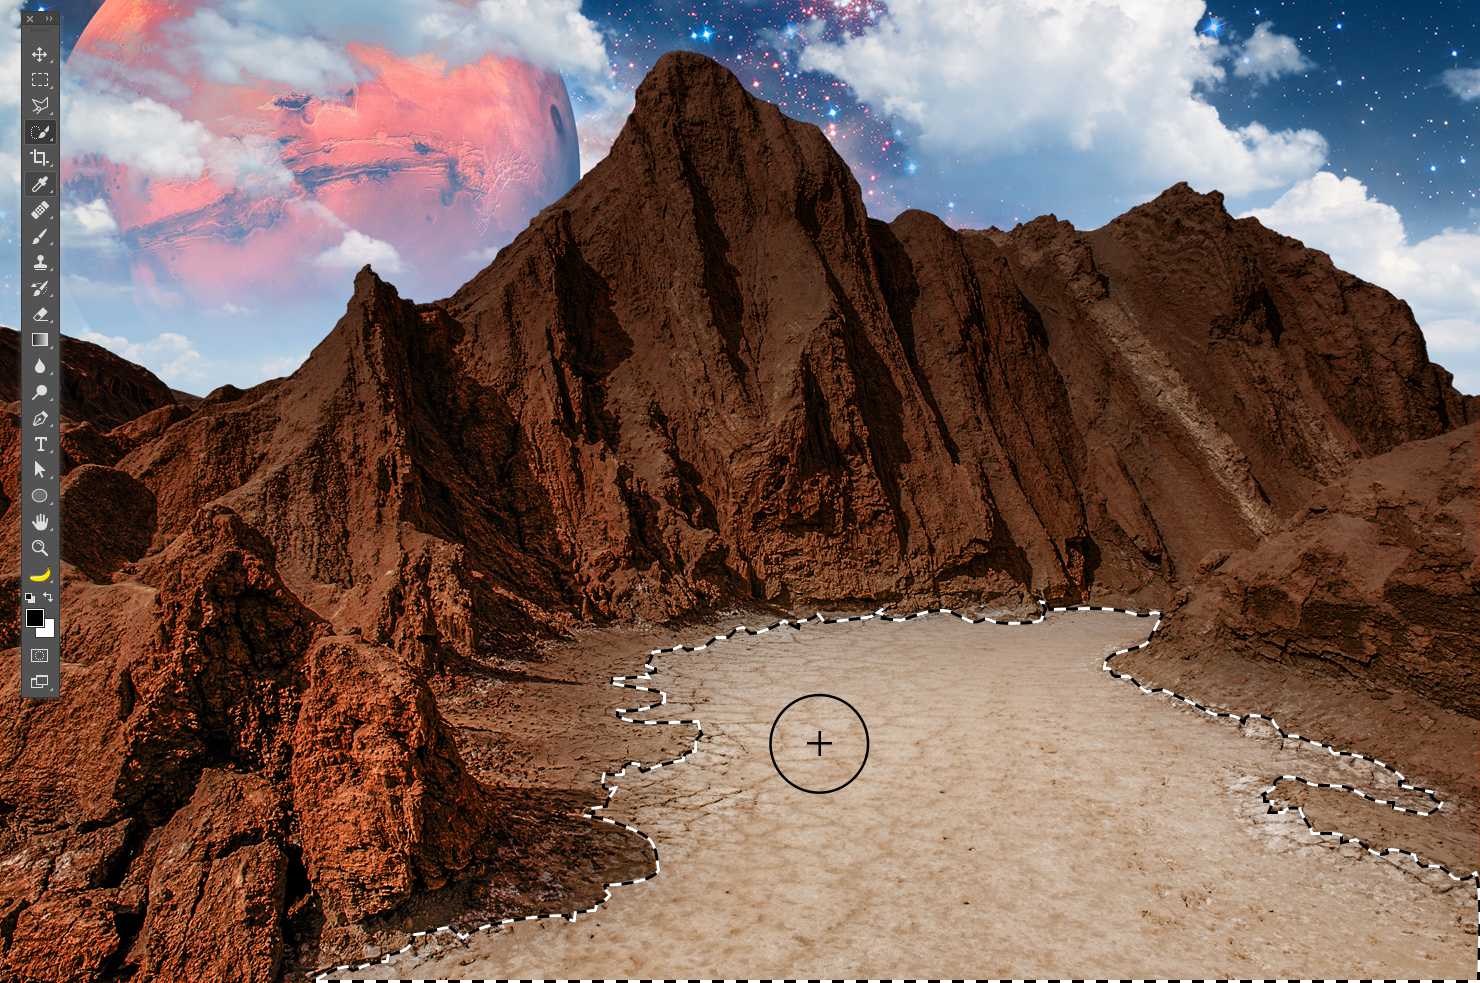
This technique was born during our recent update to the Photoshop Channels and Masks book that we’re currently working on. Basically, when you want to show a Photoshop screenshot that actually shows a selection (i.e. the marching ants are visible), then you need to boost those white and black dashes artificially if you want them to be seen.
Enter the ability to create a shape layer from a selection. To create bigger, bolder ants, we’ll first stroke the selection in a big, bold black. Then, we’ll duplicate that layer, and stroke it with a properly dashed white line. The result is a selection outline that’s hard to miss.
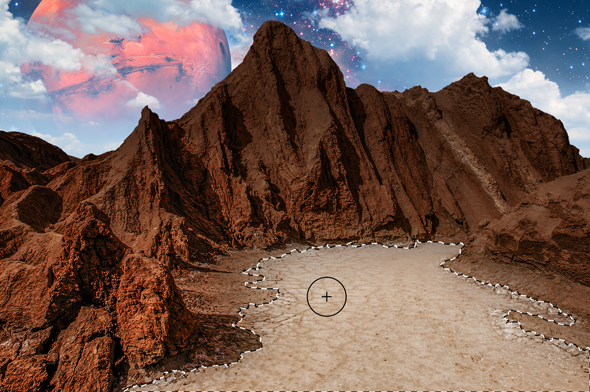
(Deke also shows you how he recreated the Quick Select cursor as well, crisp and clear enough that oldsters like us can see it.)
If you’re a member of lynda.com, or you take advantage of a free 10-day trial from lynda.com/deke, Deke has an exclusive movie this week in which he shows you how to create an action from this procedure so that you can sass up your selections in split seconds.
And stay tuned for the project that inspired this latest technique!
Deke’s Techniques, making sure you can actually see what he’s talking about every week.


Be the first to drop some wisdom...