
In this week’s free Deke’s Techniques episode, Deke shows you how to make the body of a microscopic bacterium using the Gradient Mesh tool in Adobe Illustrator.
Why? You ask. (And I know this may not be the first time you’ve ever asked this question in 545 episodes of Deke’s Techniques.) Well, like many things Deke, this project began as a way to demonstrate something completely different…specifically, Illustrator’s ability to zoom in to 6400%.
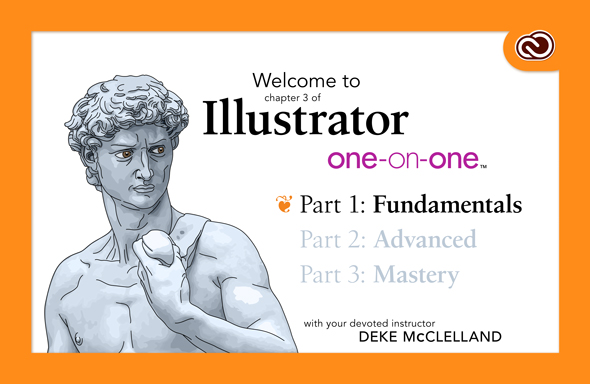
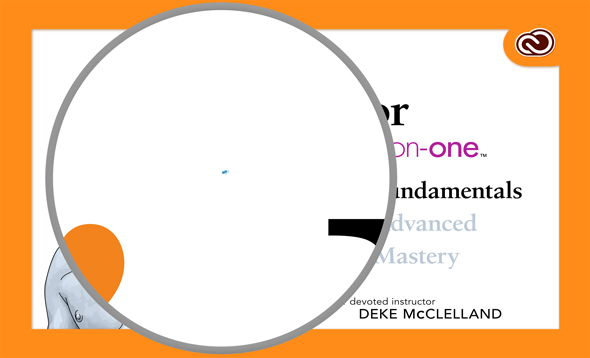
This slide from Deke’s Illustrator One-on-One: Fundamentals actually features this very creature.
Can’t see him? That’s because he’s only half a point tall and could easily be mistaken for a dust speck on your monitor.

(Actually, my monitor did have a dust speck and I initially zoomed into the wrong spot! Wait, here’s something…)
And in a delightfully dekeIsh reveal, it’s a fully formed bacterium, complete with villi and a flagellum (flashback to middle school biology!)
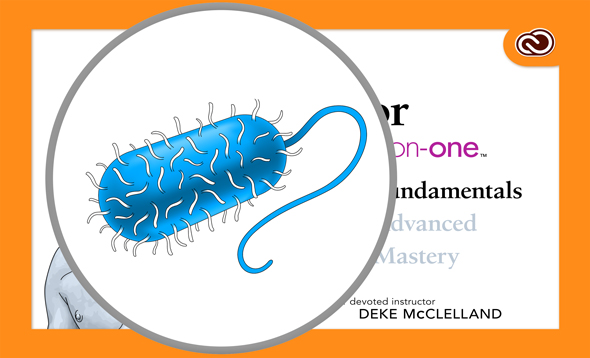
The key to making his capsule-like creature is Illustrator’s Gradient Mesh tool, which allows you to set up points across your object and then assign specific color variations in order to provide shading and highlights to your bug body. It’s actually a pretty useful thing to know how to do, even if you’re not planting microscopic infectious easter eggs in your images.
If you’re a member of Lynda.com, Deke’s got an exclusive movie this week in which he shows you how to create said villi all over the body of your creature. Not a member? Sign up at lynda.com/deke for a free 10-day trial.
Deke’s Techniques, infecting you with new illustrative ideas each week!


Be the first to drop some wisdom...