In this week’s free episode of Deke’s Techniques, Deke shows you how to create a screen that can’t be captured using conventional screenshot methods.
Like you, I too, would be asking, "Why?" right about now if I hadn’t spent years working on Deke’s print books. During that arduous but rewarding process, we were required, by Captain Deke himself, to painstakingly construct meticulous screenshots that featured full-res imagery and cleaned-up interface elements.
For more about that painstaking process and a related technique for making selection outlines, see Deke’s Techniques Episode 543.
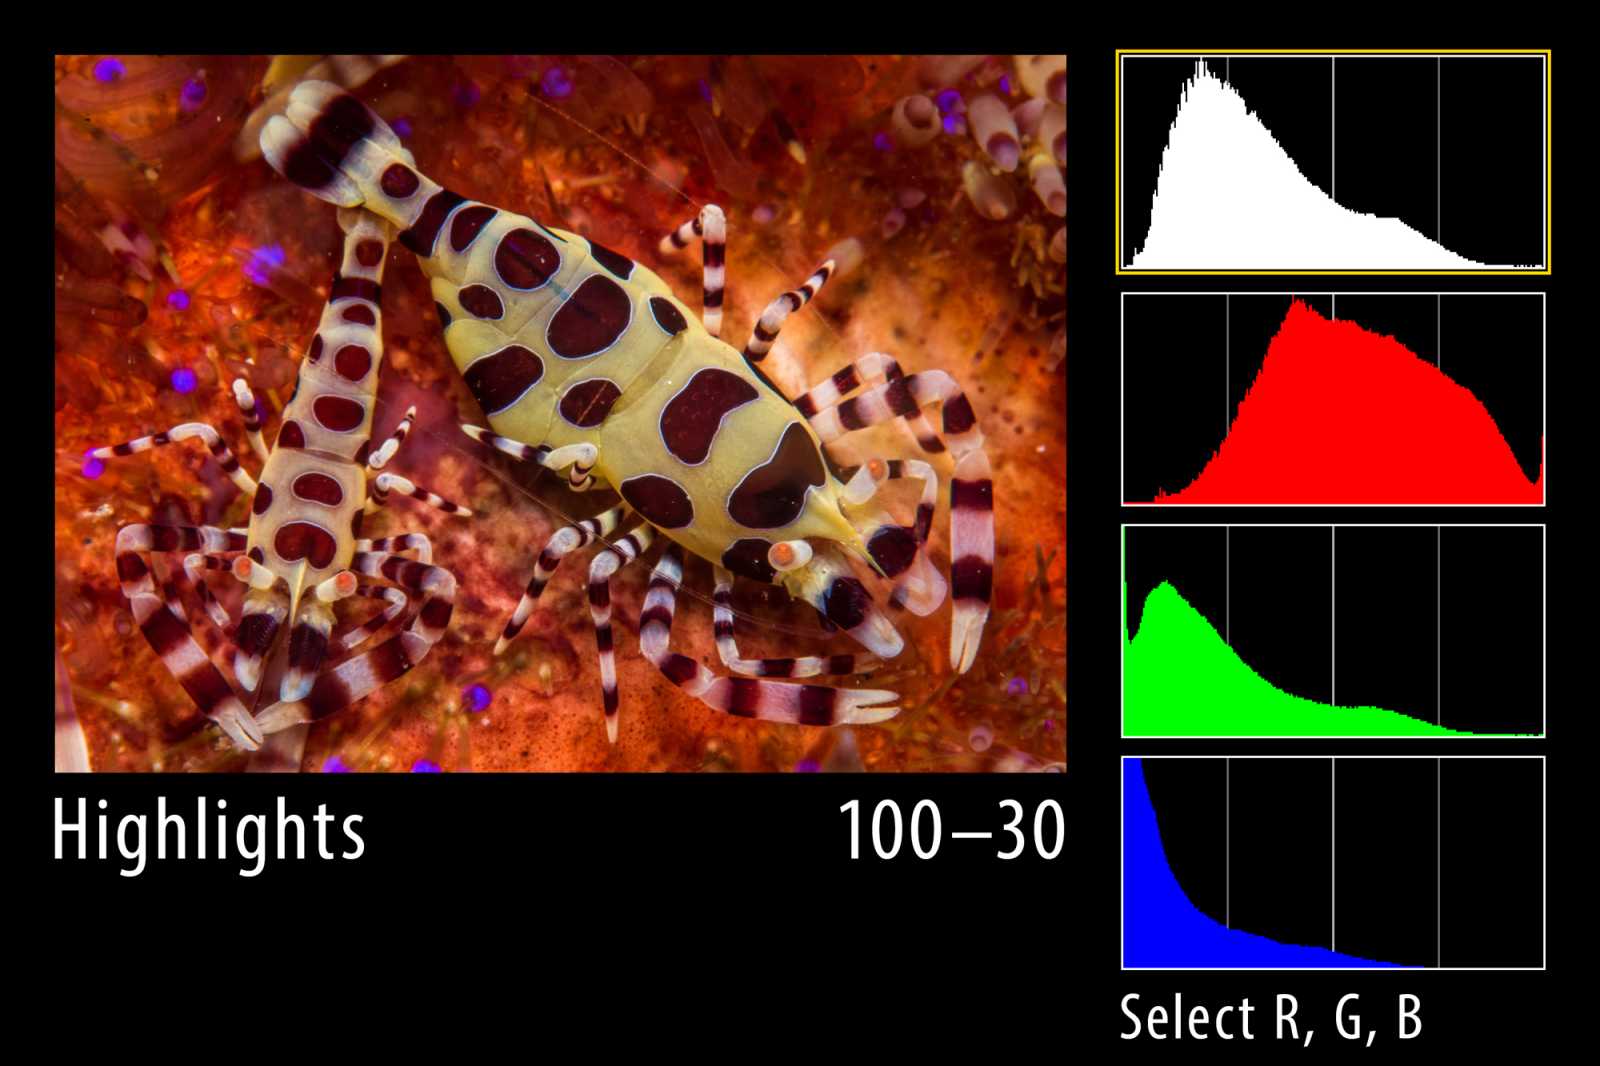
This time, the recreation is in service of soon-to-be-released third installation of Deke and Hergen Spalink’s Learning Underwater Photography Series. And the screen in question is the LCD from Herg’s Nikon D810.
By the time Deke is done, he’s got a full-res preview image, a true black background, and four accurate histograms, all of which can be used to demonstrate underwater photo skills without distracting students with ugly imagery.
And while you may not need to meticulously recreate your camera LCD screens, along the way you’ll learn useful bits like how to make perfectly squared off strokes and how to remember to turn of Auto-Select with the Move tool (which will drive you crazy if you don’t realize Adobe has changed the default setting in CC 2017).
If you’re a member of Lynda.com, Deke’s got an exclusive movie in which he shows you how he colored the histograms and added the quarter lines to the image. Because this may just be exactly what you want to do.
Deke’s Techniques, recreating reality you didn’t know you needed.


Be the first to drop some wisdom...