Greetings, dekeOlinians. I’m excited for today’s free Deke’s Techniques episode, because this is some classic “Deke explains the thing you really want” kind of episode. While I like whimsical graphic nonsense (with educational value) as much as the next dekeFaithful, I LOVE when Deke answers a question I already had, with all the insightful and anticipatory instruction I, I mean we, have come to expect.
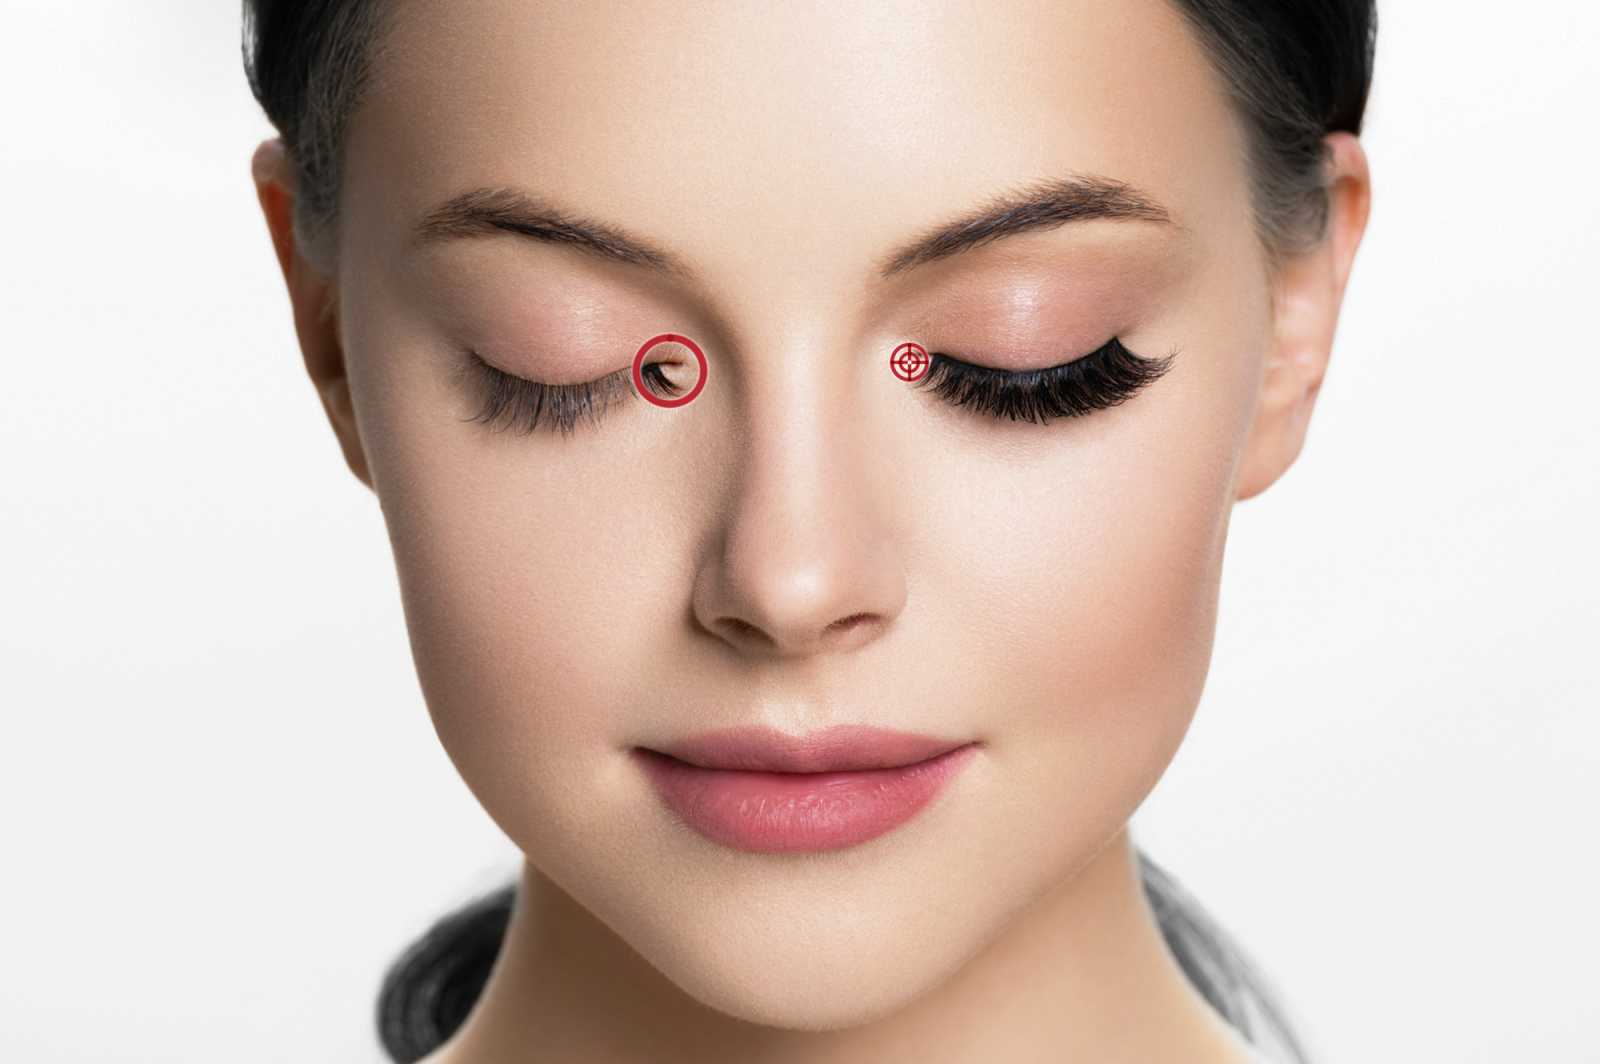
In today’s video, Deke shows you how to use the Healing Brush in Photoshop to replicate one false eyelash onto the opposite eye. We start with this singularly false-eyelashed model from the Dreamstime image library. (You can get Deke’s Dreamstime deals here for your own projects, by the way.)
So how do you match the lash on the left to the one on the right? The trick is to set the Clone Source panel correctly, in this case with the Flip Horizontal option turned on and the angle adjusted by 3 degrees (to account for the fact that human faces aren’t exactly symmetrical).
With these settings and the source point for the Healing Brush set in the corner of the eye on the right, you get this result:

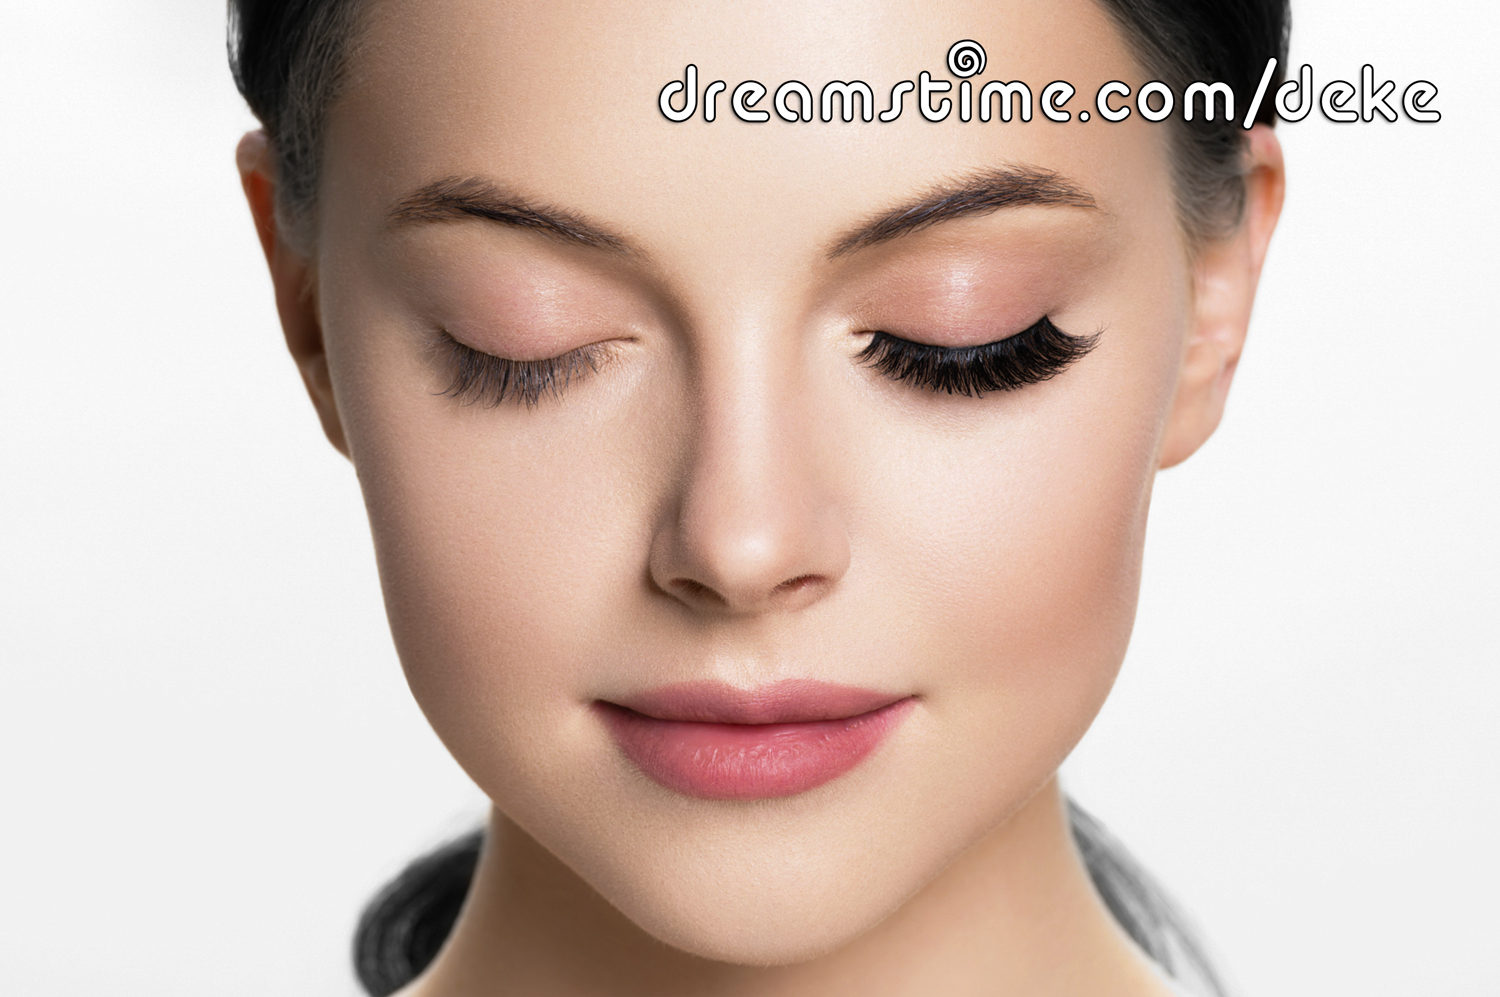
Which of course, isn’t quite what we’re going for, but you can see that we’re on our way. Enter the Diffusion setting in the options bar. Crank it to 7 (it had been set at 2 in my attempt above), and you get this amazing and relatively painlessly achieved result.
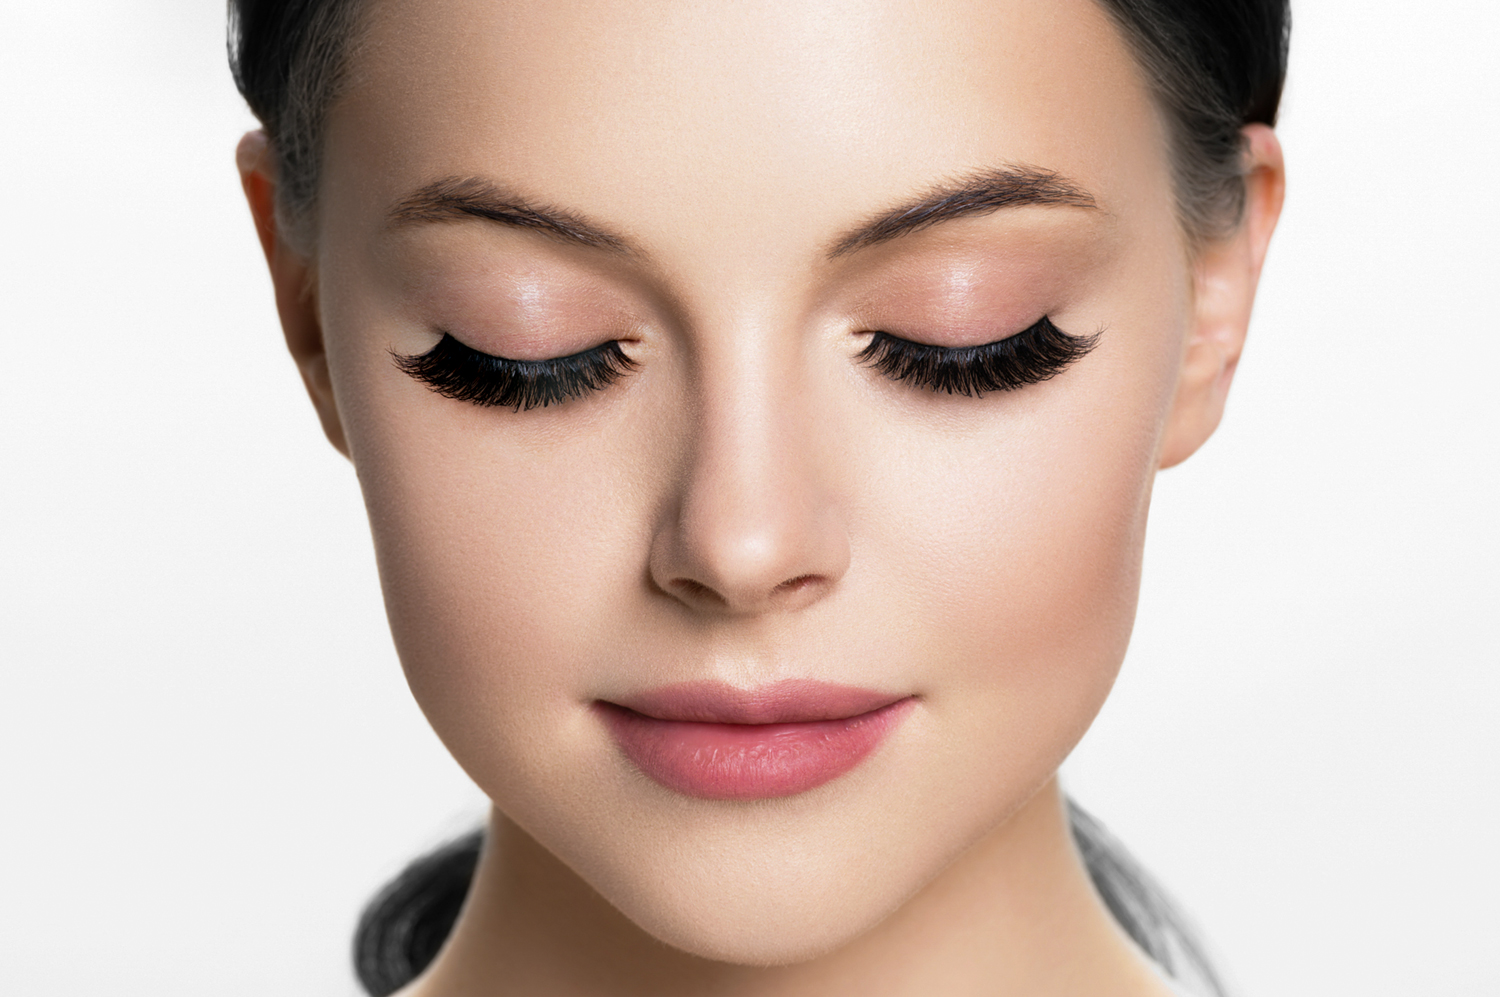
Deke’s Techniques, your (Clone) source for “all together natural looking false eyelashes!,” courtesy of classic Deke and Photoshop.


Inspiring Transformation