Greetings, dekeFriends. I hope you are weathering the world and its challenges well. We’re holed up here in dekeLand working on new content to keep your creative brain sharp through this crisis. It’s weird, but I’m glad to have this community to talk to when the cabin fever sets in.
In this week’s free Deke’s Techniques episode, Deke returns to that Hair-inspired poster art that he created last week with the help of the Paint Bucket tool. This week, he approaches the color assignment problem dynamically by using a Gradient Map adjustment layer and a custom gradient that assigns a new series of psychedelic colors to the posterized bit of art we used last week.
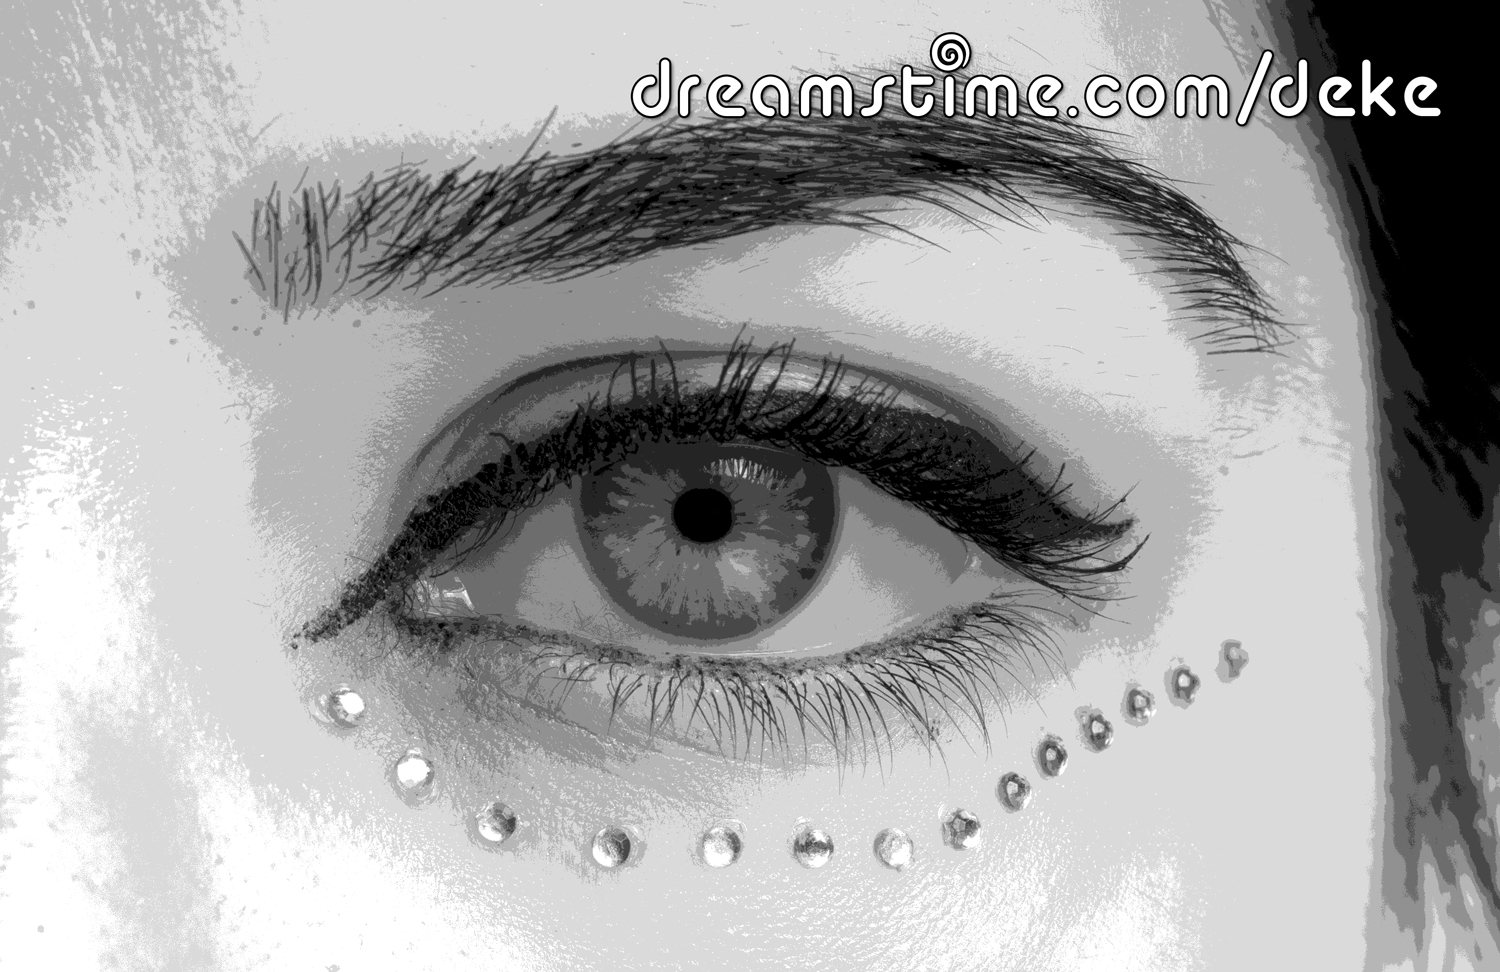
So, here is the Dreamstime image from last week before it got the colors assigned:
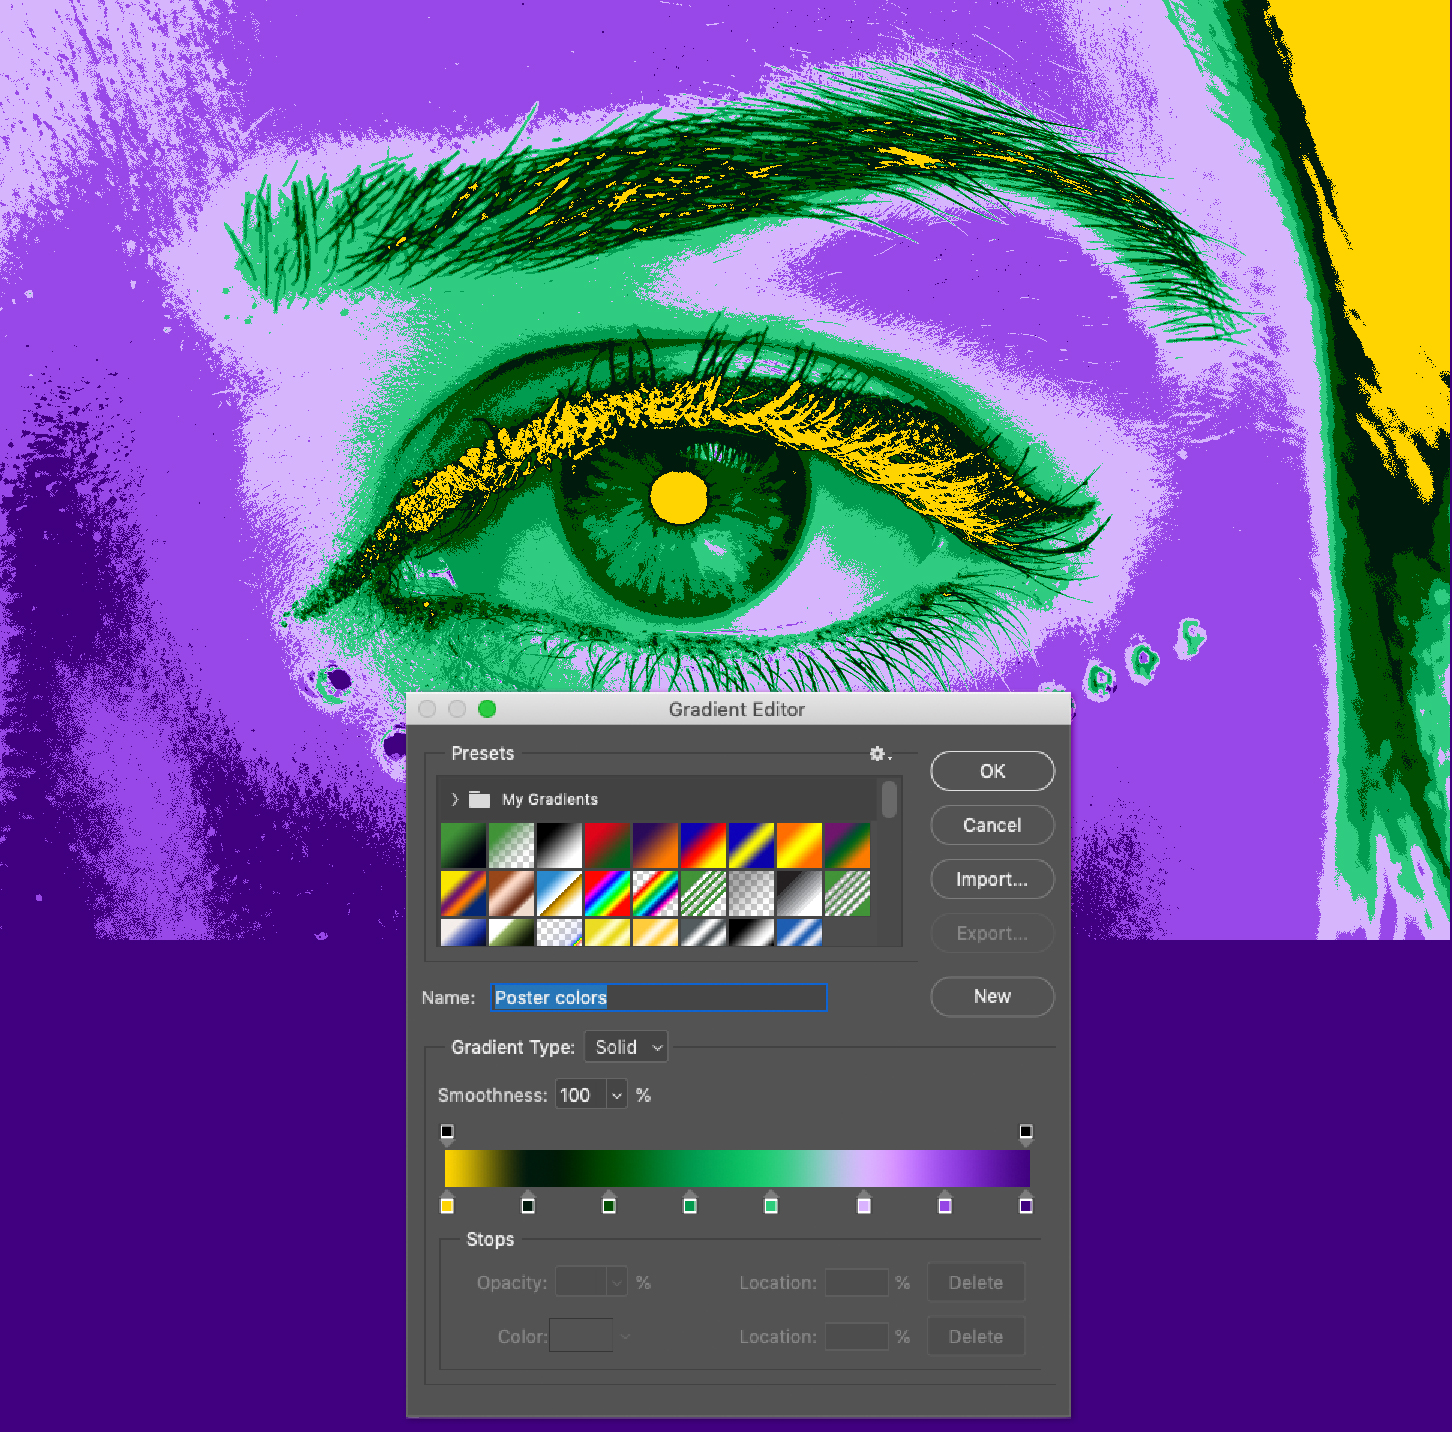
This time, Deke creates a custom gradient that maps to the grayscale colors in the image. By setting a color stop at every 14 percent increment, Deke can apply colors in one fell swoop and adjust them at any point in the process:
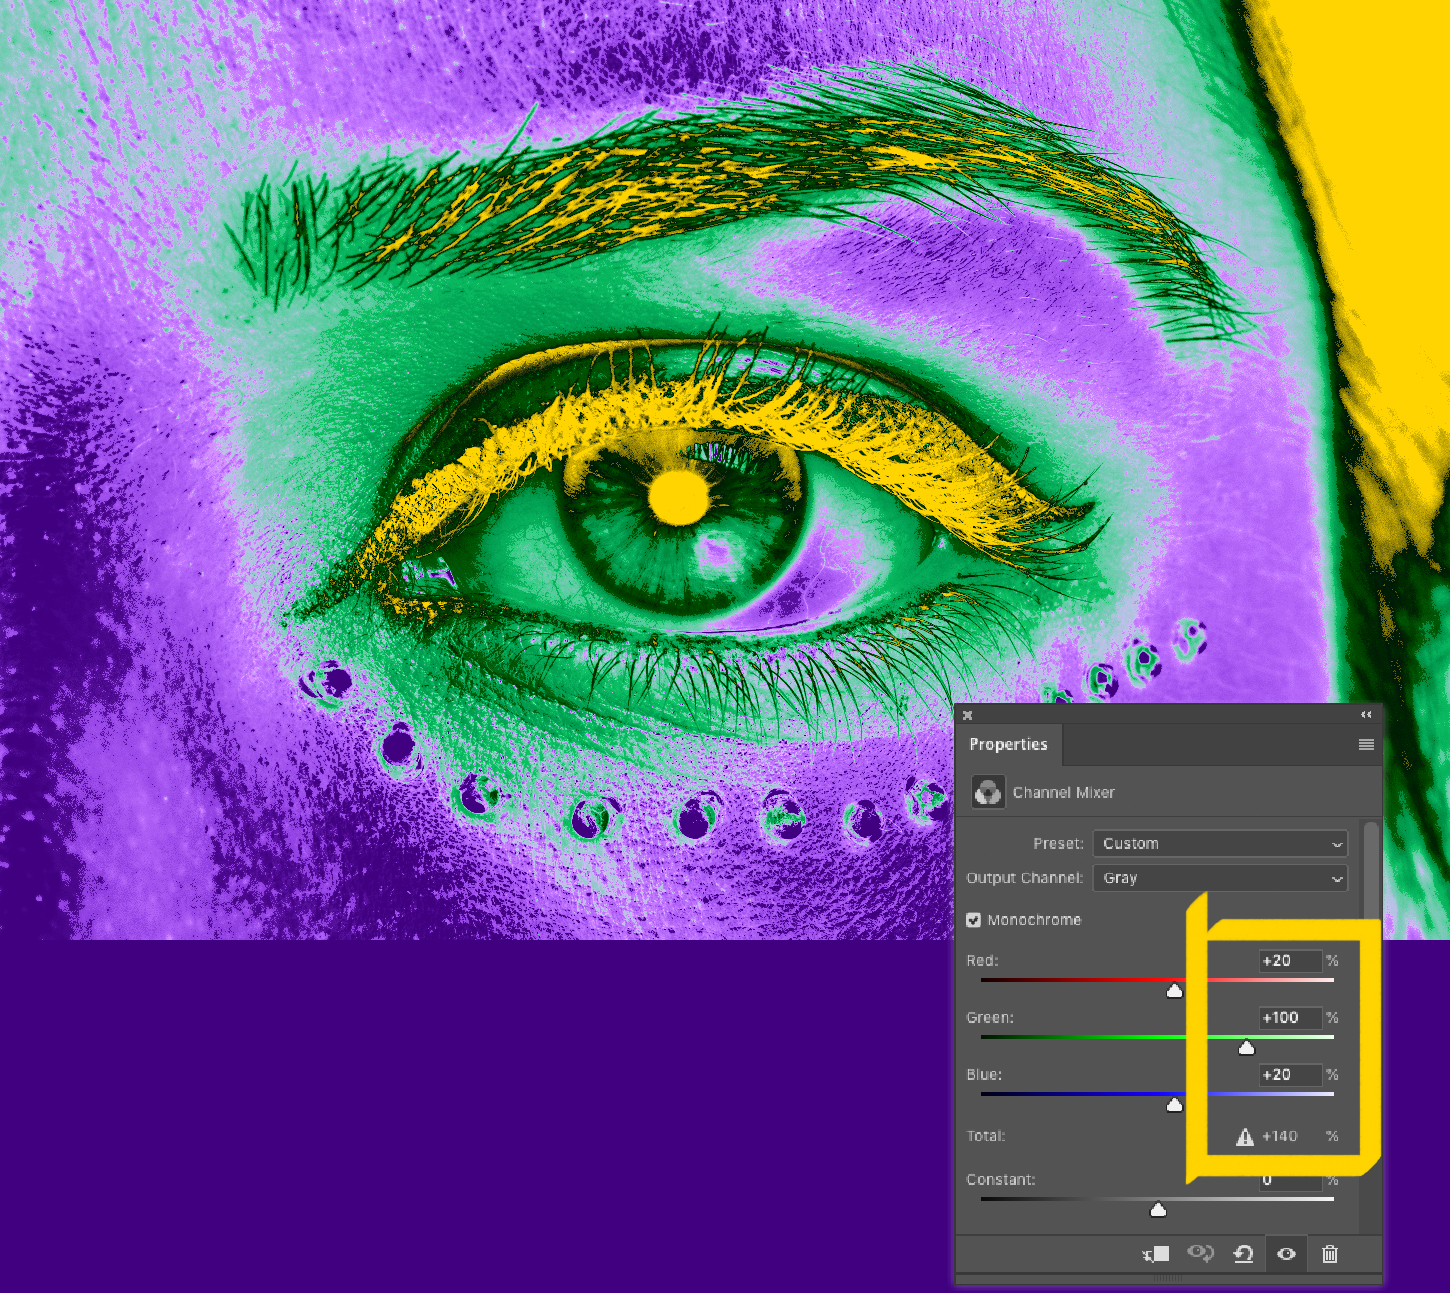
If you’re a member of LinkedIn Learning, then Deke’s got a follow up movie in which he shows you how to make some of those transitions a little less abrupt and better suited to a slightly subtler (subtle being extremely subjective term here) effect. The trick is in setting the Channel Mixer properties a little bit differently, and not worrying about going “beyond 100%” You can see it at work, along with some other advice for keeping your colors bright and boisterous, here.
Until next week, be safe and treat each other well. Thanks for being part of our virtual community.


Comments