In this week’s free episode of Deke’s Techniques, Deke employs a two-phased attack on a photograph with skewed perspective, using both the Lens Corrections controls in Camera Raw and the Perspective Warp features in Photoshop CC.
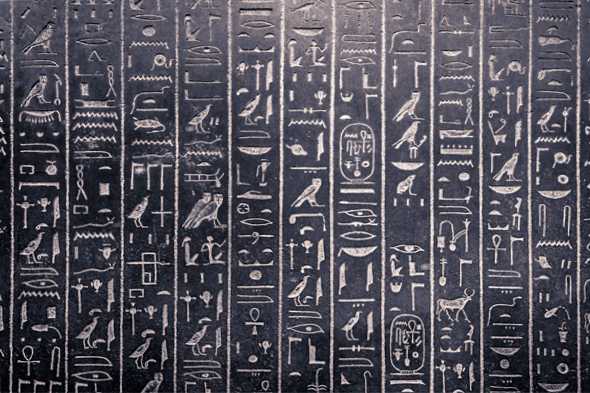
Here’s where the image starts, with bows and skews that disrupt both the horizontal and vertical lines.

After adjusting for lens distortion in Camera Raw (and reviewing all the features you may need to correct your own images), Deke then moves to Photoshop CC to apply the new Perspective Warp command to further tune-up the perpendicularity of the photograph’s hieroglyphics. Perspective Warp itself is a two-phase process and Deke takes you through the process, explaining his particular decisions along the way.
After a quick trip back to Camera Raw to add some colorization, the result is a definite improvement to the images upright (and side-to-side) conformity.

If you’re a member of lynda.com (if you’re not, stop by lynda.com/deke for a free 10-day trial), Deke’s got an exclusive movie this week in which he uses Perspective Warp on the anamorphic skull in Hans Holbien’s painting from 1533, The Ambassadors.

Here’s a close-up of the skull in the foreground as it appears in the painting when viewed head-on. (It only takes its true skull form when you look at the painting from an angle.)

In Deke’s Perspective Warp exercise, the genius of Holbien’s skill is revealed by Photoshop CC. It’s the second-best way to see it after going to London to view it from the side in the National Gallery!

Deke’s Techniques, giving you fresh perspective every week!


Be the first to drop some wisdom...