In this week’s free episode of Deke’s Techniques, Deke uses some standard playing cards to spell out a name—his name, to be exact.
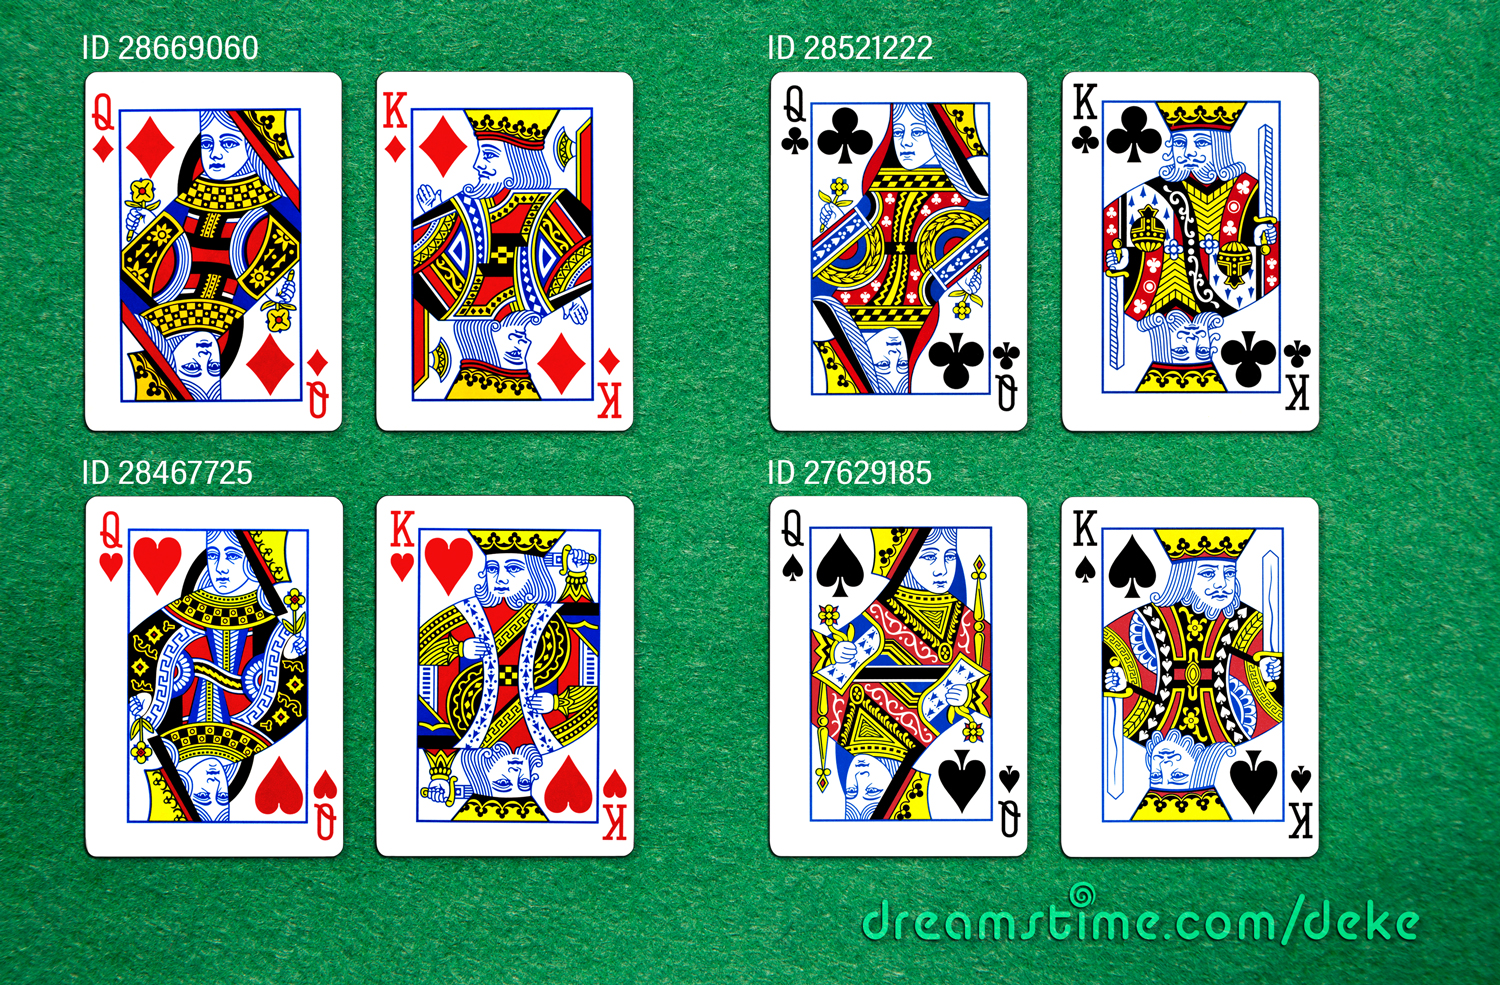
He starts with some card graphics supplied by our friends at Dreamstime (you can get a deal here). Here are the Dreamstime ID numbers if you’re looking for a specific card or suit.
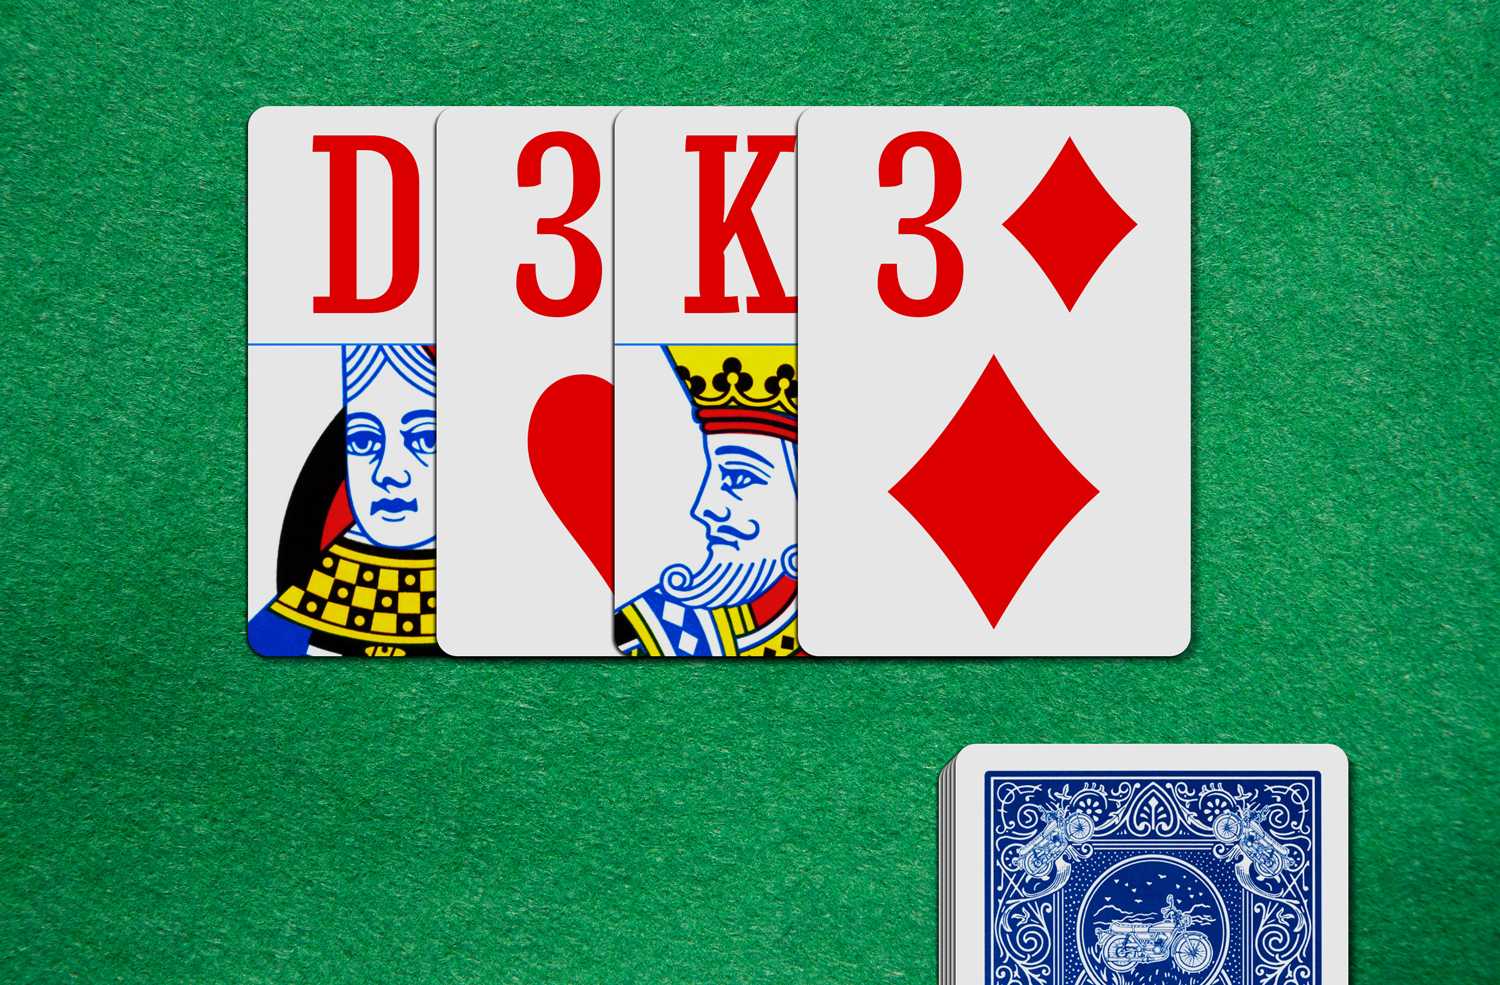
If your name is Jake, life is easy with a standard deck of American cards.

Of course, spelling DEKE not only requires the acceptance of a 3 as an E, but Deke also has to change the J (for Jack) to a D (for Dame, the French version of Queen). This in turn, requires some cutting and pasting of the right face card graphic to go with the letter.
But really, you can type whatever letter you like in there, so no need to really worry. Check out the video for all the compositing tips and tricks to get it just the way you like, with the right combination of letters and figures.
One thing the video does not cover is how to sneak a symbol into a layer name in Photoshop if you are on a Mac. If you’re on a PC, check out Deke’s use of the Character Map utility in Windows at about 4:49. No such thing on the Mac, so what to do?
This was the subject of our breakfast conversation here at chezDeke. Here’s our best equivalent solution for putting a symbol in a layer name on a Mac:
- Open System Preferences, and click on Keyboard.
- Go to the Input Sources tab and turn on the Show Input in Menu Bar checkbox.
- Once that Icon (it now looks like a window with a cloverleaf) is in your Menu bar, click it and choose “Show Emoji and Symbols.
- In the far left panel of the Character Viewer, choose Pictographs.
- Then, somehow have Photoshop and the Character Viewer on screen at the same time.
- Double-click the layer name to select it.
- Drag the character you like from the Character Viewer directly to the layer name.
Yes, I think this is a lot of work, when a) if you were really being diligent about layer names you could b) type the word “Heart” a lot faster. You could even find the desired glyph in the Glyphs panel, type it somewhere in your document, cut it and paste it into the Layers panel. Also tedious. But it seemed unfair to only share this layer naming trick with PC users.
If you’re a member of LinkedIn Learning, then Deke’s got a much more useful exclusive movie this week in which he shows you how to precisely scale a vector-based shape inside Photoshop so that your virtual card is precisely regulation size.
Deke’s Techniques, down the rabbit hole before breakfast is served. (Oh, and if you want to play this game with Deke’s deck of cards, the exercise file is a available to download just below.)
Related downloads
- Exercise Files for Deke's Techniques Episode 976
- Log in to download these files.


helo