
758 Under the sea in strict monochrome from Deke's Techniques by Deke McClelland
In this week’s free Deke’s Techniques episode, Deke takes an “ordinary” underwater photo of a bunch of scuba divers returning to the boat and turns it into an other-worldly “landscape” by converting it to strict monochrome in Adobe Camera Raw.
He begins with this photo, taken at Dynamite Drop in Little Cayman, which you might otherwise pass over as a standard “I’m bored on my safety stop and too far away to photograph anything but other divers” photo op. (Non-divers, the safety stop is a 3-minute interval at the end of a dive in which you hang out at roughly 15 feet and try to get some of the accumulated nitrogen out of your body before surfacing. If you’re near a reef you can continue to explore, if you’re hanging out in the blue, you entertain yourself with other divers.)
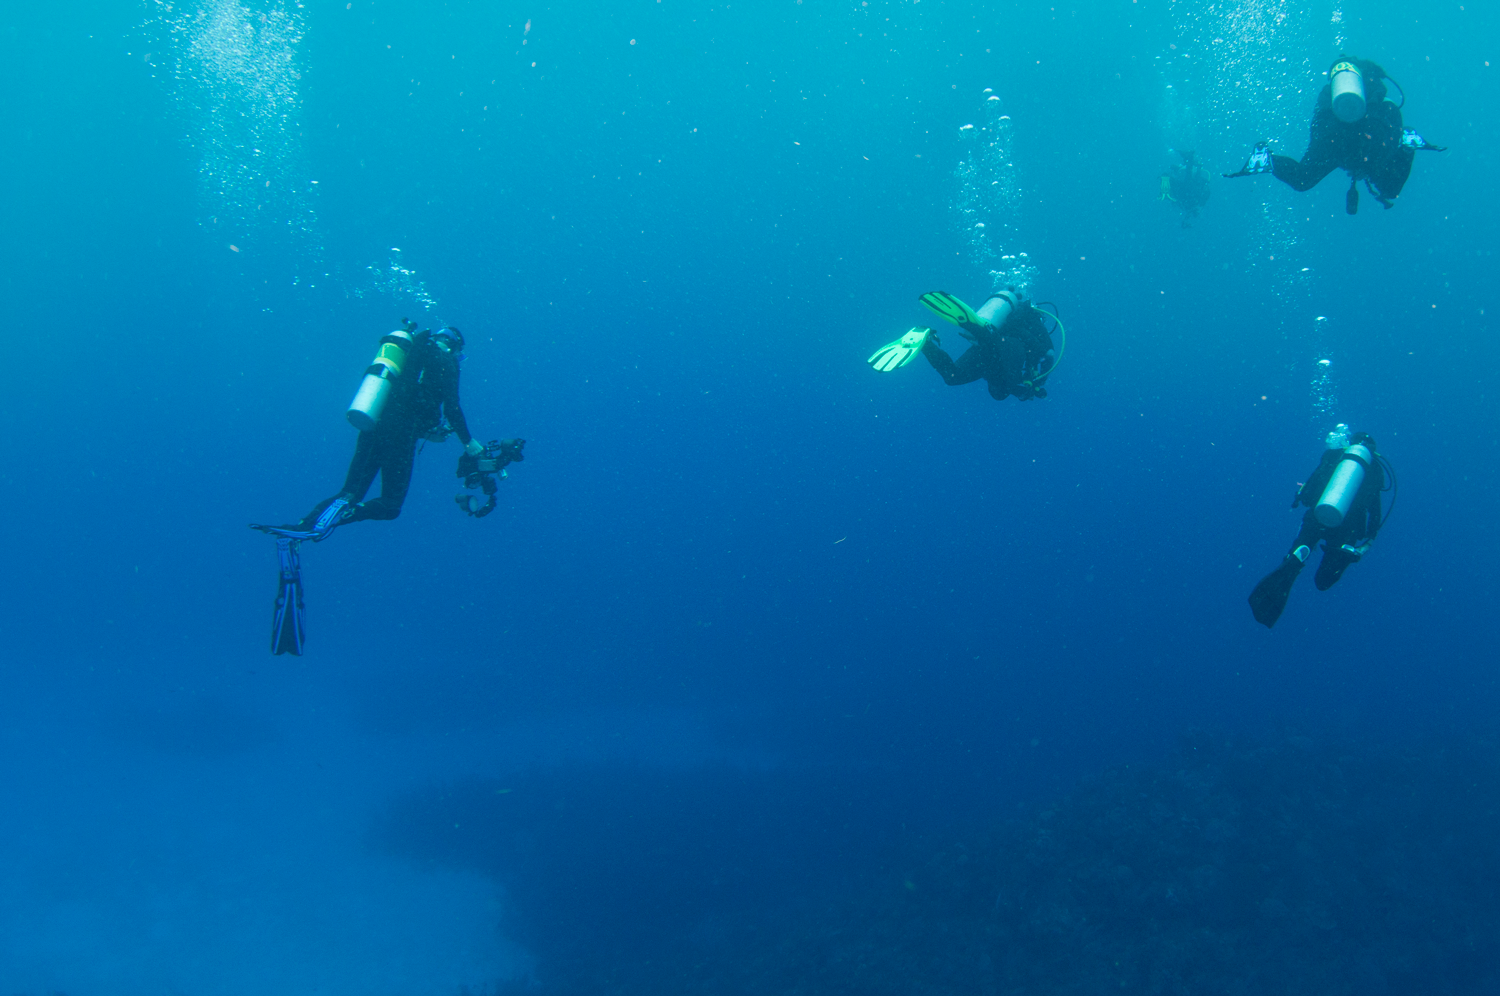
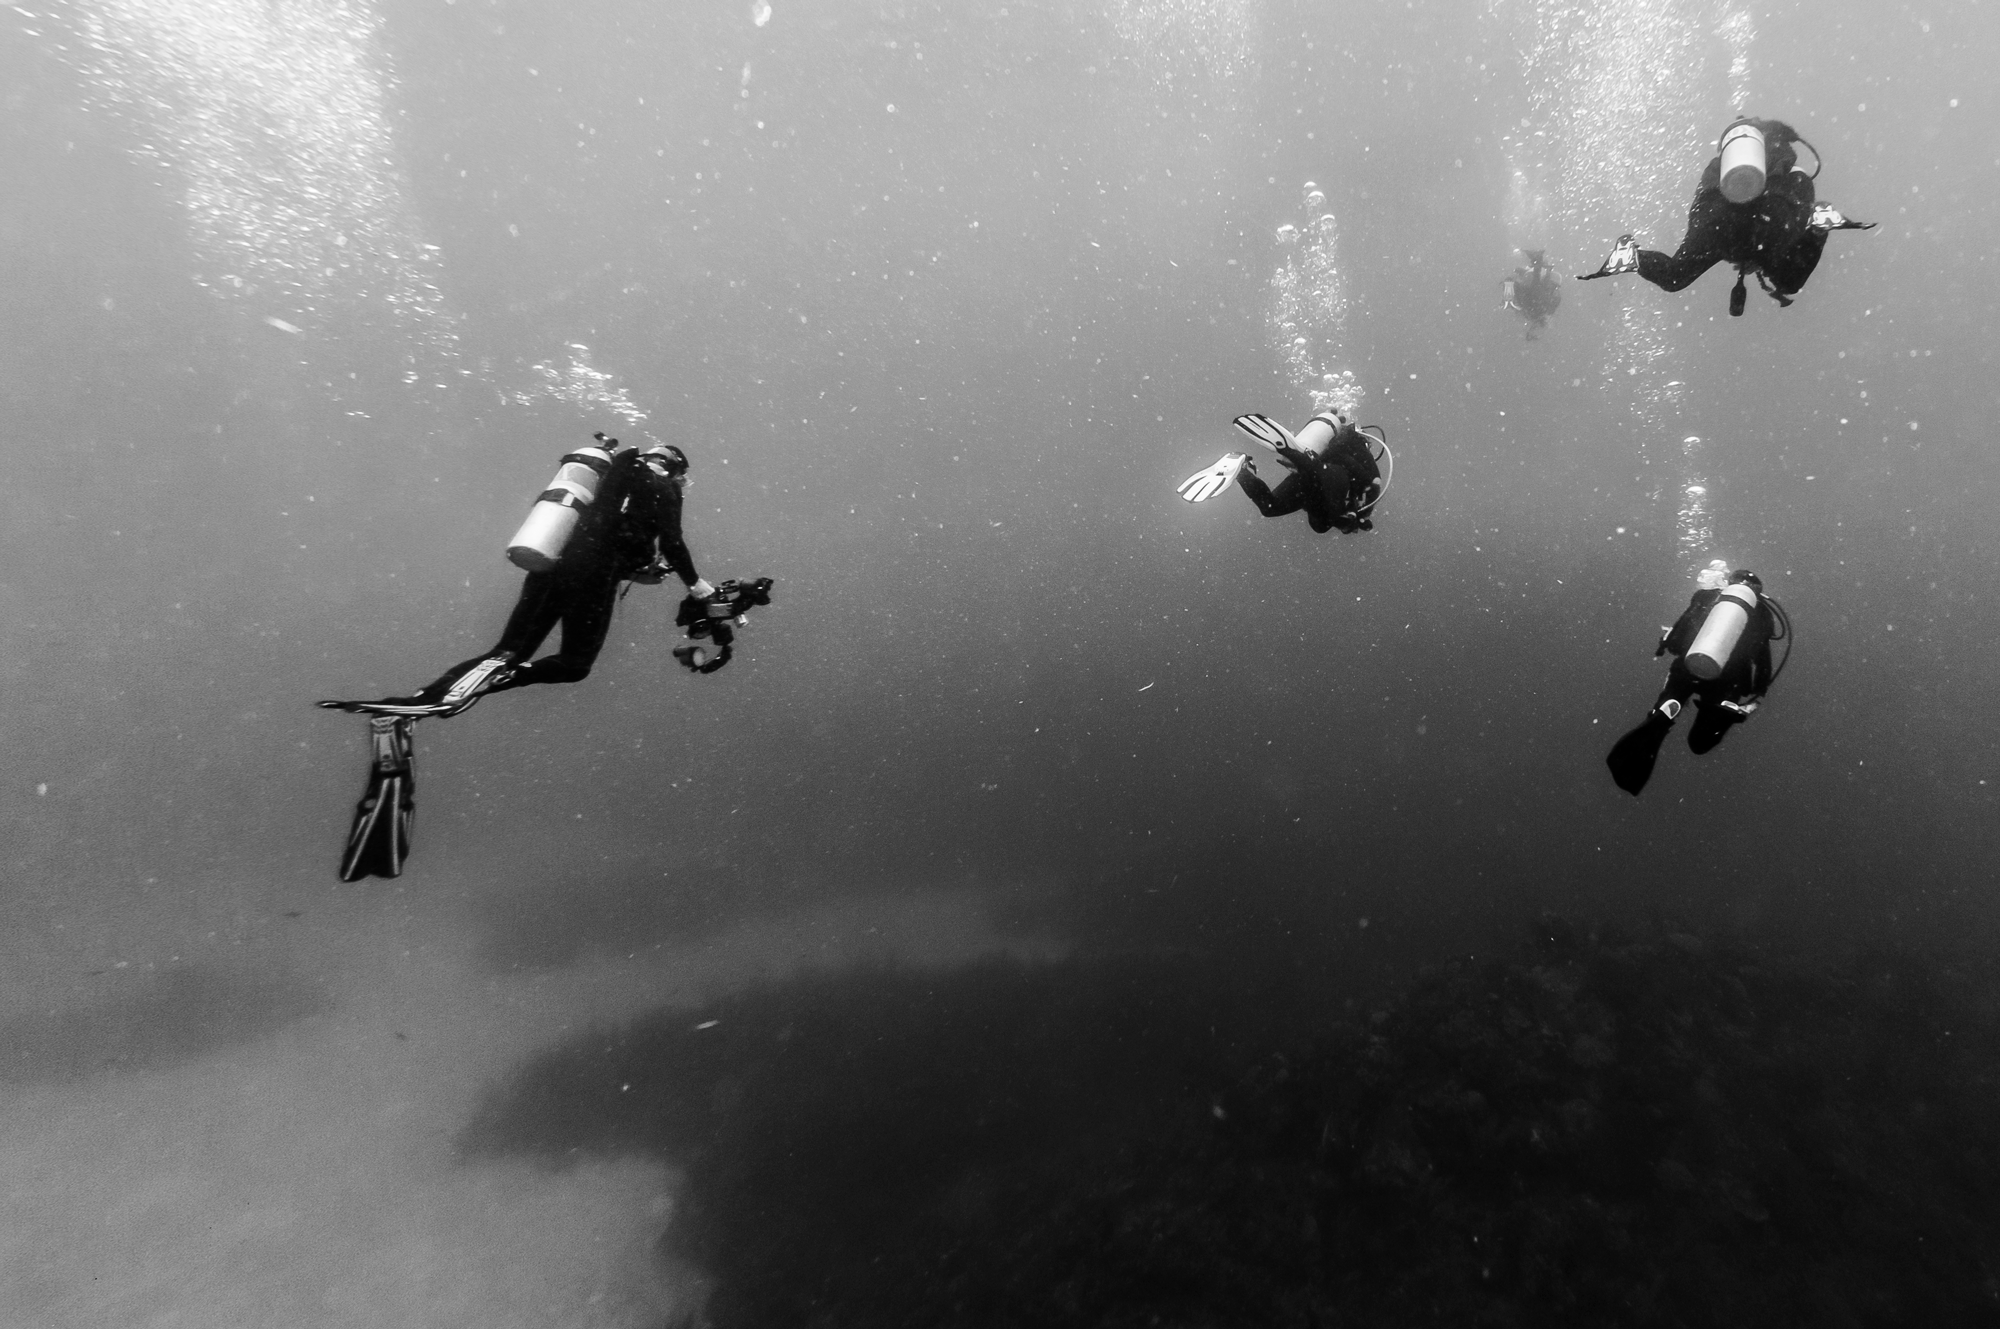
Using the Basic panel controls and the Black & White treatment features in Camera Raw (or you could do this in Lightroom as well), he turns this boring image into a surreal one of divers floating above the surface of an underwater mountain lake.
If you’re a member of Lynda.com/LinkedIn Learning, Deke’s got a bonus exclusive movie this week in which he shows you how to use filters to get rid of some of the backscatter (the detritus Deke calls “fish poop”) in the water and apply a Split Toning effect in Camera Raw.

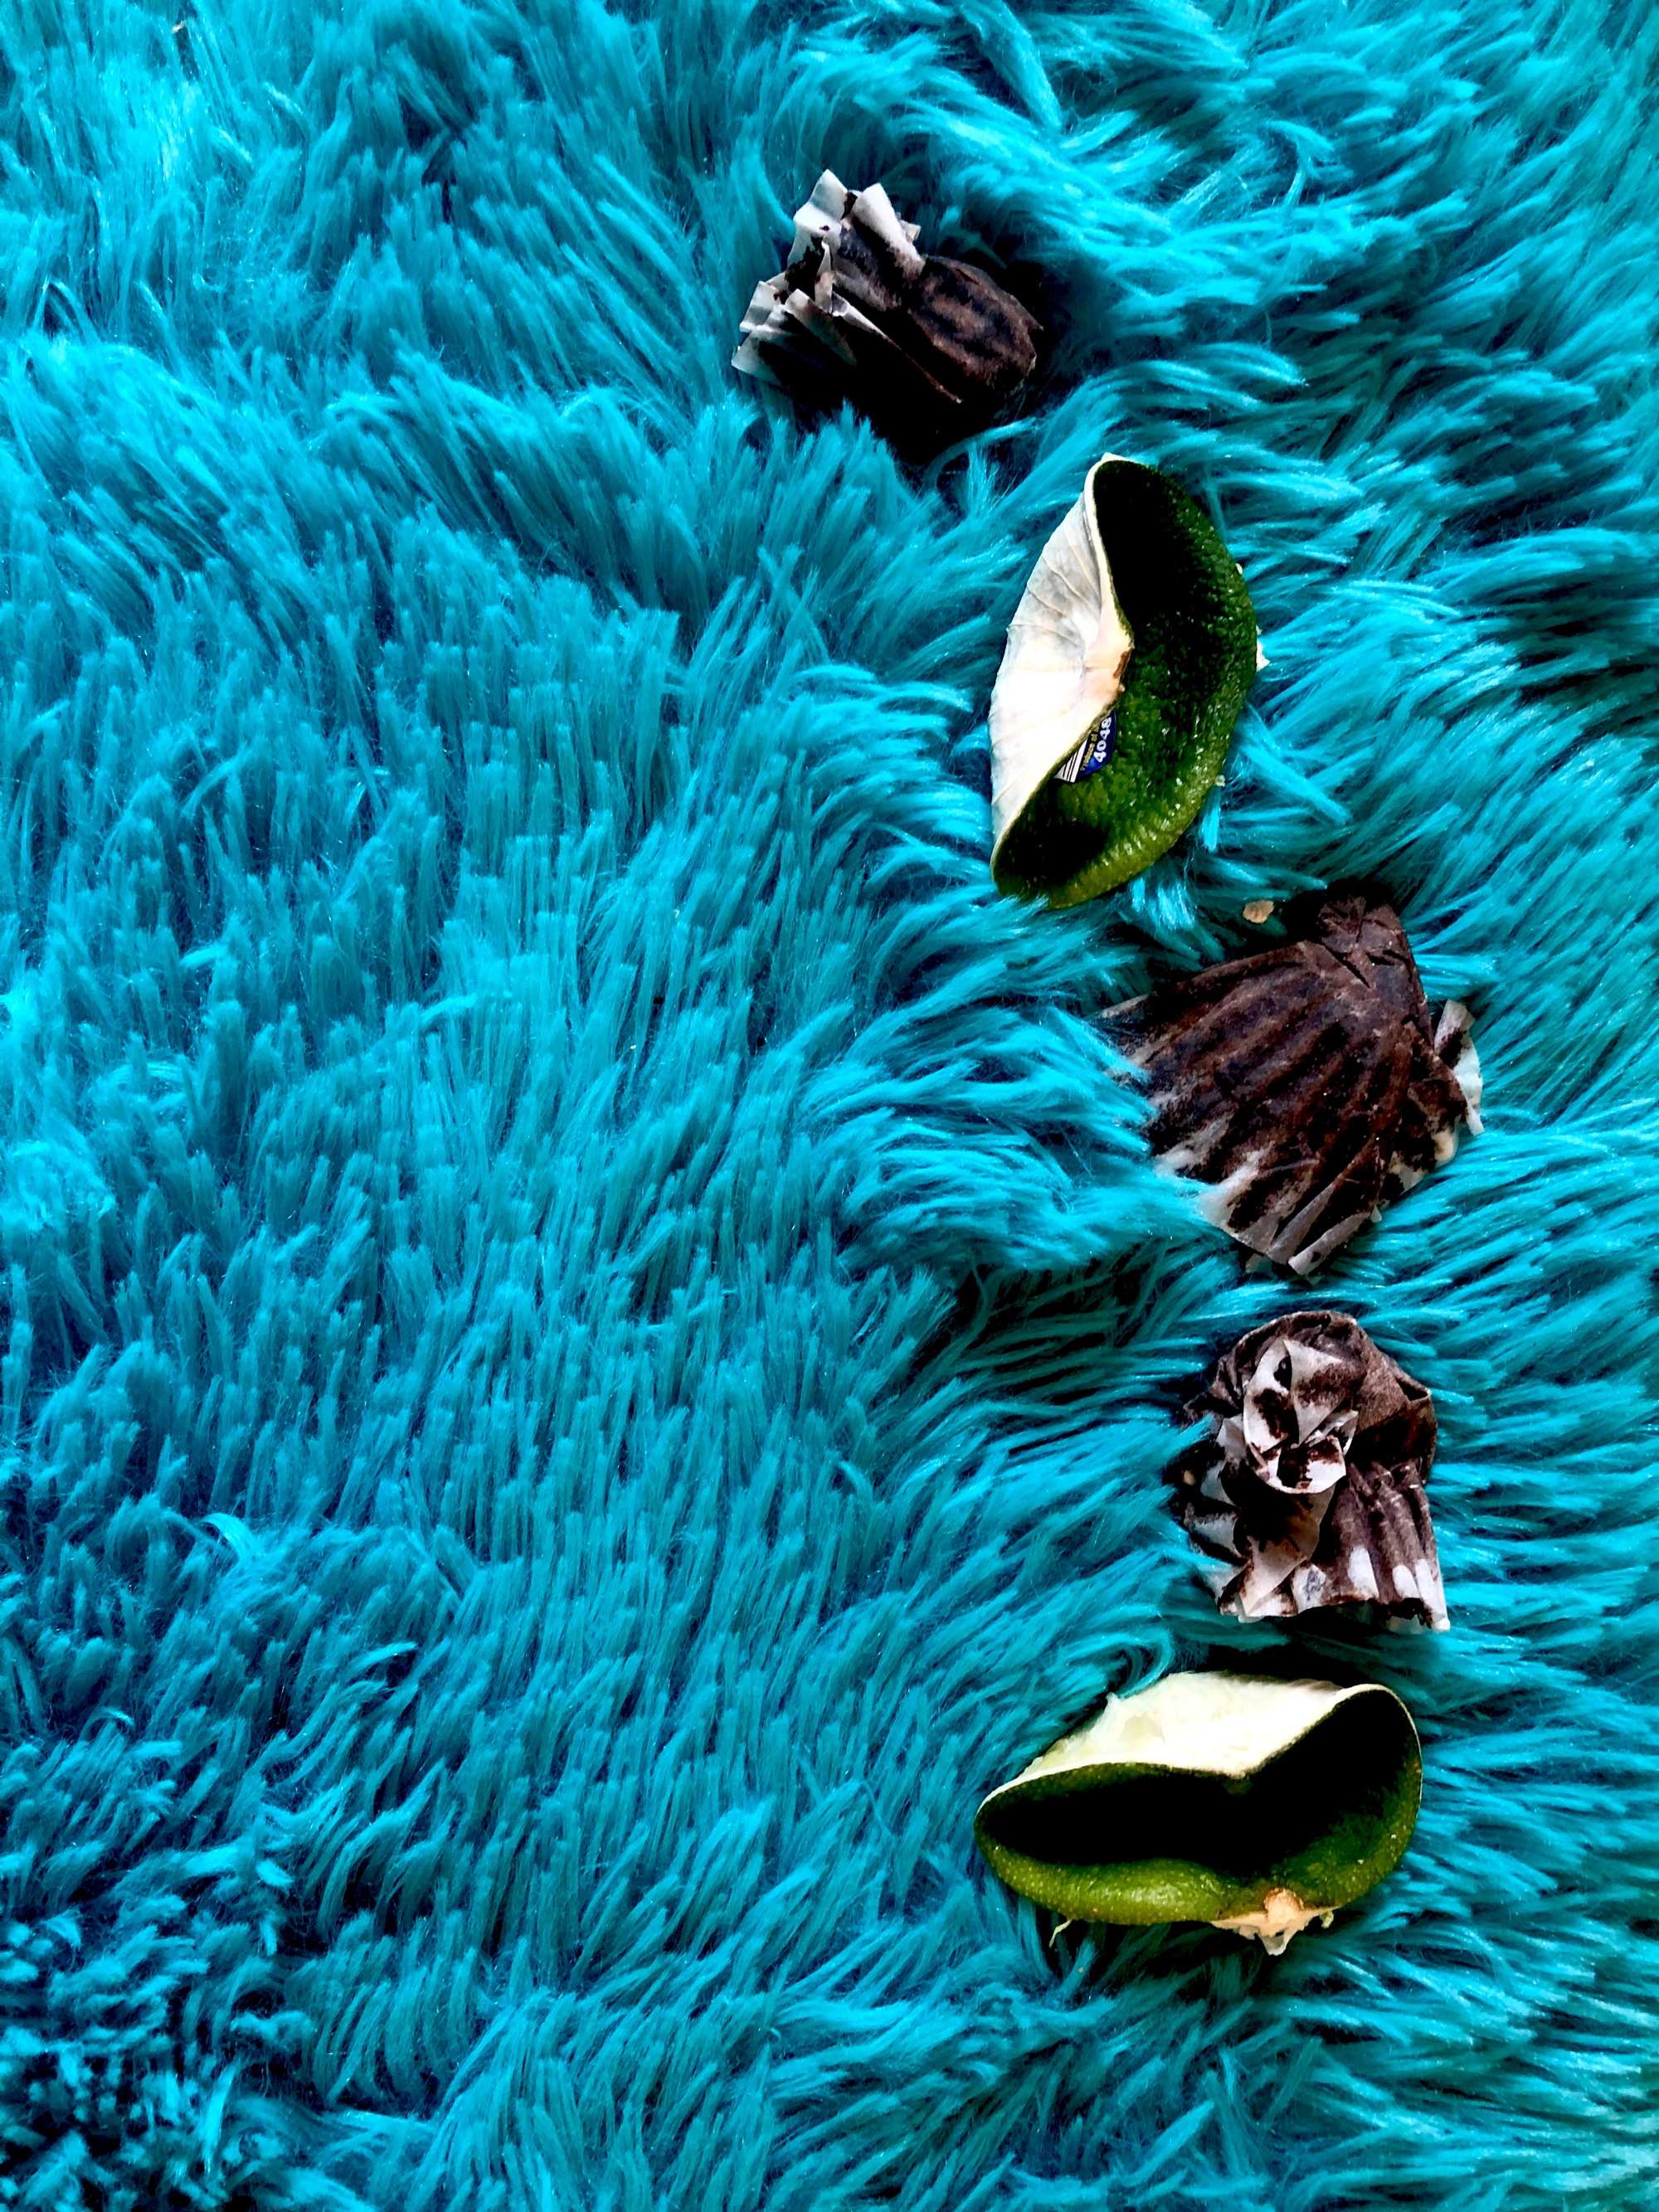
And if you can’t get to Little Cayman or any other underwater destinations, or the idea of accumulating nitrogen puts you off entirely, here’s an “undersea” image I took this week—-actually the floor of son Sam’s room after he had discarded the wrappers of three cupcakes and a halved lime. You see, there’s adventure (and detritus) to be found everywhere.
Deke’s Techniques, where inspiration comes from out of the blue.


True Screen Resolution