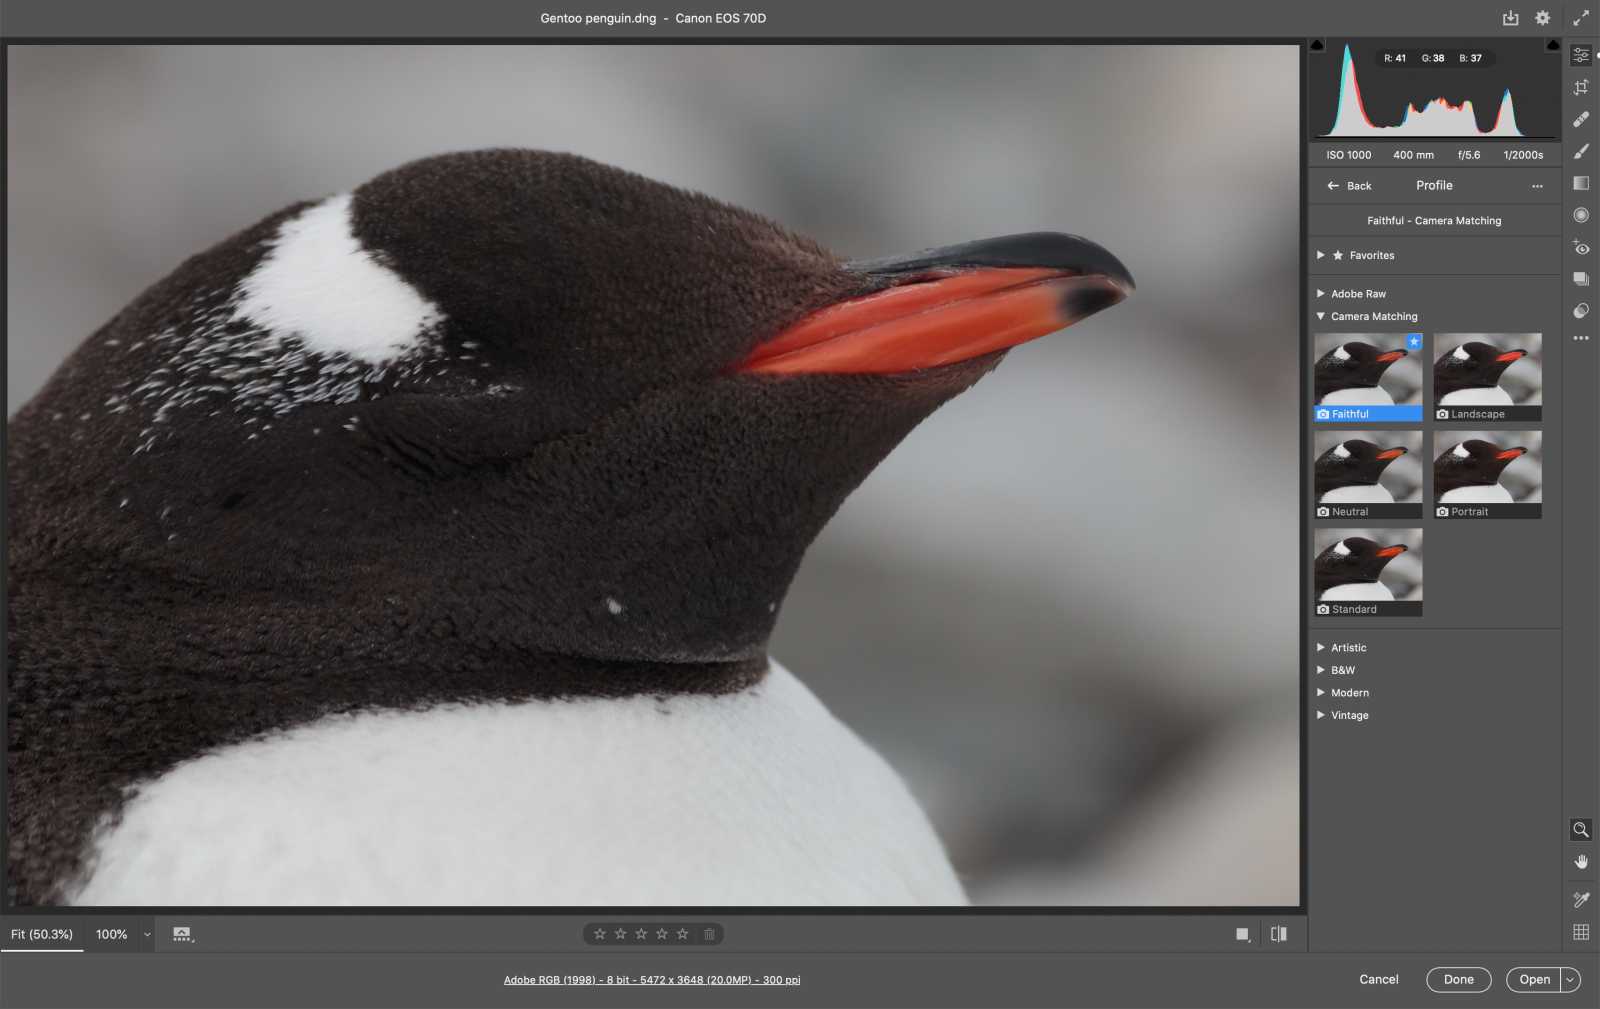
Hello, my chillyOnes. (It’s really cold here in Boulder; like colder than where we met this gentoo penguin this time last year in Antarctica.) I hope everyone is staying warm and healthy out there.
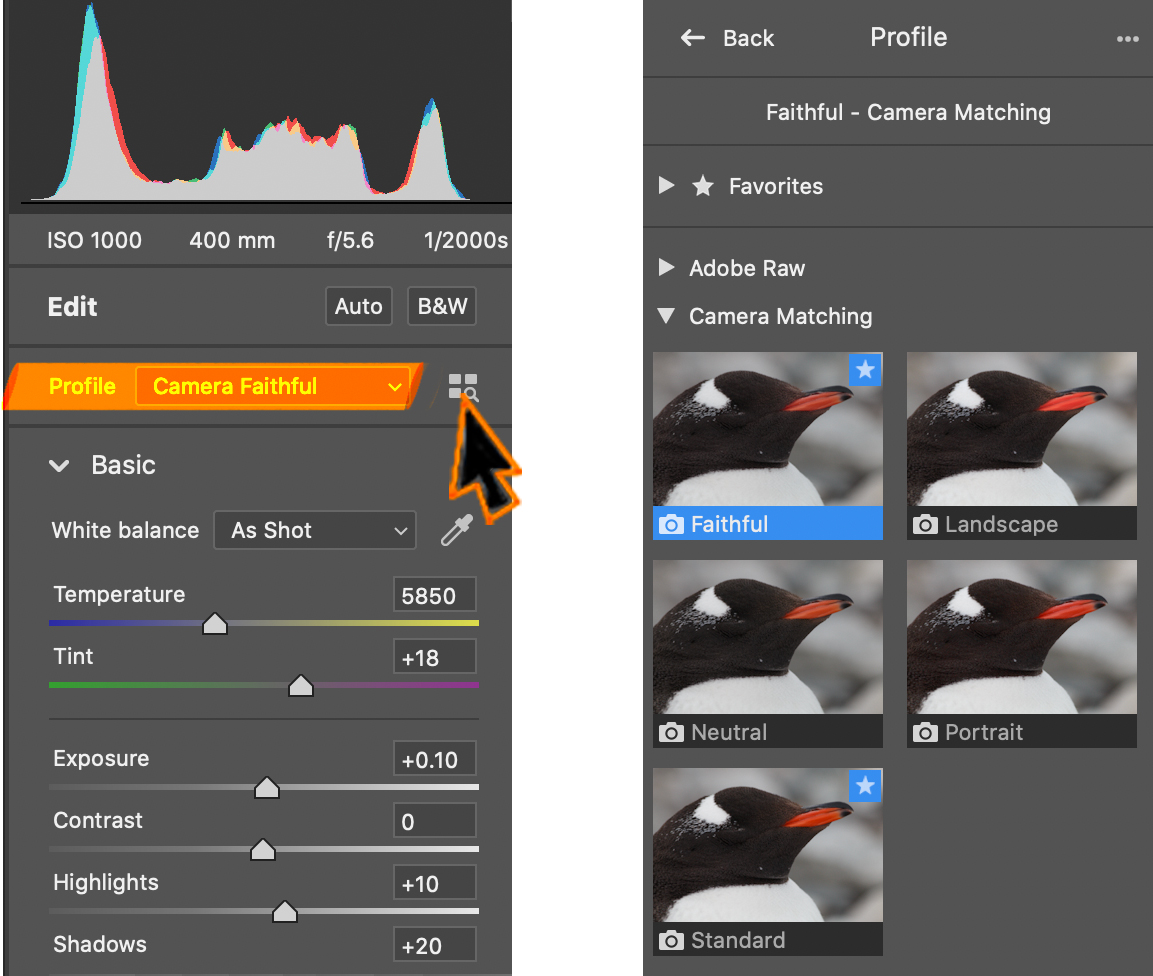
In this week’s free Deke’s Techniques, Deke considers an older but often updated feature in Camera Raw (and Adobe Lightroom), the Camera Matching profiles.
These settings work directly on your raw images, but give you a “jumping off” point for developing them by creating something like the JPEG you might get directly from your camera when it uses all the on-board camera processing. Except you still get to work with your raw image, so you’re still the one in control.
You choose the profile from the basic tab, after which you can set Favorite profiles from the list that your specific camera supplies. For instance, here are the choices Deke had for his Canon 70D.
Do I sound vague? Well, perhaps my brain is frozen. Or perhaps this is just one of those quick and useful videos where it pays to just sit back for a second and listen to Deke.
Deke’s Techniques, because sometimes, it’s easiest just to listen to Deke!


Comments