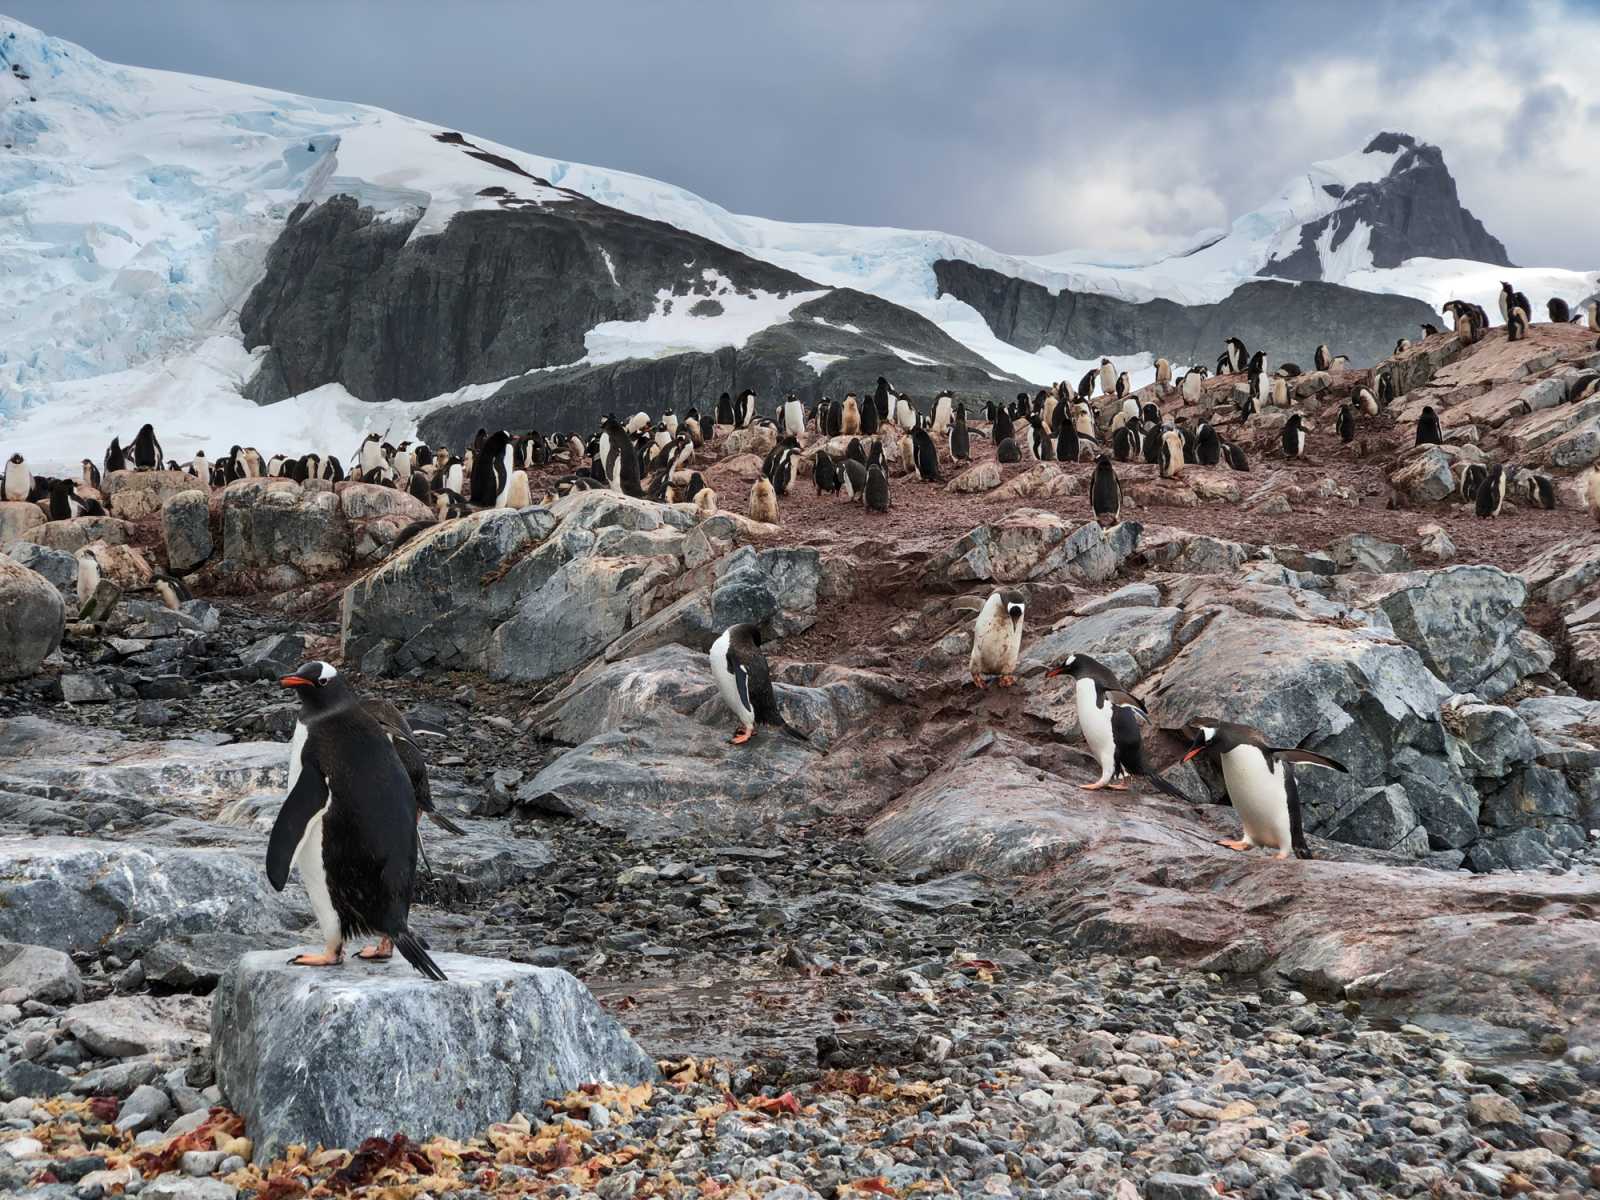
Hello, my dear dekeArcticans. In this week’s free Deke’s Techniques episode, Deke shows you how to combine two versions of an iPhone (or Android) photo—the raw and the jpeg—to get the best of both worlds (or the best of the bottom of the world in this case).
The raw version gives you greater flexibility of developing whereas the jpeg version gives you the most instagram-ready processing. In the case of these penguins, each version had some value to contribute.
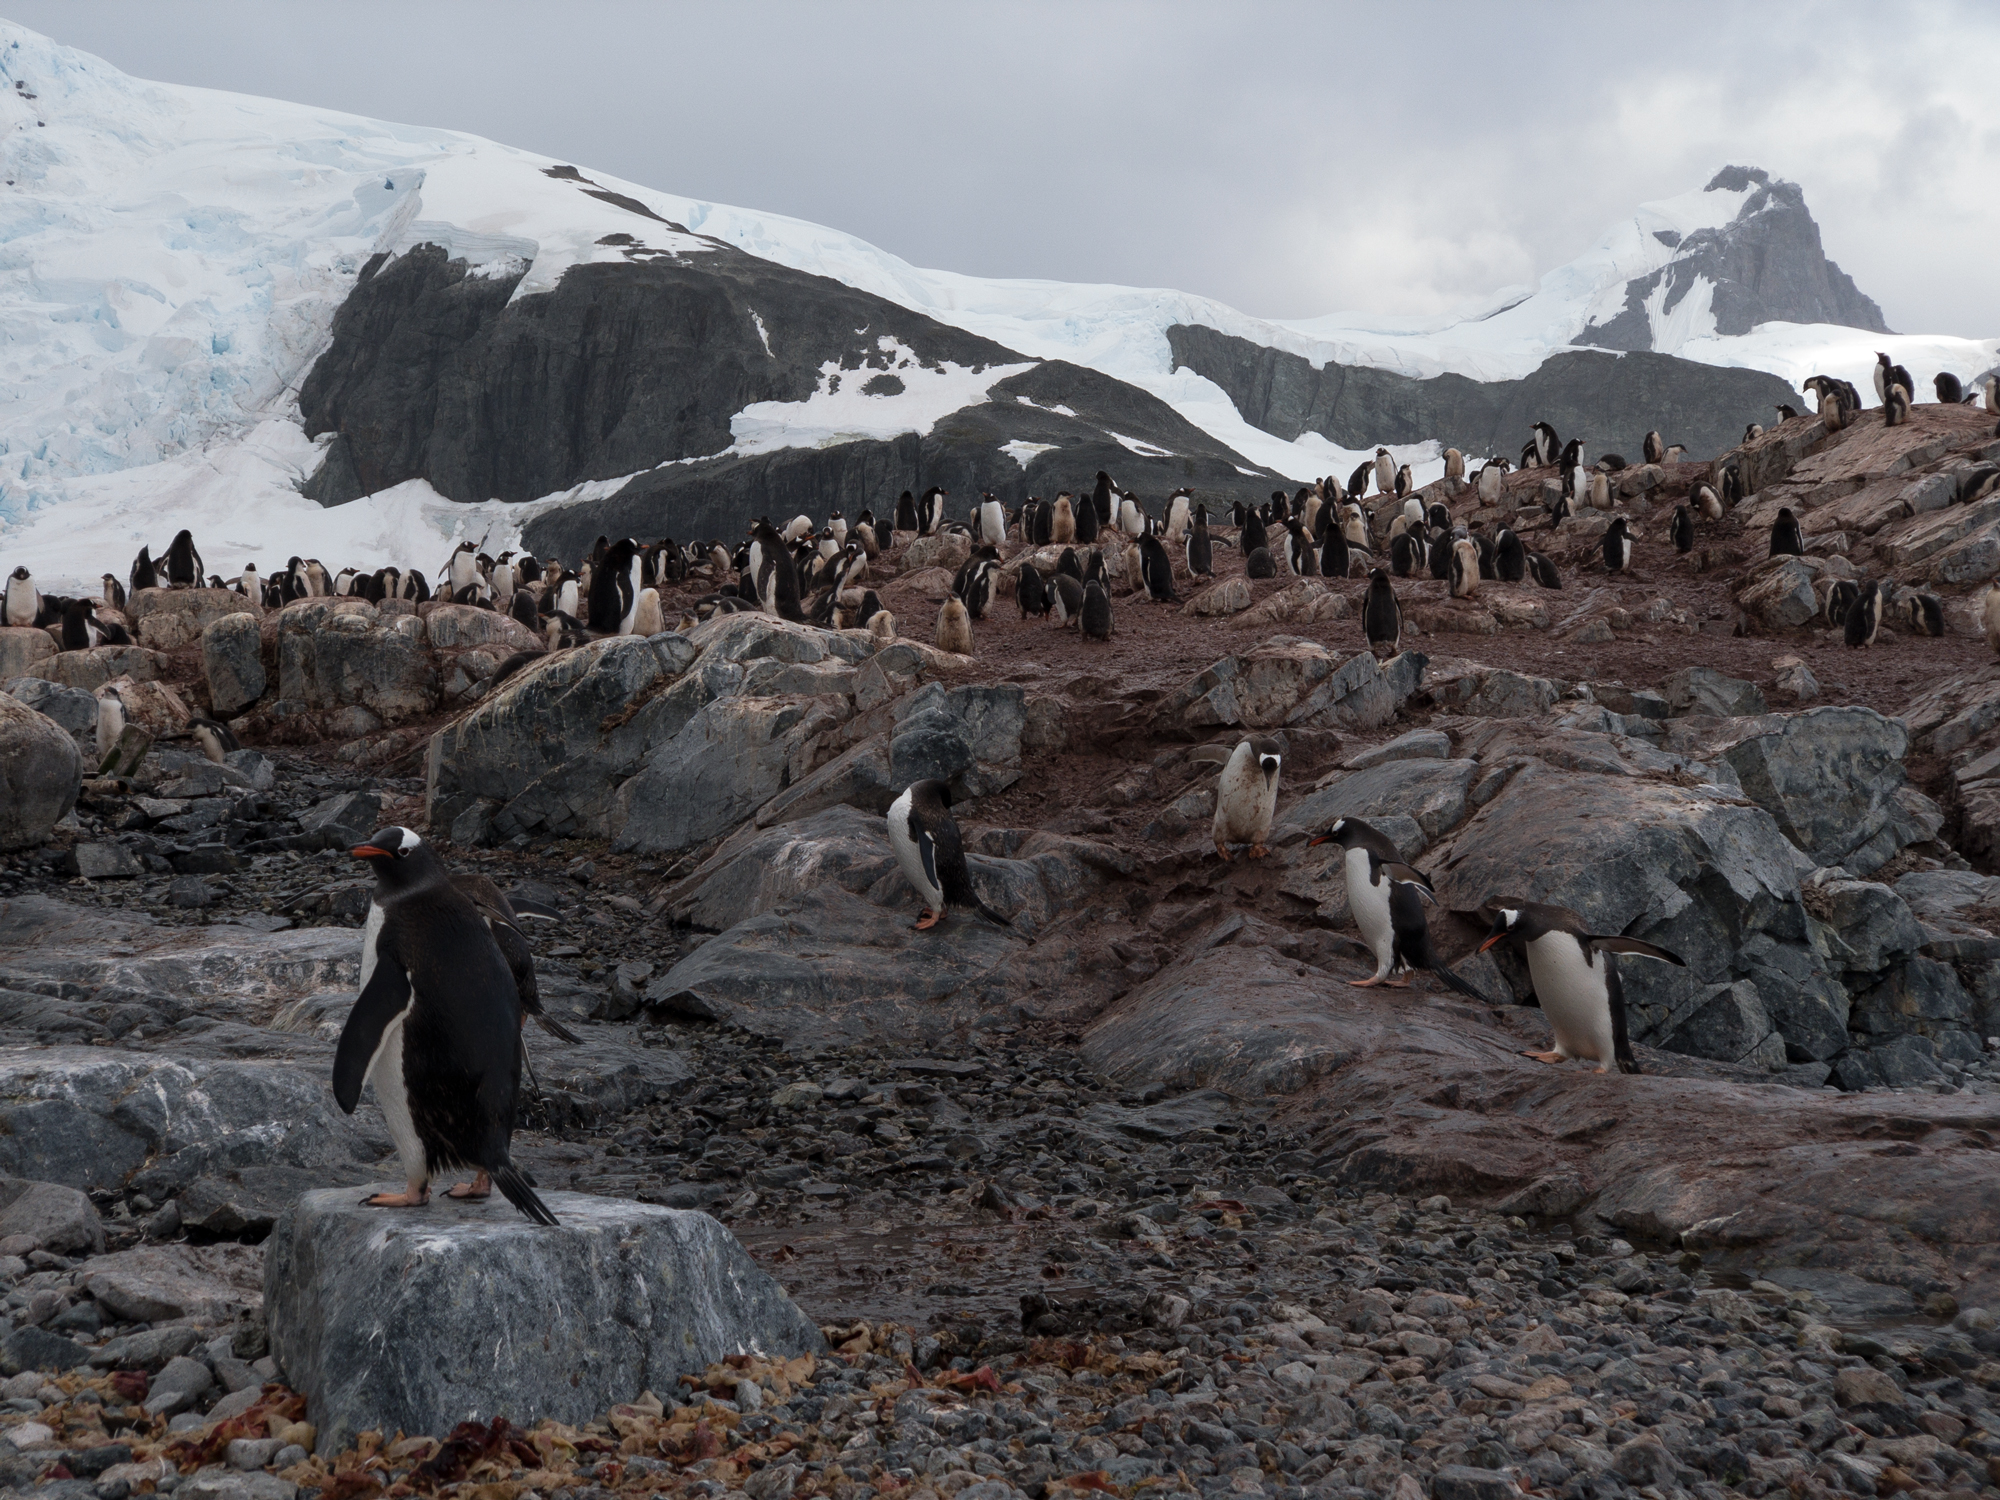
The raw version—shot with Deke’s favorite third-party camera app, Halide—is murky in the foreground (where the all-important penguins are) but has better detail options for the sky and the rocks on the horizon.
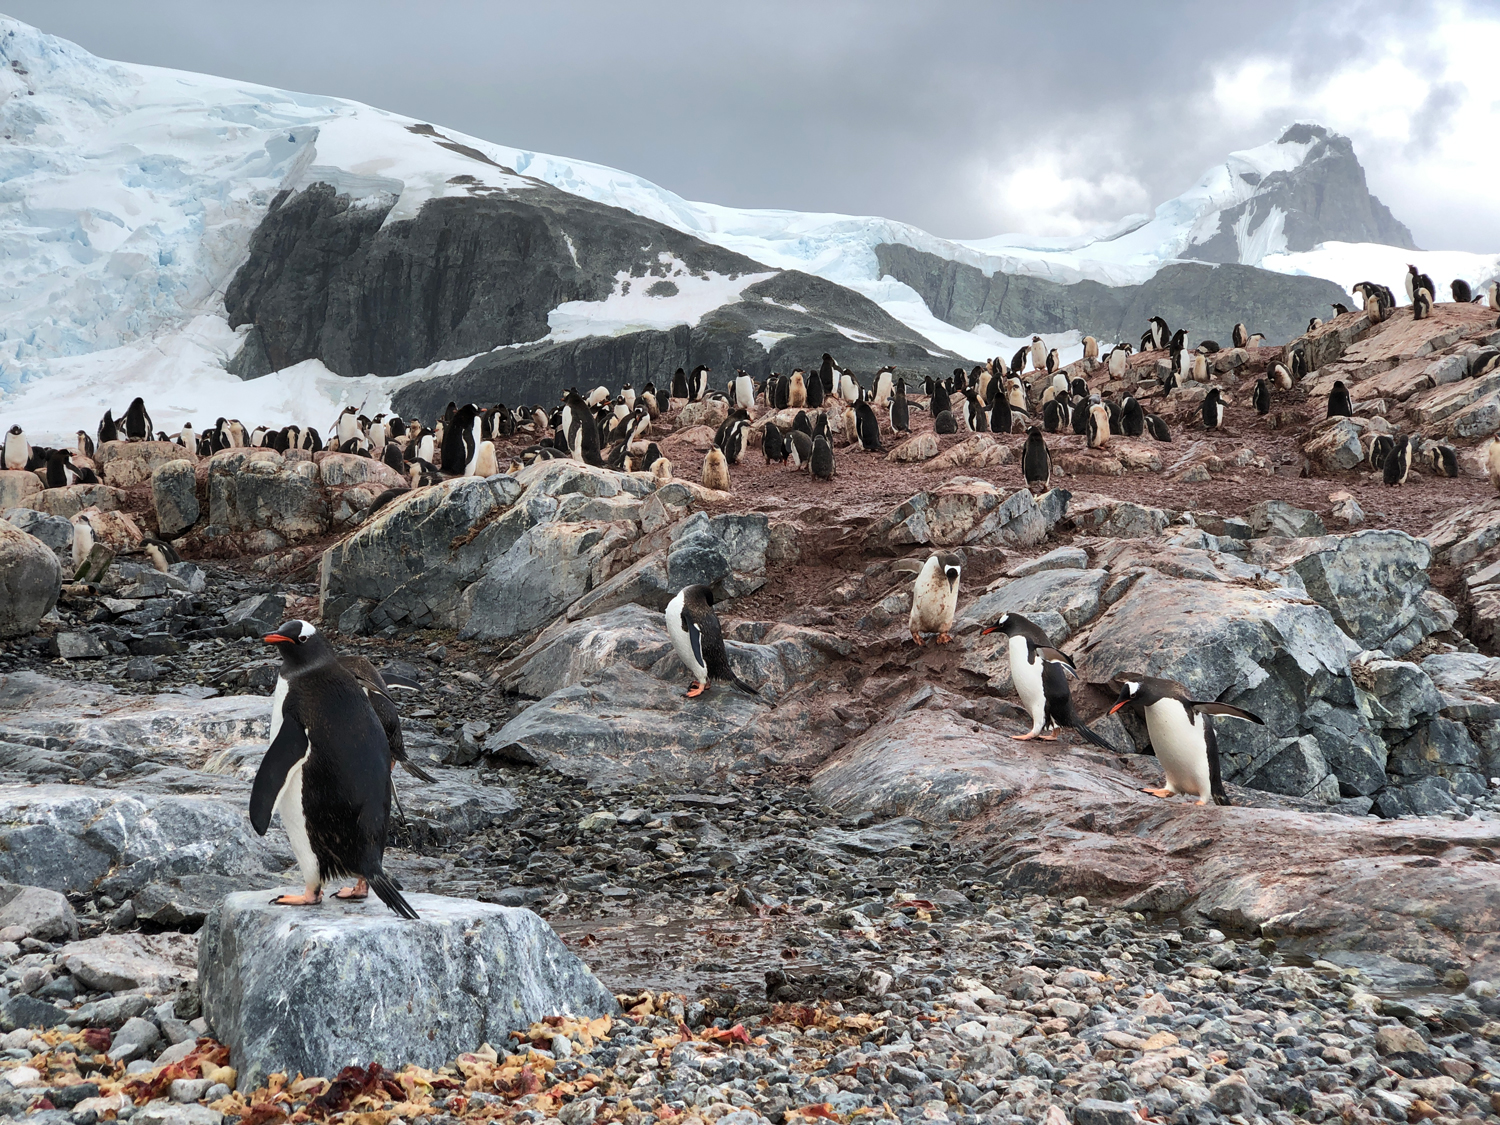
Whereas, the jpeg version has a crisp ,well-lit gentoo penguin in the foreground, but has some blown highlights in the sky.
Because Camera Raw (Lightroom) don’t currently have camera matching profiles like we talked about last week for iPhone or Android, in order to get the results you see up top, Deke mixes the two and, you guessed it, uses a good old fashioned layer mask to take the best parts of each.
If you’re a member of LinkedIn Learning, then Deke’s got an exclusive follow up movie in which he shows you how he made adjustments to the raw version so that the details were as smooth as the JPEG.
Deke’s Techniques, to the ends of the earth and beyond.


Comments