
In this week’s free Deke’s Techniques episode, Deke shows you how to meticulously stitch together two component scans in Photoshop to form one meticulous piece of artwork.
And meticulous is what my grandfather, Harvey Wheeler, who designed this brochure strove to be. You can see the careful blue lines and correction marks all over the original scan.
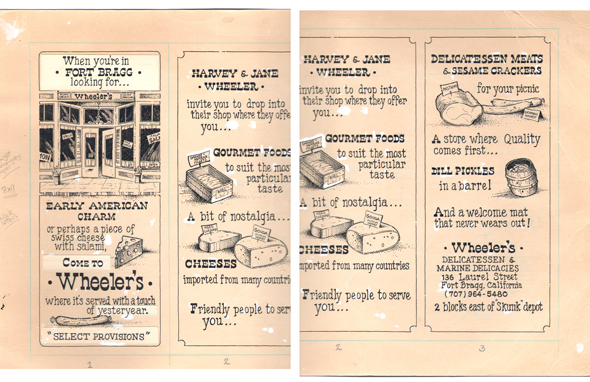
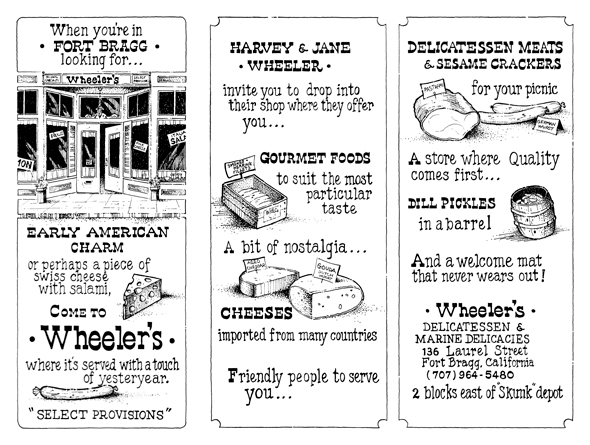
Deke uses a combination of Photoshop’s Auto-Align Layers and Auto-Blend Layers to start combine the two scans. Then he repairs the seams, applies the Channel Mixer to even out the tones, and uses a Levels adjustment to further fine-tune.
The result is a final artifact worthy of Harvey’s attention to detail (although I have personal nostalgia for the marked up original, of course).
Just looking at it brings back the sound of the jingling bell on the door and the amazing smell of exotic (to me) meats and cheeses.
If you’re a member of Lynda.com, Deke’s got an exclusive movie this week in which he shows you how he non-destructively provided a perfectly uniform trim around the artwork without clipping a single pixel of the original. It’s a cool trick that takes advantage of both the Magic Wand and Photoshop’s Crop tool.
Deke’s Techniques, restoring yesteryear with delicious precision.


Be the first to drop some wisdom...