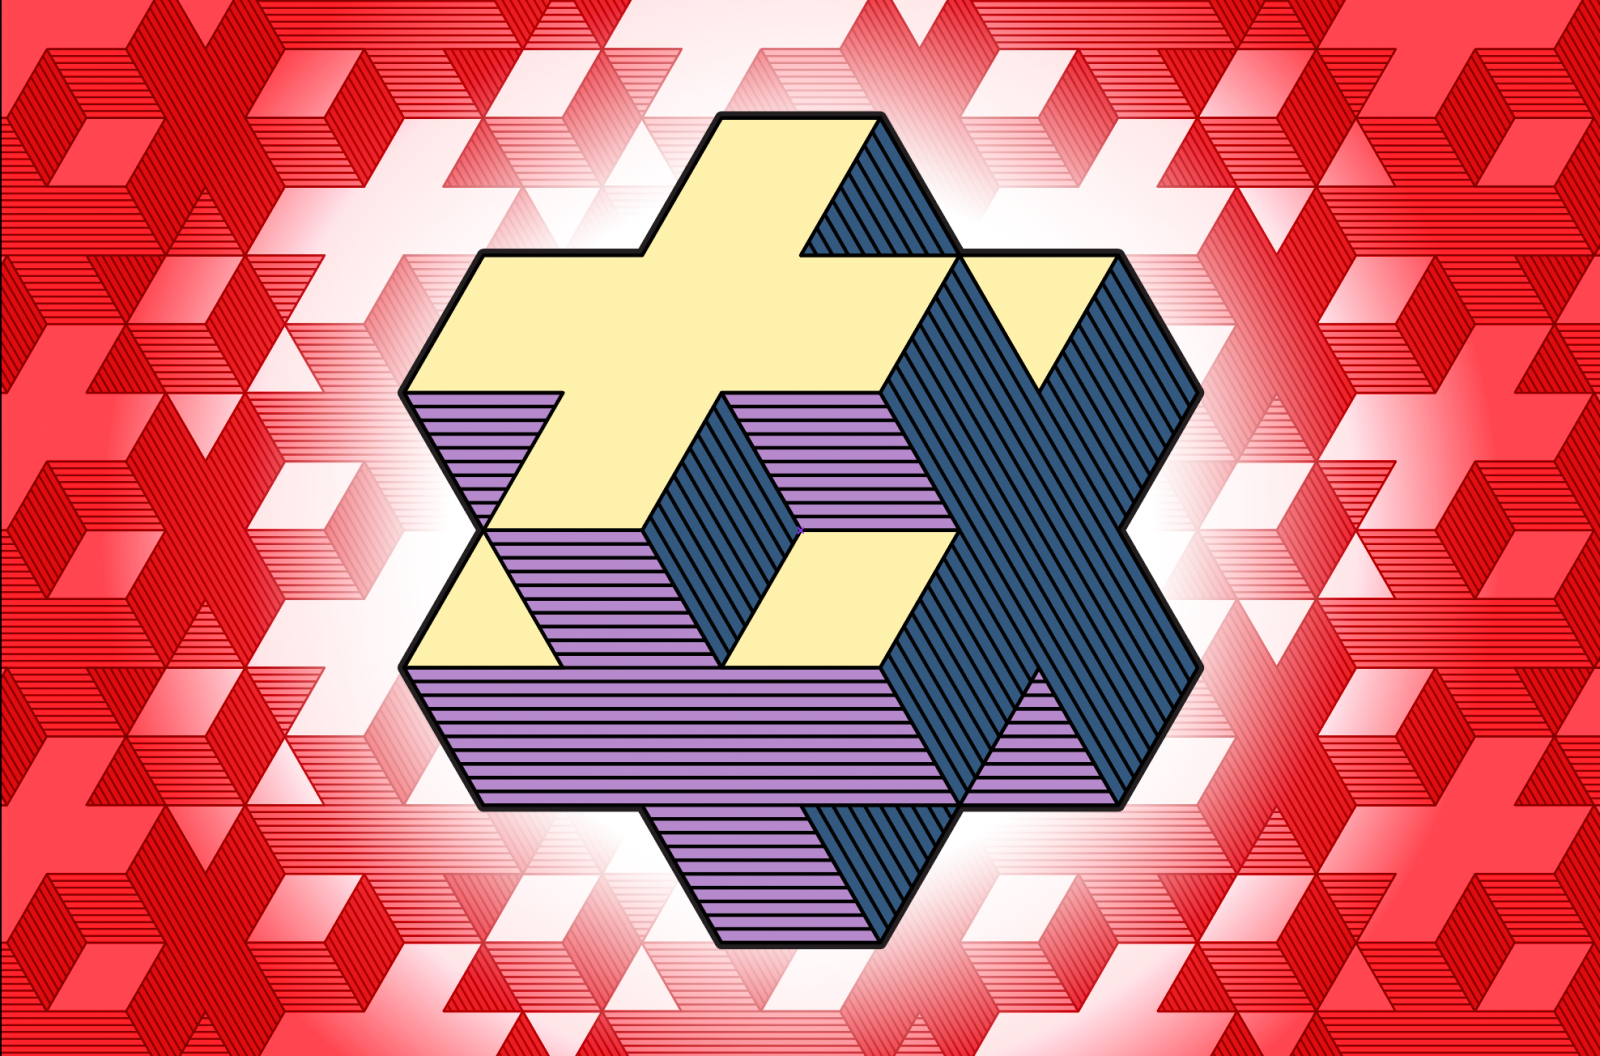
My fellow dekeArians, in this week’s free Deke’s Techniques episode, Deke takes a slight detour from the endlessly repeating summer in order to bring you some really great dekeStruction on using blends in Illustrator to make striped sections on the faces of his “gobstopper” cube-like object.
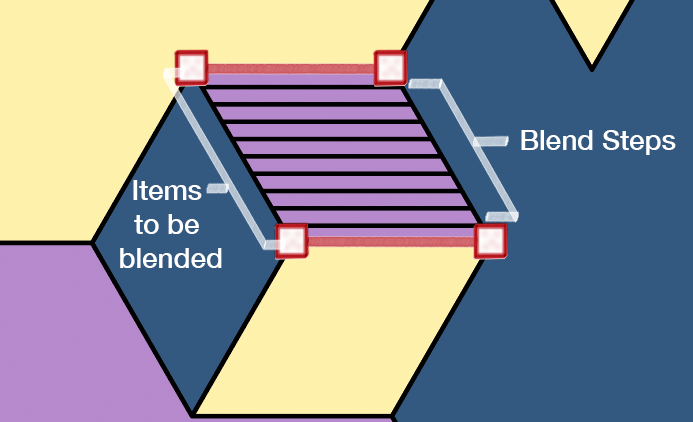
For those of you who have not heard me explain several times before, I think the most inexplicable thing about the thing called “blends” in Illustrator is that they’re really incremental calculations between two objects (as opposed to any other artistic context in which I would use the word blends.) So, in this case, Deke uses a blend to “draw” all the stripes between the two lines that demark the area he wishes to enstripen. (Guess which of those words I made up?)
Here are some key tasks covered in the video (and their itinerant time stamps):
- How to initiate a blend between two lines and some handy troubleshooting tips (2:13)
- How to adjust a blend with “stacked” endpoints in order to cover a triangular area (5:29)
- How to use the Draw Inside mode to create a clipping mask for your lines when they’re supposed to live inside a complicated shape (9:00).
And if you’re a member of LinkedIn Learning, Deke’s got an exclusive movie this week in which he helps you apply this “blend striping” effect to the pattern at large (which presents its own challenges).
Deke’s Techniques, a delicious blend of math and enstripedness.


Be the first to drop some wisdom...