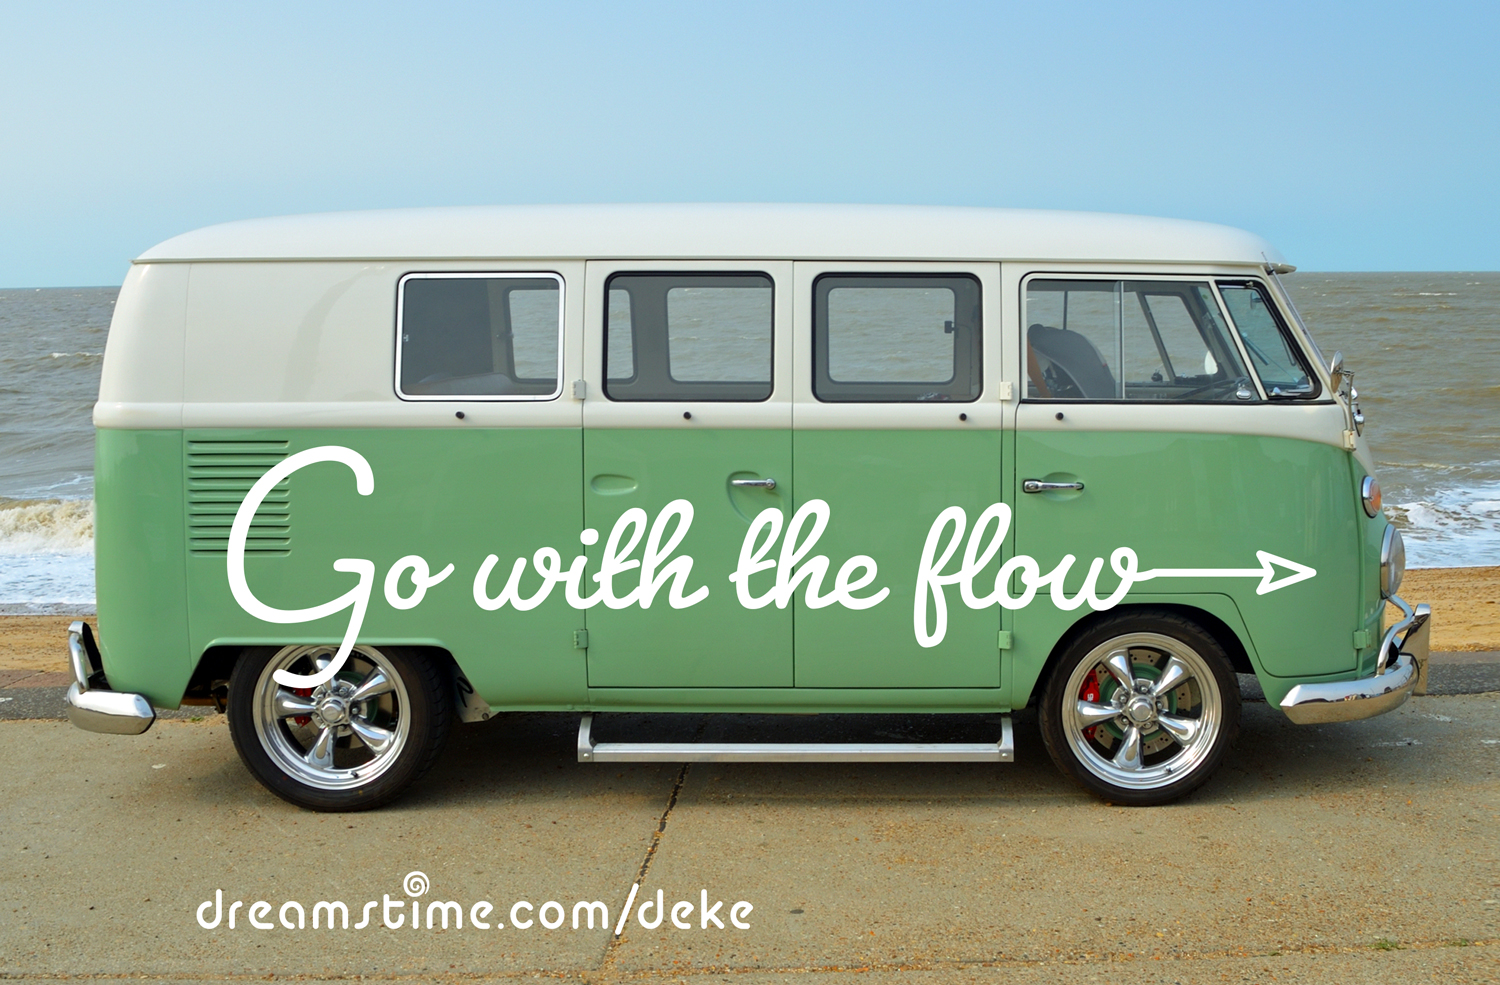
Greetings, dekeDudes and Dudettes. In this week’s free Deke’s Techniques episode, we return to “painting” some feel-good type onto the side of a pixel-based van photo.
If you recall, we left off last week with some vector-based type text set in Pacifico with a quasi-dynamic arrow appended courtesy of Photoshop’s updated line tool applied a VW van photo courtesy of our friends at Dreamstime.
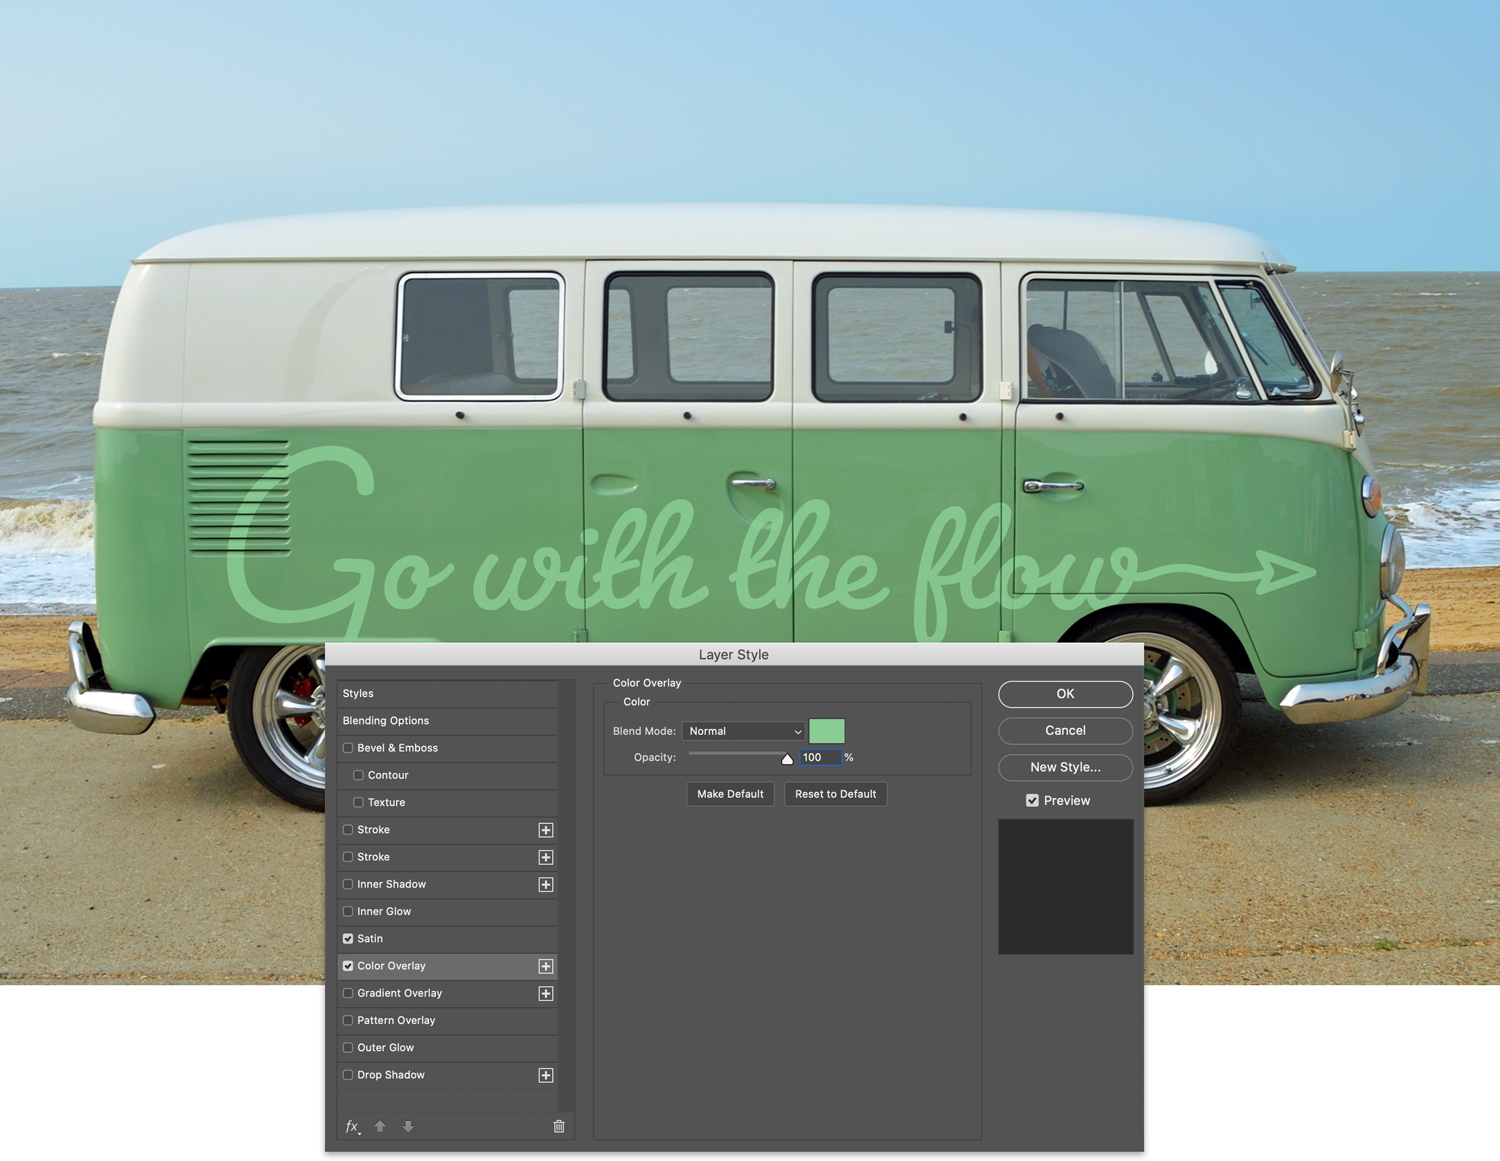
To get the vectors and pixels working in sync, Deke starts by applying some blend specifications from the Layer Style dialog box, so that the words are properly broken up by the lines of the vehicle, and “fall in” to the shadows created by the door panels.

Next, he uses a color overlay, to further blend the “paint” in with the existing green of van.
And finally Deke uses some key masking tips and tricks in order to make a faded arrow in front and a curtailed giant letter G in the back.
If you’re a member of LinkedIn Learning, then Deke’s got a follow up movie in which he shows you how he gave that arrow the proper graceful curve to the arrow shaft in order to fit with the mood of our laid back van lifestyle.
![]()
Deke’s Techniques, kicking back, hoping one day to return to the ocean in real life.


Be the first to drop some wisdom...