
In this week’s free Deke’s Techniques episode, Deke shares a way to use the (relatively) new Dehaze filter in Camera Raw/Lightroom for fixing uneven shadows a family portrait.
My guess is that most people think of the Dehaze filter primarily for, well, removing hazy light from landscapes as Deke initially demonstrates in the video. But it turns out that Dehaze can be efficiently useful for quickly balancing out the inevitable shadow issues in a group shot.

It’s not that unreasonable or uncommon for the shadows in a group portrait to vary throughout the portrait. Fone thing, it would be boring for everyone to have their head at exactly the same angle with respect to the light source(s). And, you know, each person casts their own unique shadow. By applying Dehaze, in one move of a slider, Deke balances out the shadows and makes this notable improvement:

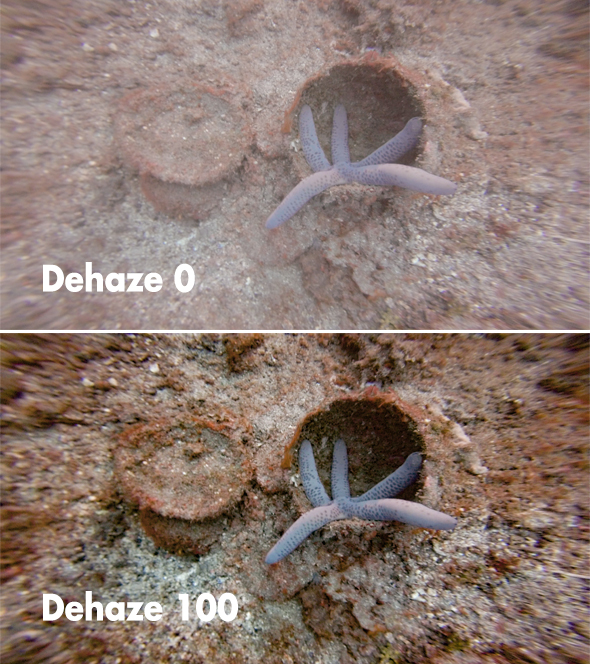
Personal aside: I’ve noticed that Dehaze is a great first strategy for underwater photos. Check out the difference between a Dehaze 0 and 100 on this sea star I found lolling about in a mucked-over discarded container in the Lembeh Strait.
Deke’s Techniques, clearing the haze in your images and your mind!


Be the first to drop some wisdom...