
In this week’s free Deke’s Techniques episode, Deke shows you how to increase the photorealism of last week’s Illustrator-created neon sign inside Photoshop.
The technique centers around using the Illustrator file as a smart object (or two) inside Photoshop, thus allowing for much more flexibility than your standard real-world sign made of gas and glass.
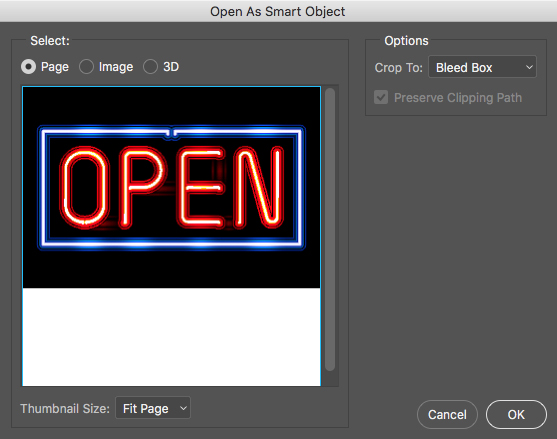
To start with, we’ll open last week’s file as a smart object inside Photoshop:
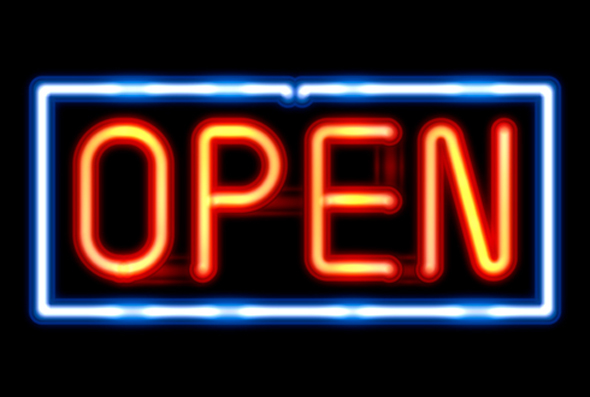
After making some resolution tweaks, Deke saves off a copy for later in the Layers panel and begins work on the initial layer by applying the Gaussian Blur filter and using the Screen blend mode:

Next, he takes the second copy and adds a Field Blur filter with a dose of underlying layer lighting manipulation:
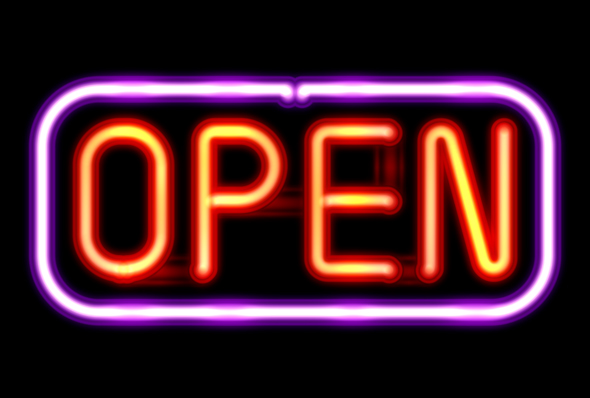
Finally, he returns to Illustrator (via the either of the smart objects) and changes the shape using the Round Corners dodads and the Recolor Artwork feature.
Deke’s Techniques, lighting your world with colored gasses every week.


Be the first to drop some wisdom...