
In this week’s free episode of Deke’s Techniques, Deke shows you how he created these rivets for our triceratops logo completely out of thin air with the help of Adobe Illustrator.
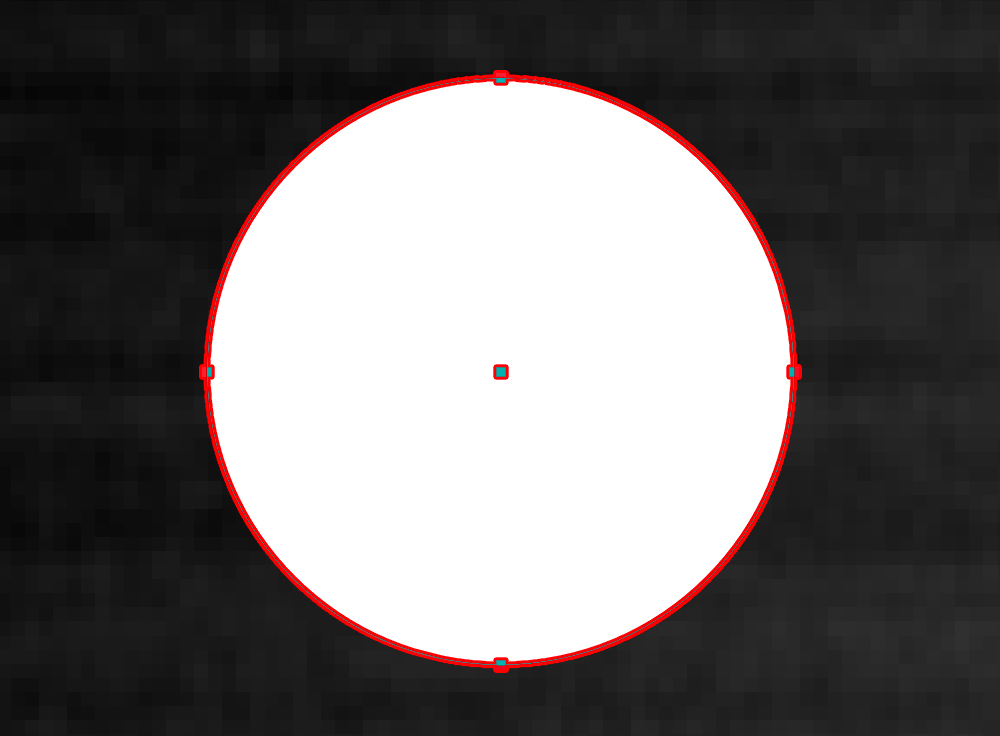
He begins with a small, unassuming, unsuspecting circle.
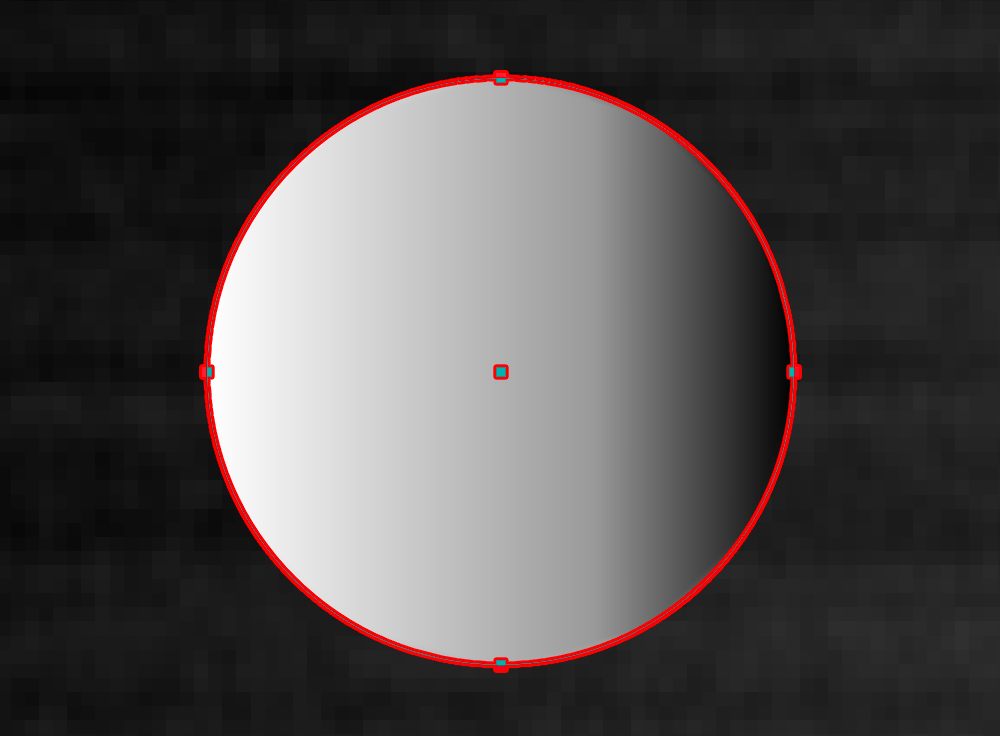
To which he adds a gradient lifted from the brushed metal background he created last week, and then customizes.
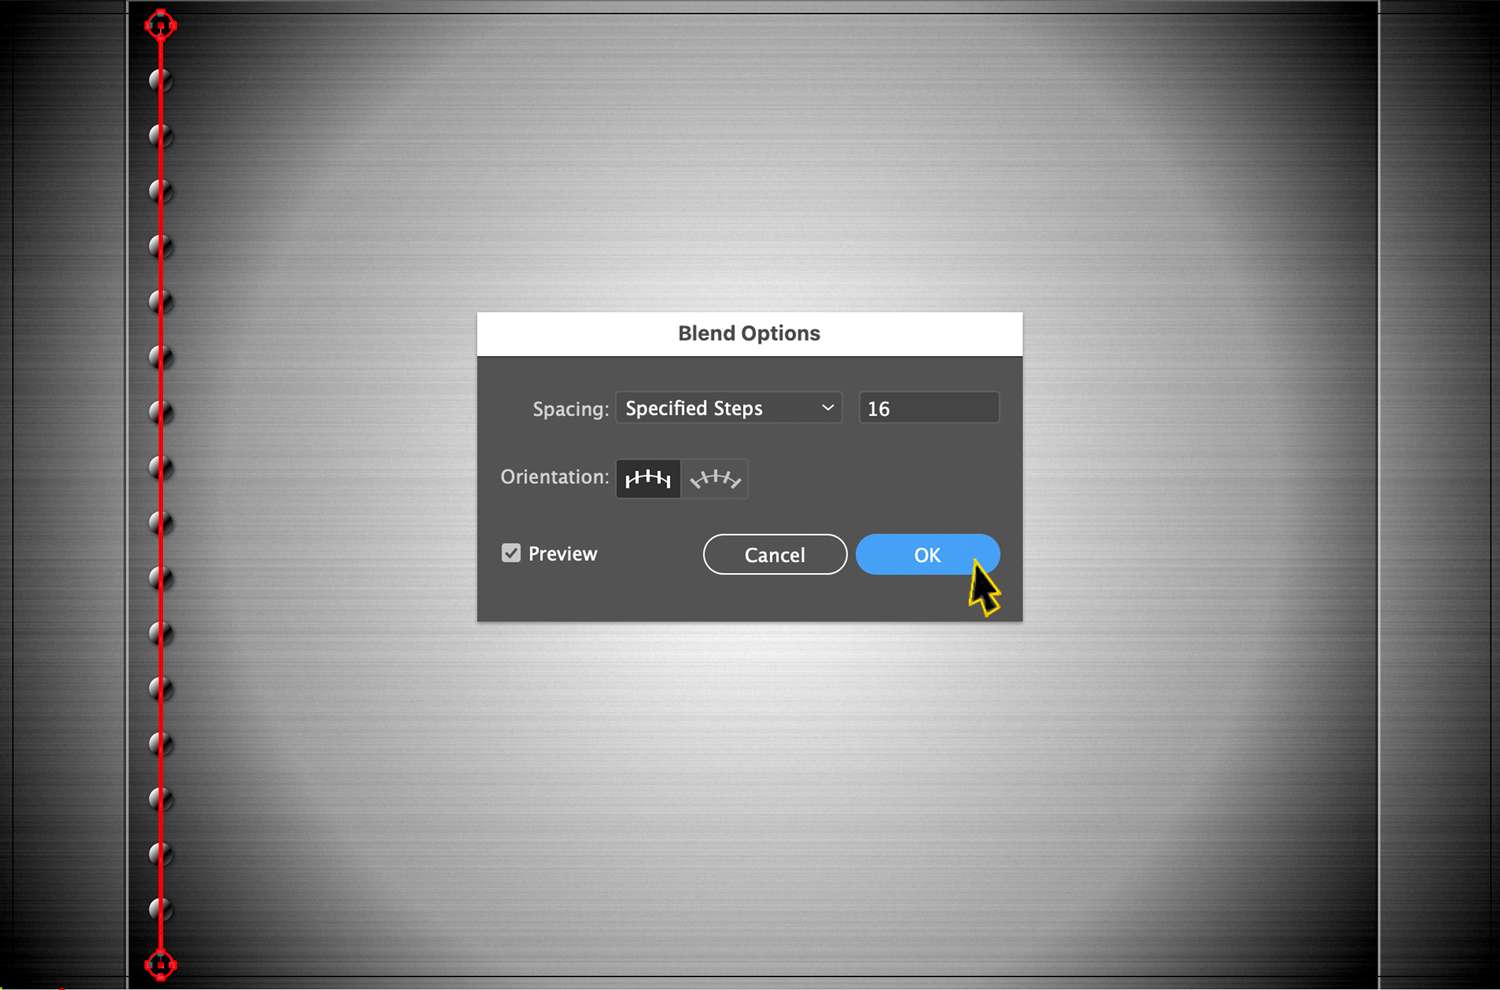
Next, he duplicates the lone would-be rivet to the bottom of the document, then uses Illustrator’s Blend option to create a whole line of duplicates.
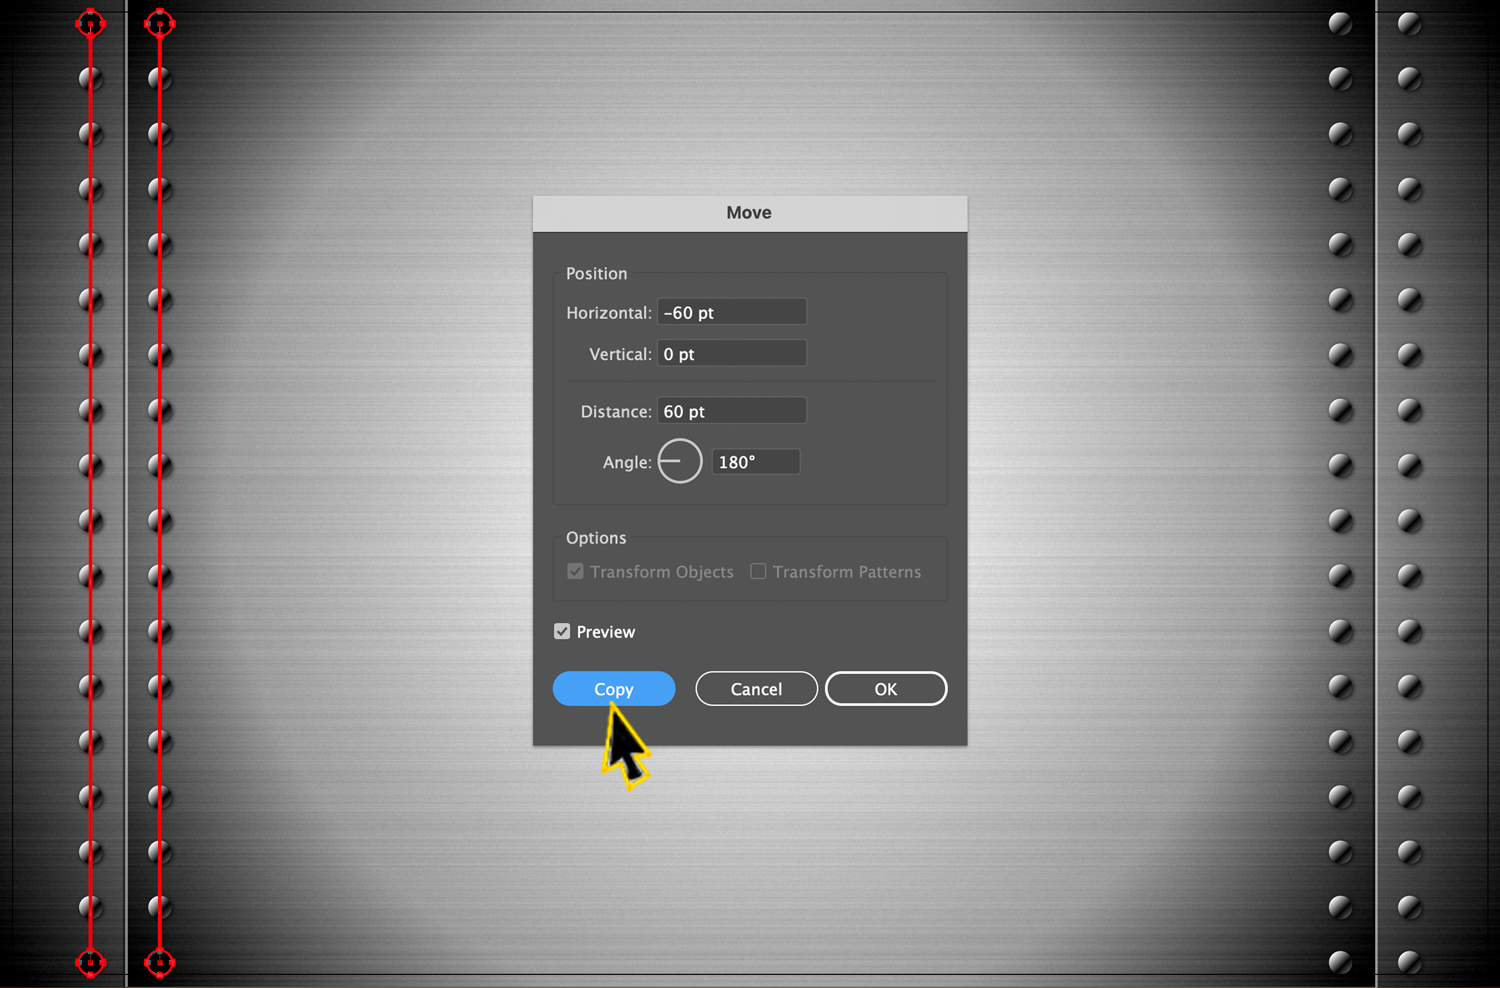
Finally, he uses the Move/Copy capabilities in Illustrator to create rivets for all four edges of brushed metal. A suitably strong and fierce backdrop for our triceratops logo.
If you’re a member of LinkedIn Learning, Deke’s got an exclusive follow-up tutorial in which he shows you how to apply a gradient inside the object blend in Illustrator in order to have our rivets match the light reflection of the background.
Deke’s Techniques, this is where I make a joke about it being riveting! It’s true.
P.S. if you’d like to experiment with Deke’s exercise files, I’ve attached them below.
Related downloads
- Exercise Files for Deke's Techniques Episode 989 and 990
- Log in to download these files.


Comments