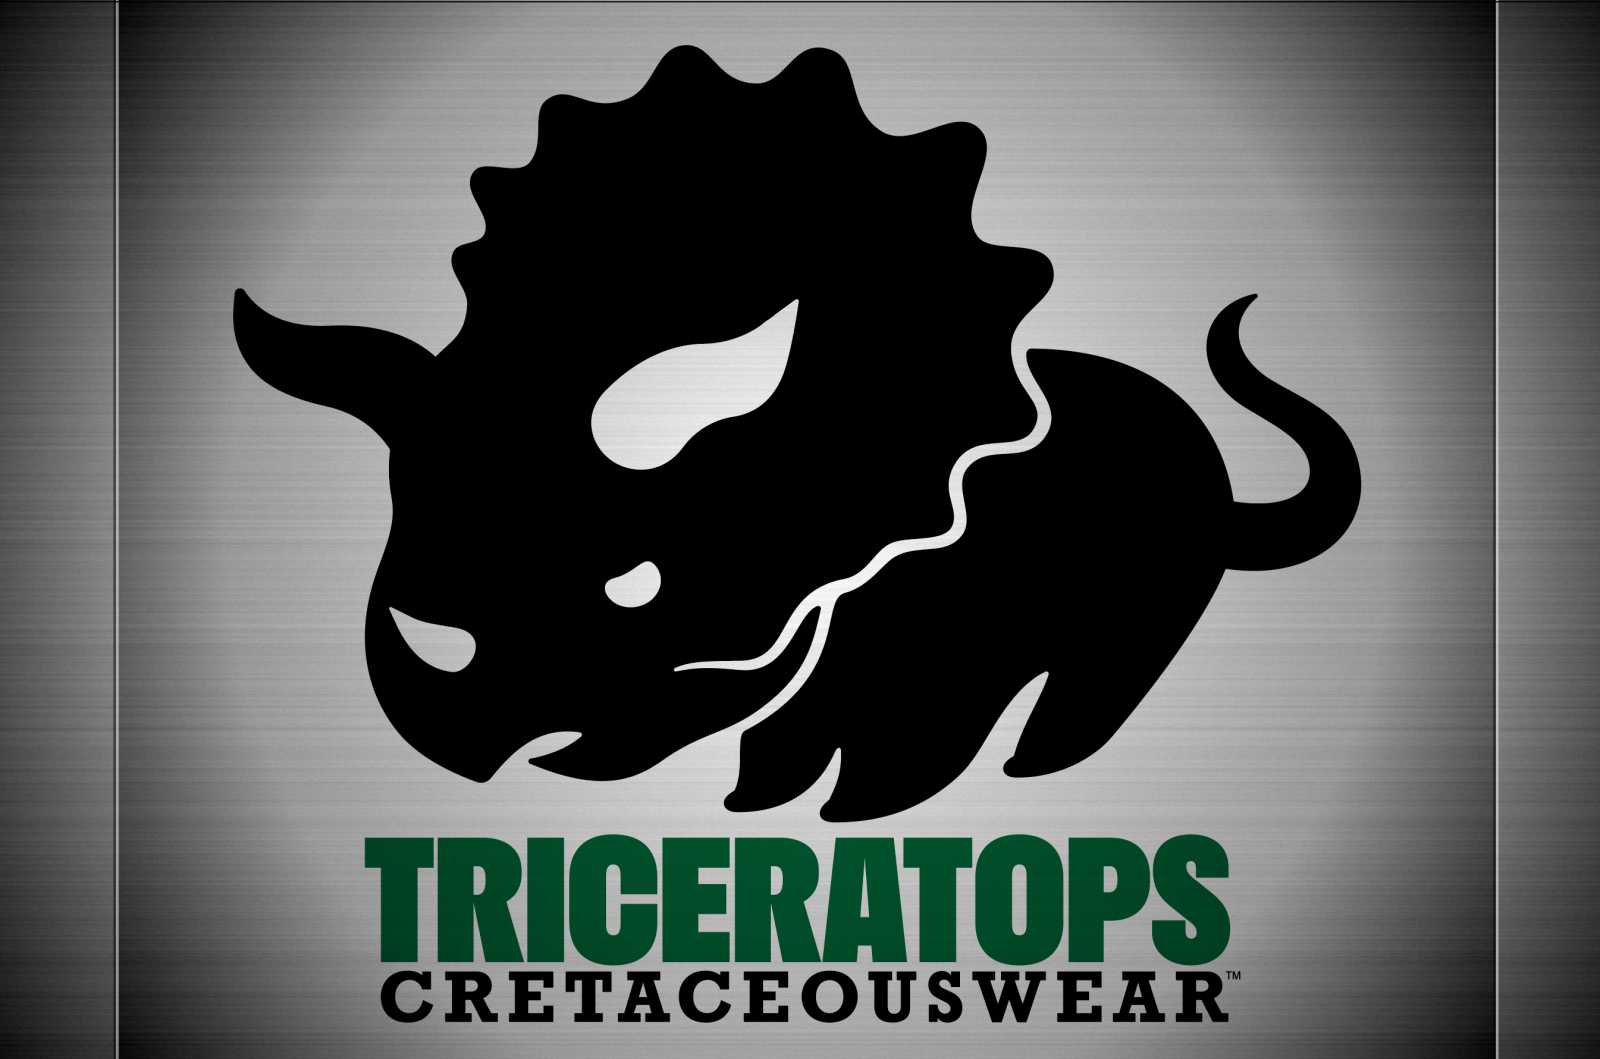
Greetings, my dekeEratopses. In this week’s free Deke’s Techniques episode, Deke shows you how to make a brushed metal background in Adobe Illustrator. You can see it above in service of providing a suitably strong background for our fierce (but adorable) triceratops logo.
Yes, Deke has, in fact, several hundreds of episodes ago, created a brushed metal (type) effect. But that was in Photoshop and about nine-hundred years ago.
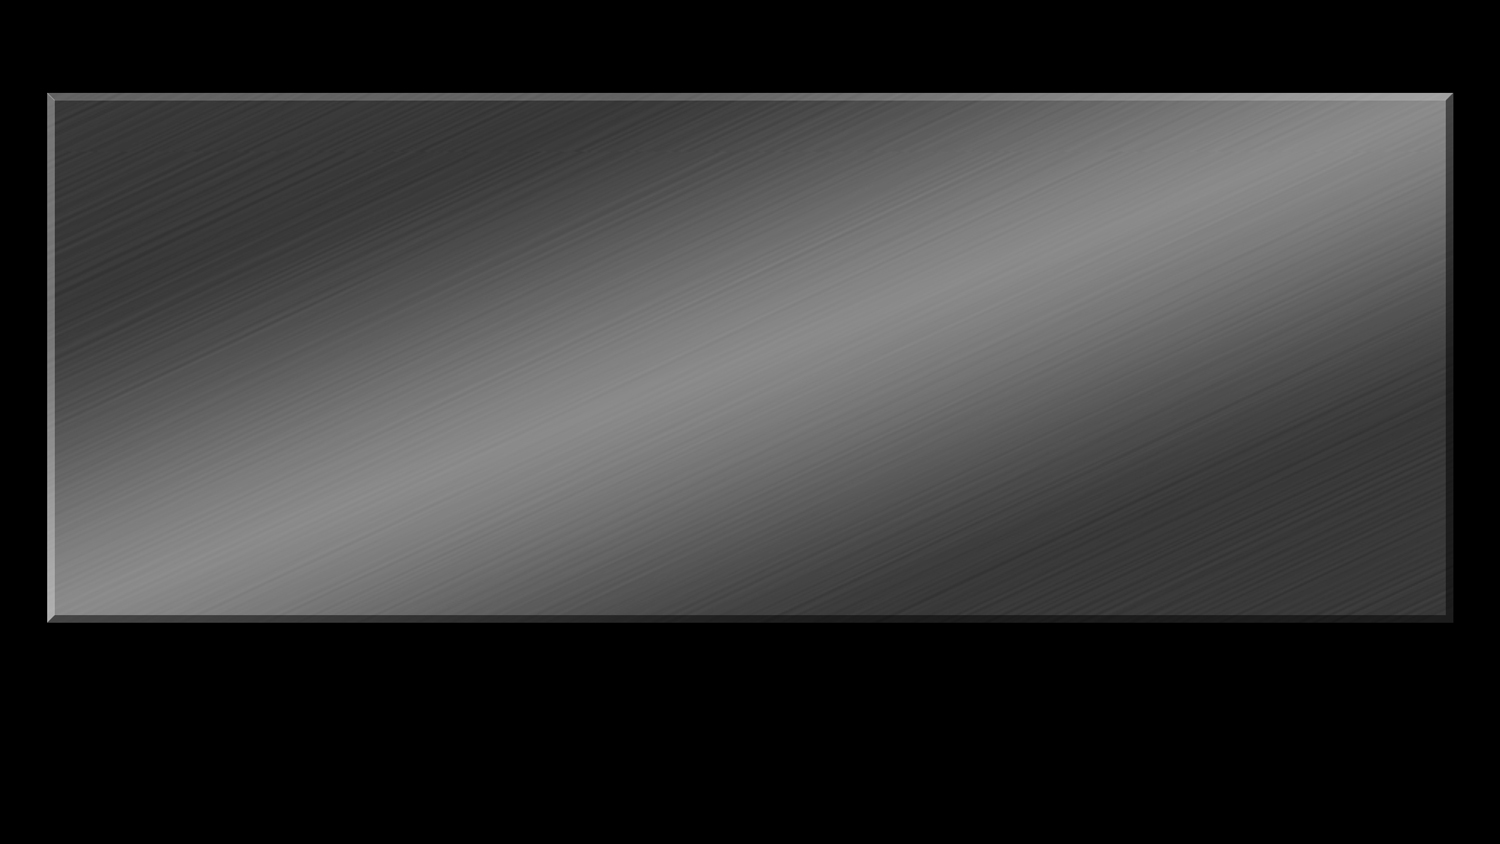
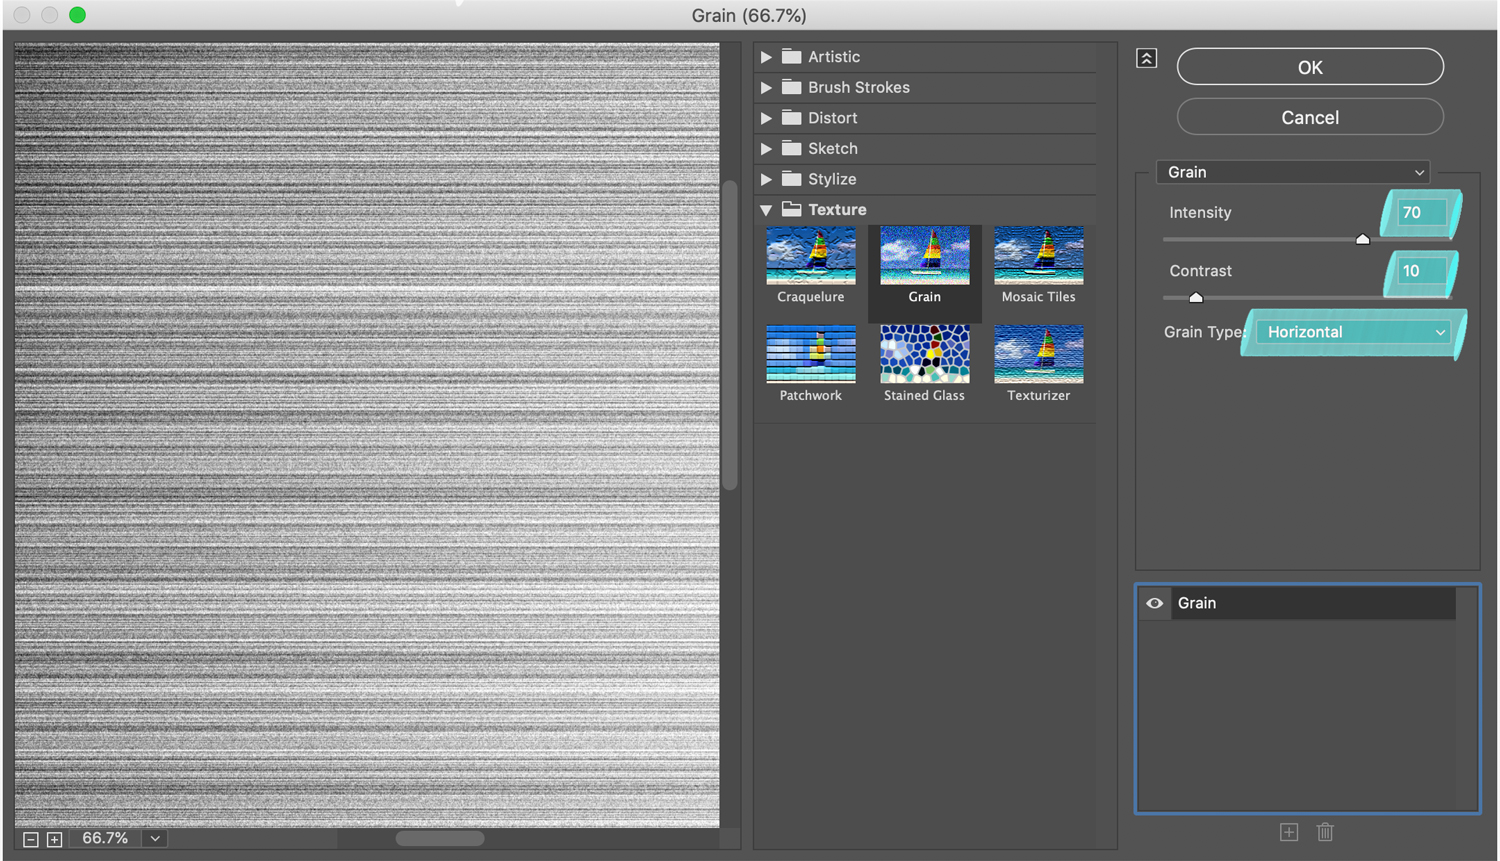
This time, the brushed metal is the product of a gradient and a Grain effect. While the gradient is just your standard monochrome custom gradient, definitely check out the 3:36 moment in the movie where Deke explains the four different cursors you might get when you’re editing a gradient: Arrow (the one you want), finger, rotate, and crosshair (the ones you don’t).
For the grain effect, you’ll find it under Effect > Texture > Grain. (It’s not under the Stylize submenu as Deke accidentally says in the video.) Set thusly, it gives you the effect you’re looking for here.
Next week, we’ll see how to rivet this brushed metal to our vehicle for our drive through Cretaceous park.
Deke’s Techniques, protecting your assets with digitally created faux stainless steel.


https://www.chinastreetlight.com