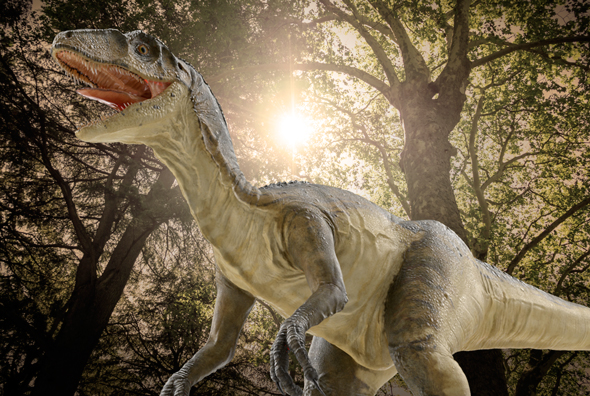
My daring dekeOsaruses, in this week’s free episode of Deke’s Techniques, Deke takes the 3D dinosaur model from PixelSquid that he showed you last week, and sets it down in a more appropriate atmosphere.
To adroitly acclimate him to his new environment, (is it really a “him,” it’s hard to tell with dinosaur models), Deke uses built-in lighting layers and layer masks—-provided with the file when you download it from PixelSquid—-to accurately adjust the creature by using Photoshop layer effects.
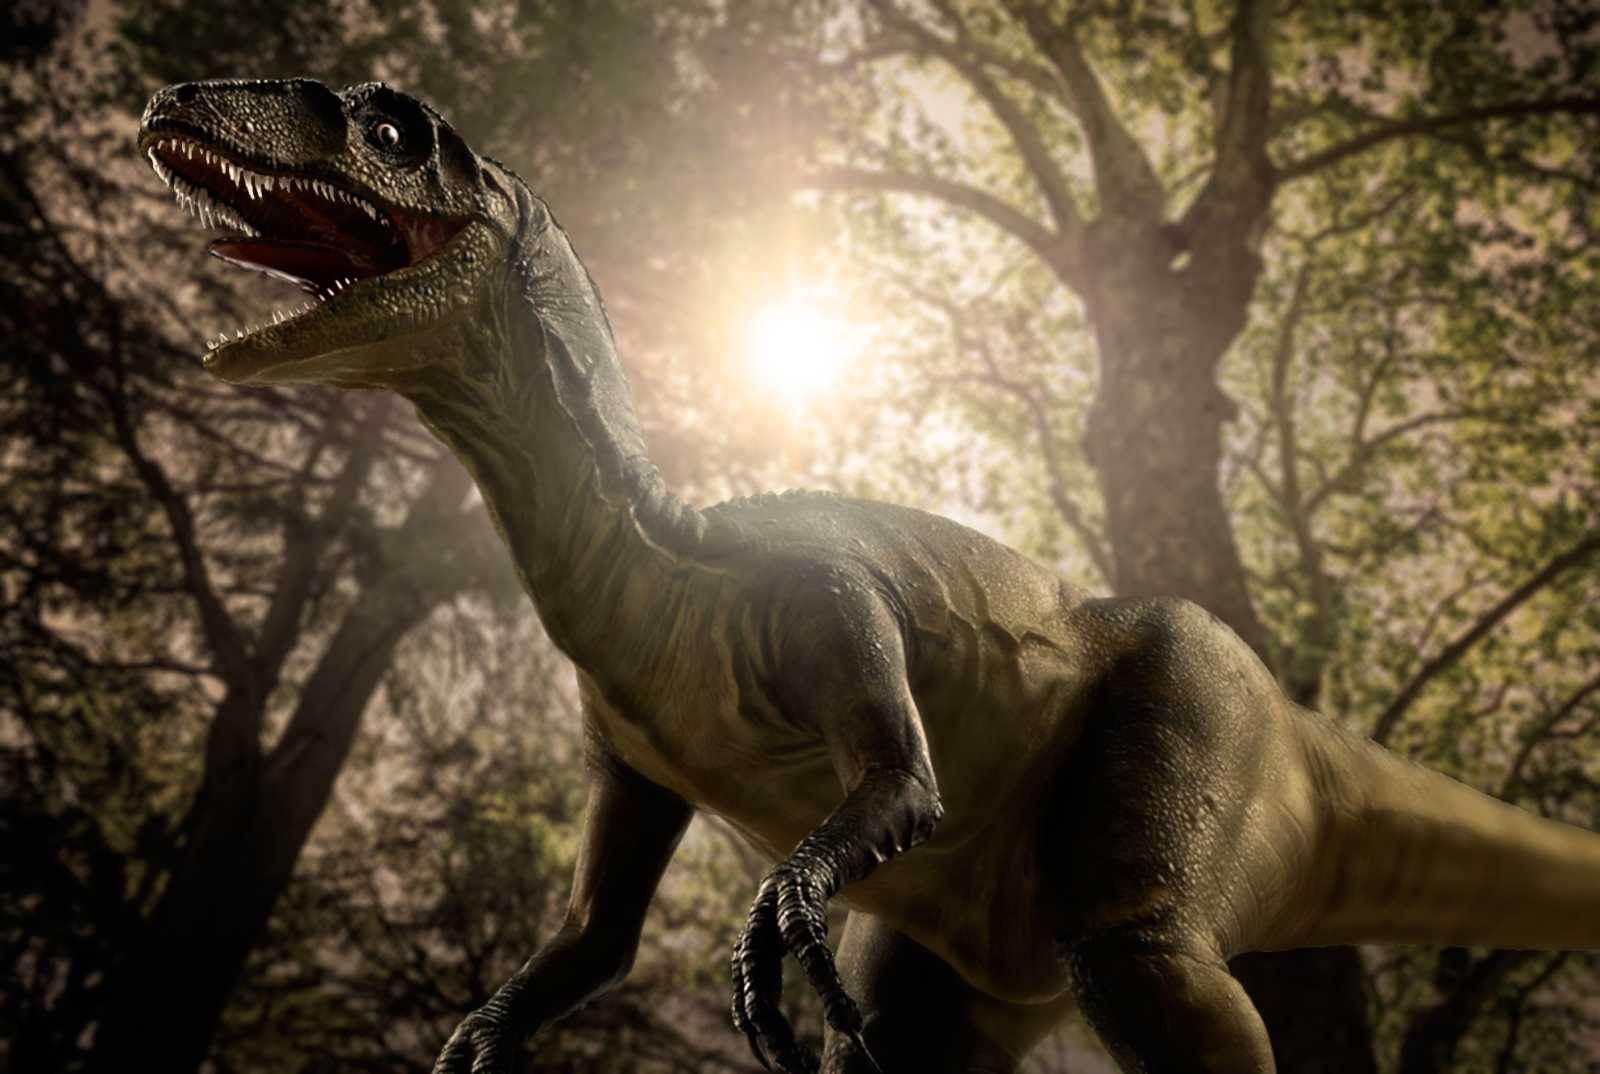
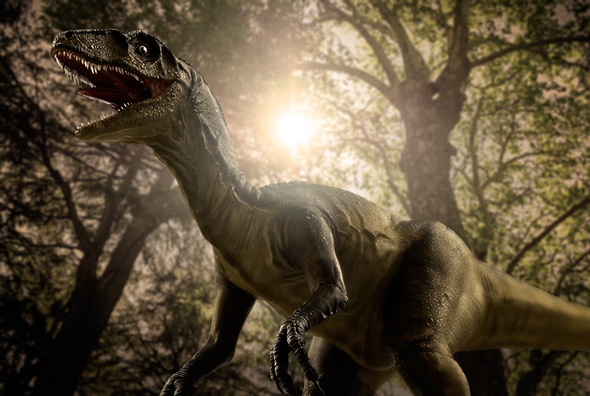
The result is that this:
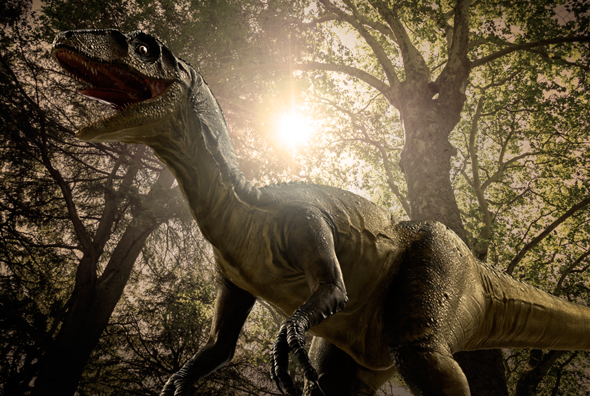
All accomplished by simply adjusting color and lighting that’s already built into the file by our friends at PixelSquid, who have provided no less than four different adjustable layers of light.
In other words, you get to do the fun part, because the tedious part has already been done. And playing with dinosaurs in Photoshop should be fun. (And at the moment, free as well.)
If you’re a member of Lynda.com, Deke’s got two exclusive movies this week. (If you’re not a member, you can get 10 free days at lynda.com/deke.) In the first, Deke uses built-in masks to brighten the eyes and teeth of the creature.
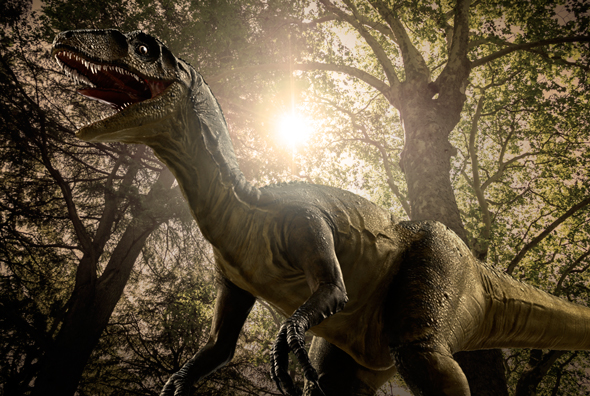
And in the second, he applies a blur to create depth-of-field, also facilitated by features PixelSquid has built into the file.
Deke’s Techniques, where you can play with Photoshop and dinosaurs at the same time!


Be the first to drop some wisdom...