
In this week’s free Deke’s Techniques episode, Deke uses the custom dual brush he perfected in the last episode to trace a path in order to create a rough-edged photo frame.
In case you missed it, here’s a random close-up splotch drawn with the complex and ever-changing dual brush Deke perfected in episode 470:
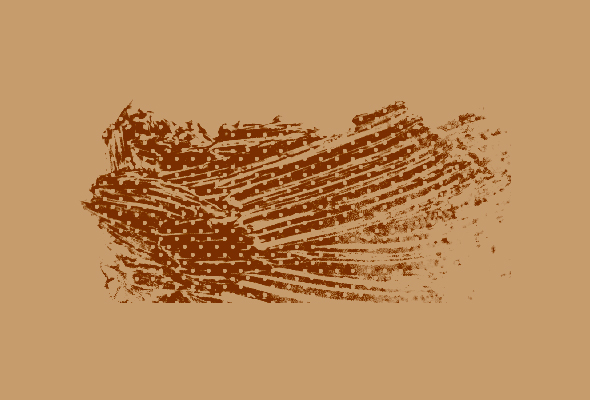
(Episode 470 is a member-exclusive movie. If you’re not a member of Lynda.com, you can get a free 10-day trial to check it out at lynda.com/deke. Alternatively, you can use your own textured brush or one of the Photoshop presets for this technique.)
For this week’s technique, Deke starts with the new (in Photoshop CC 2015) New Guide Layout feature, to perfectly position a path created with the Rounded Rectangle tool. Then he loads the custom brush via the Brushes Preset panel and strokes the path with black. After filling in the entire rectangle, it looks like this mixture of precision and chaos:
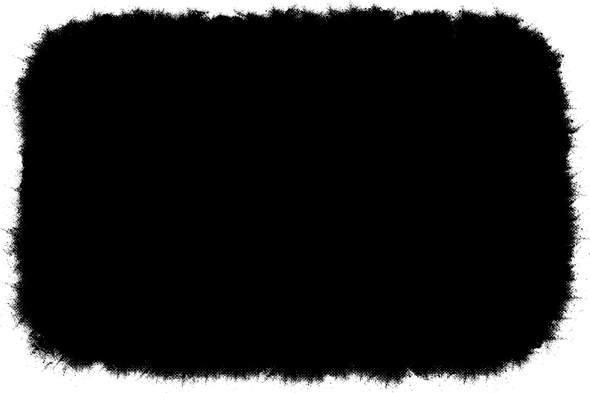
The photo is added in a clipped layer on top of the “frame.”

And finally, Deke adds a dark Inner Glow layer effect to supply some definition around the edges:

And the result is an adjustable, yet random, frame around your photo, courtesy of Deke’s Techniques.


Be the first to drop some wisdom...