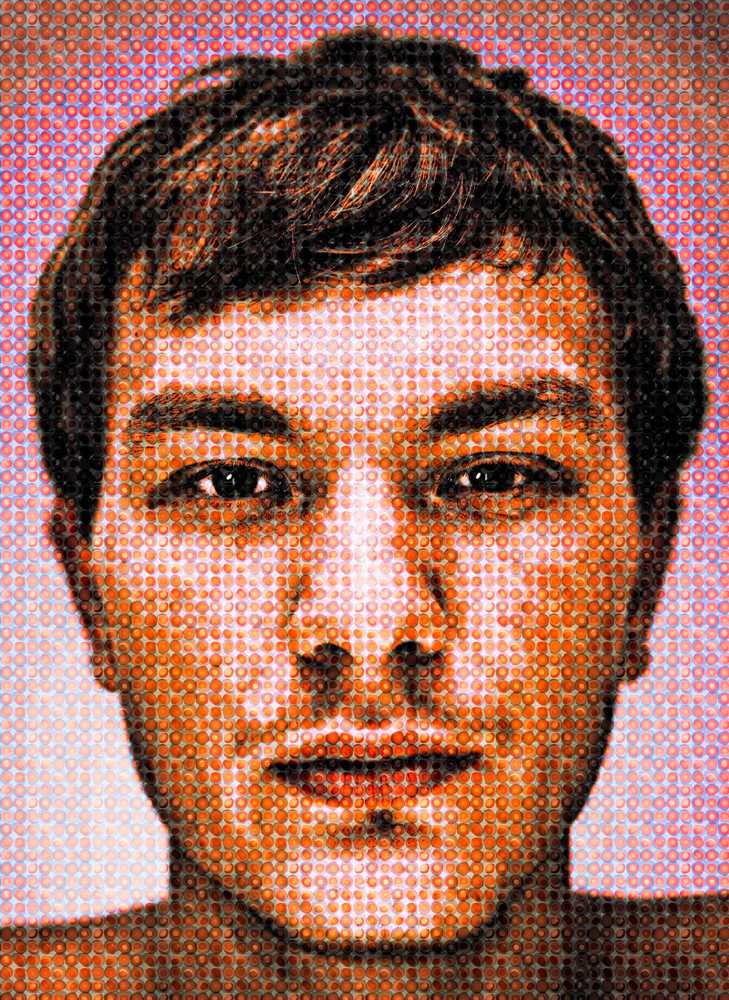
In this week’s free Deke’s Techniques episode, Deke takes last week Chuck Close-inspired portrait and imbues it with some color by adding a radial gradient pattern in Photoshop.
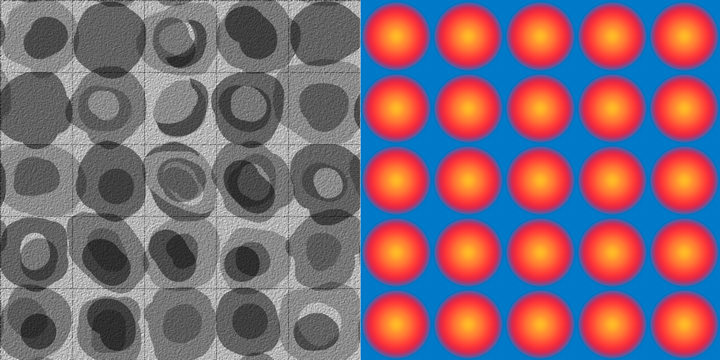
As you may recall from last week’s episode, Deke’s original Chuck Close effect was achieved by adding a pattern created by the splotches (on the left below). For this technique, he adds another pattern layer featuring the custom gradient (on the right below), and then masks it using the highlight mask he created for last week’s project.
If you’re a member of Lynda.com/LinkedIn Learning, Deke’s got an exclusive movie this week in which he adds yet another round of color featuring another custom radial gradient pattern applied to the midtone areas of the portrait.
Interesting thing about this week’s project, both Deke and I preferred earlier renditions (namely last week’s version) to this more colorful version. Here are the three side-by-side for your consideration:
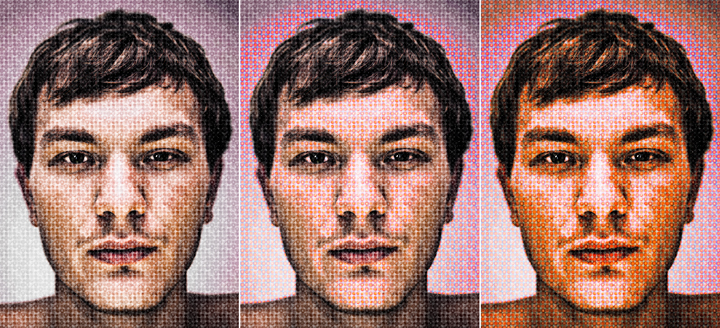
What do you think? Do you ever finish a project and then go back to an earlier, subtler stage? If you’d like to try the tutorial yourself, the files you’ll need are attached below.
Deke’s Techniques, where were never ashamed to go back to a more civilized scenario.
Related downloads
- Exercise Files for Deke's Techniques 638 : Deke's gradients, splotches, pattern, and Dreamstime-provided source image
- Log in to download these files.


Be the first to drop some wisdom...