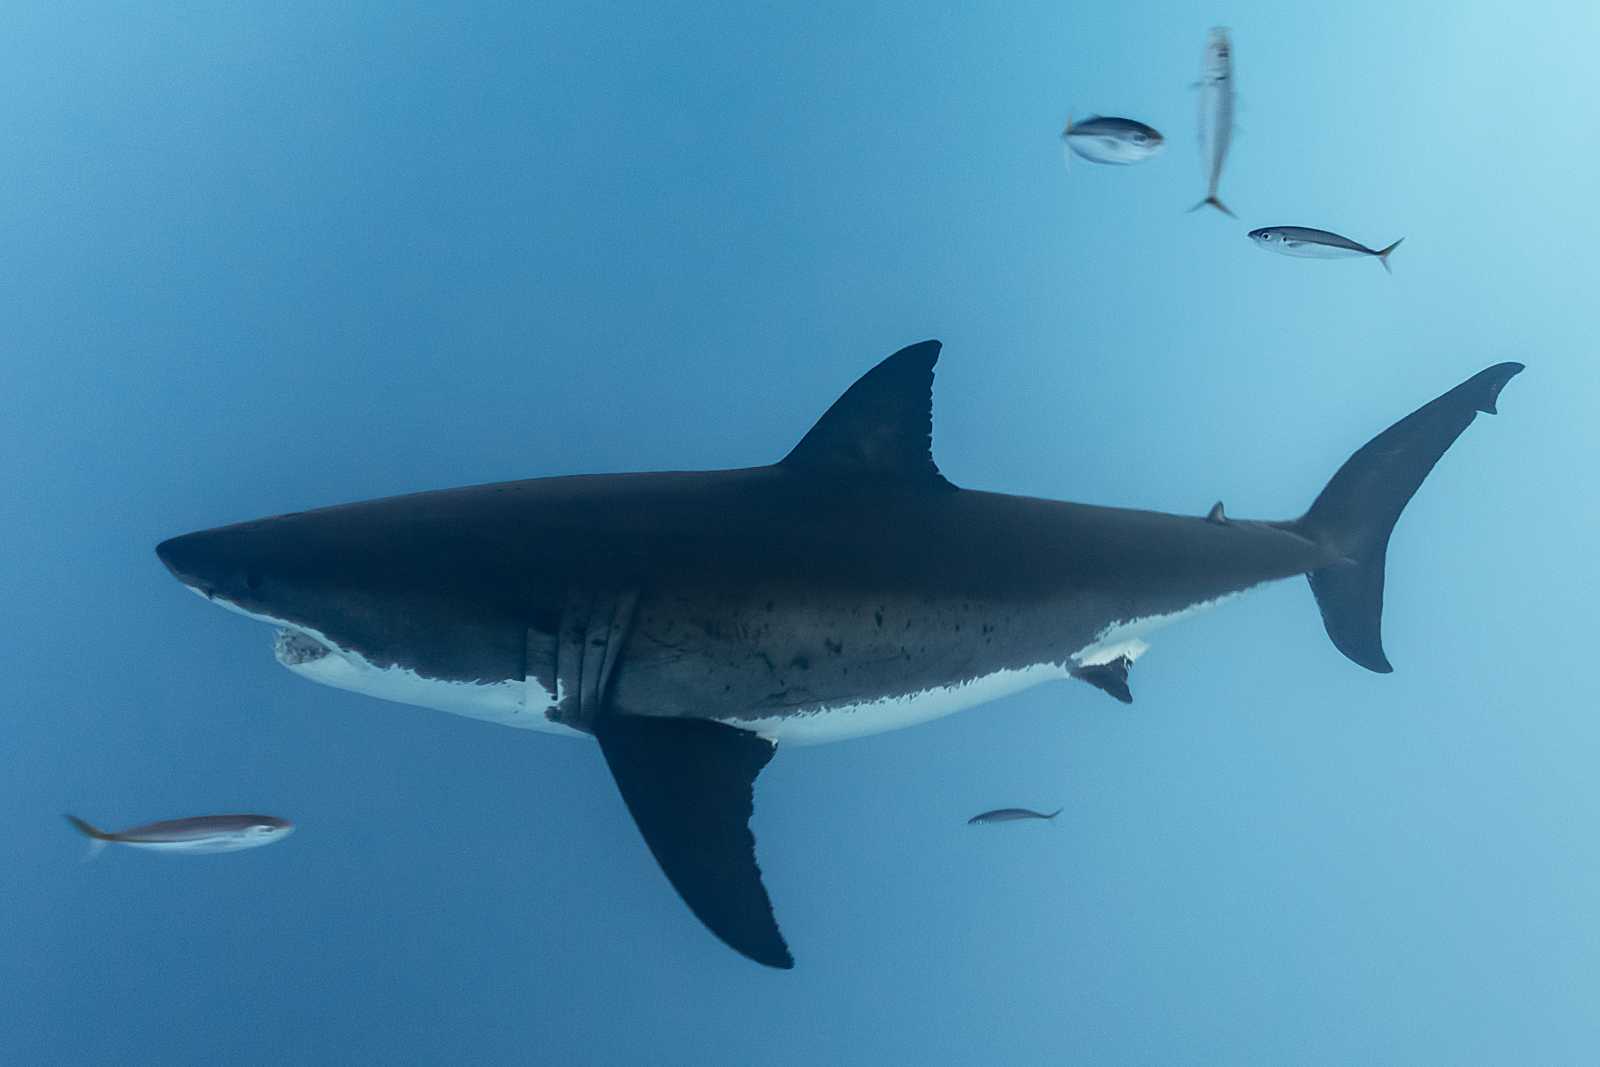
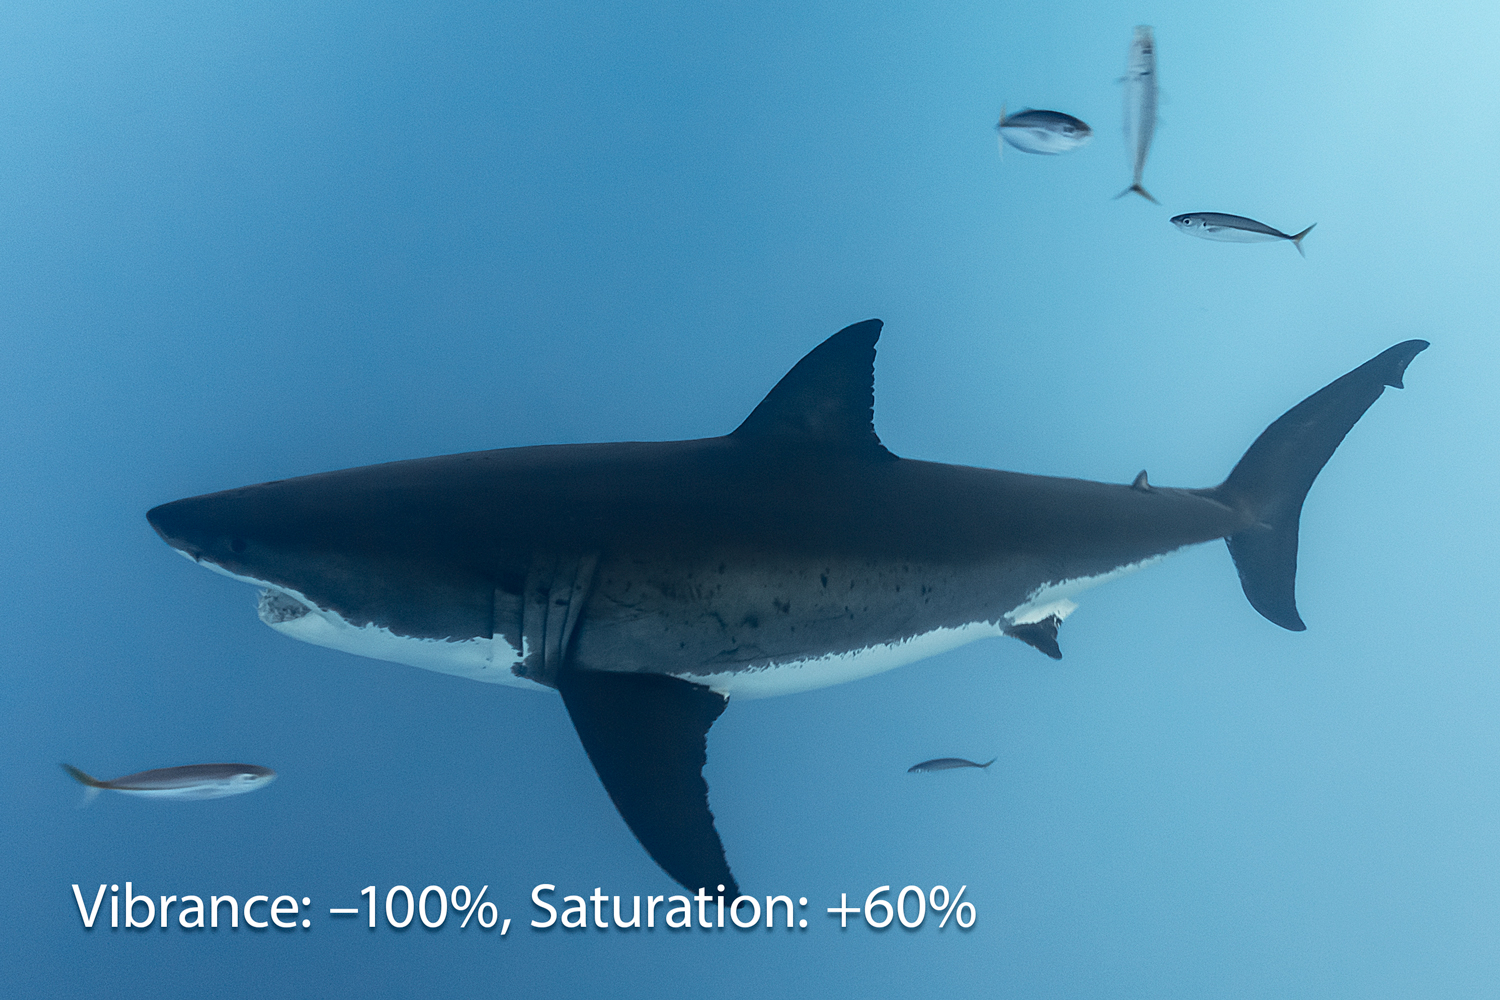
In this week’s free Deke’s Techniques episode, Deke shows you how he used a combination of low Vibrance and high Saturation settings in Adobe Camera (or the Lightroom Develop module) to develop some underwater great white shark photos that were captured without strobe or filter.
The advantage to this approach is that using a low Vibrance setting allows you to then crank up the Saturation, while leaving the natural neutrals (in this case the grey and white of the sharks) a more realistic color.
With a little bit of Clarity and Dehaze added in, you can take your finny friend from this:
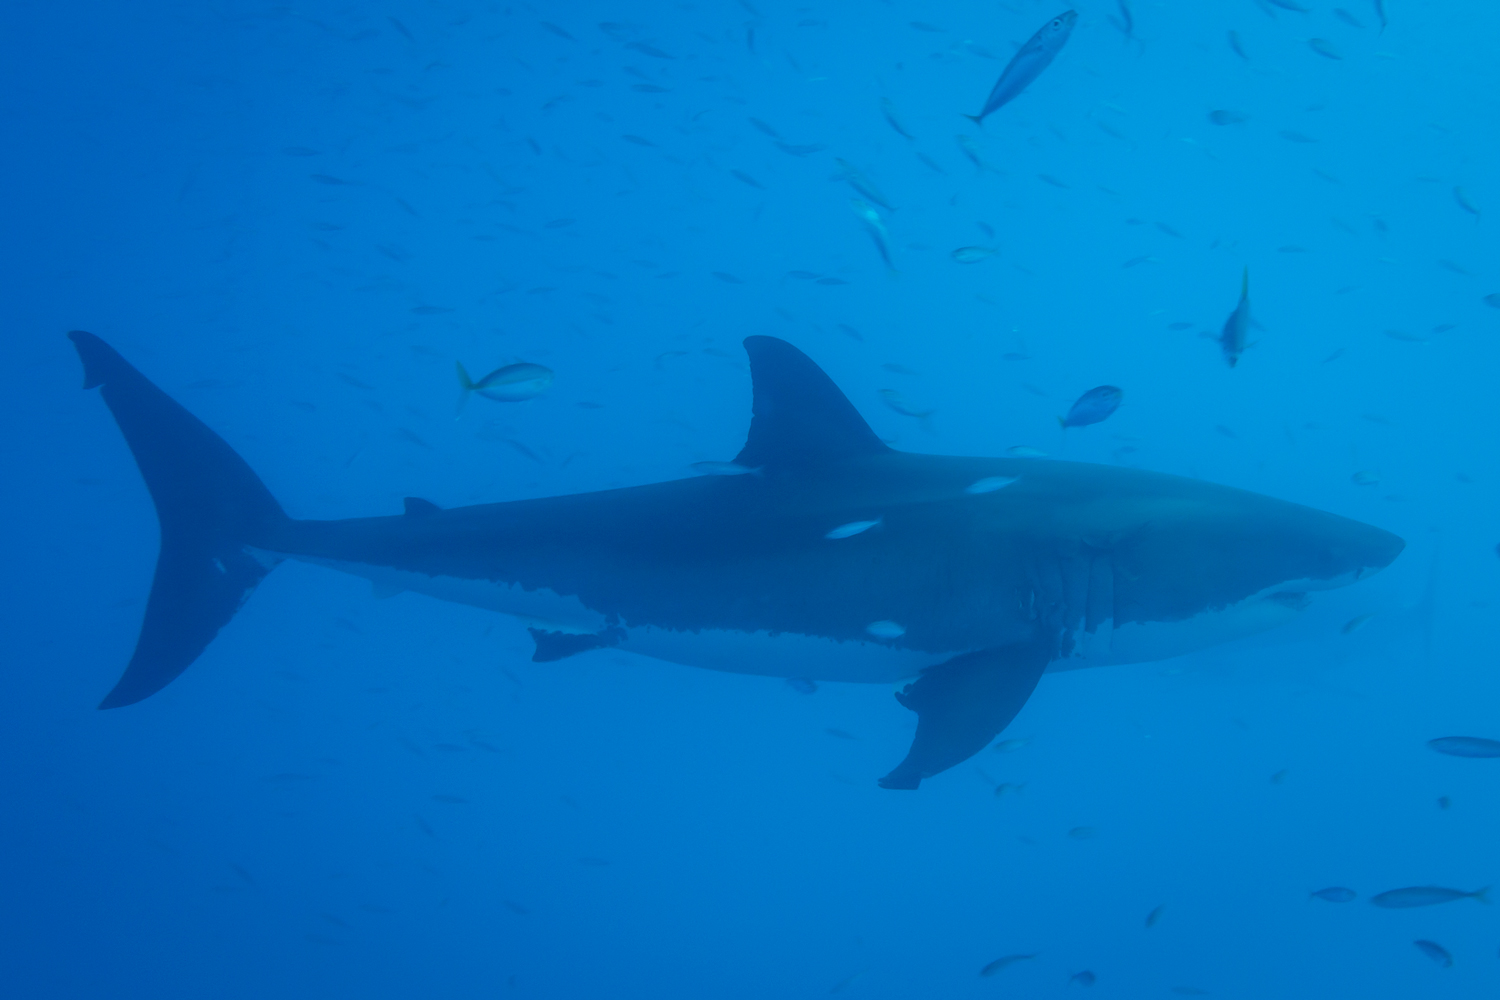
to this:
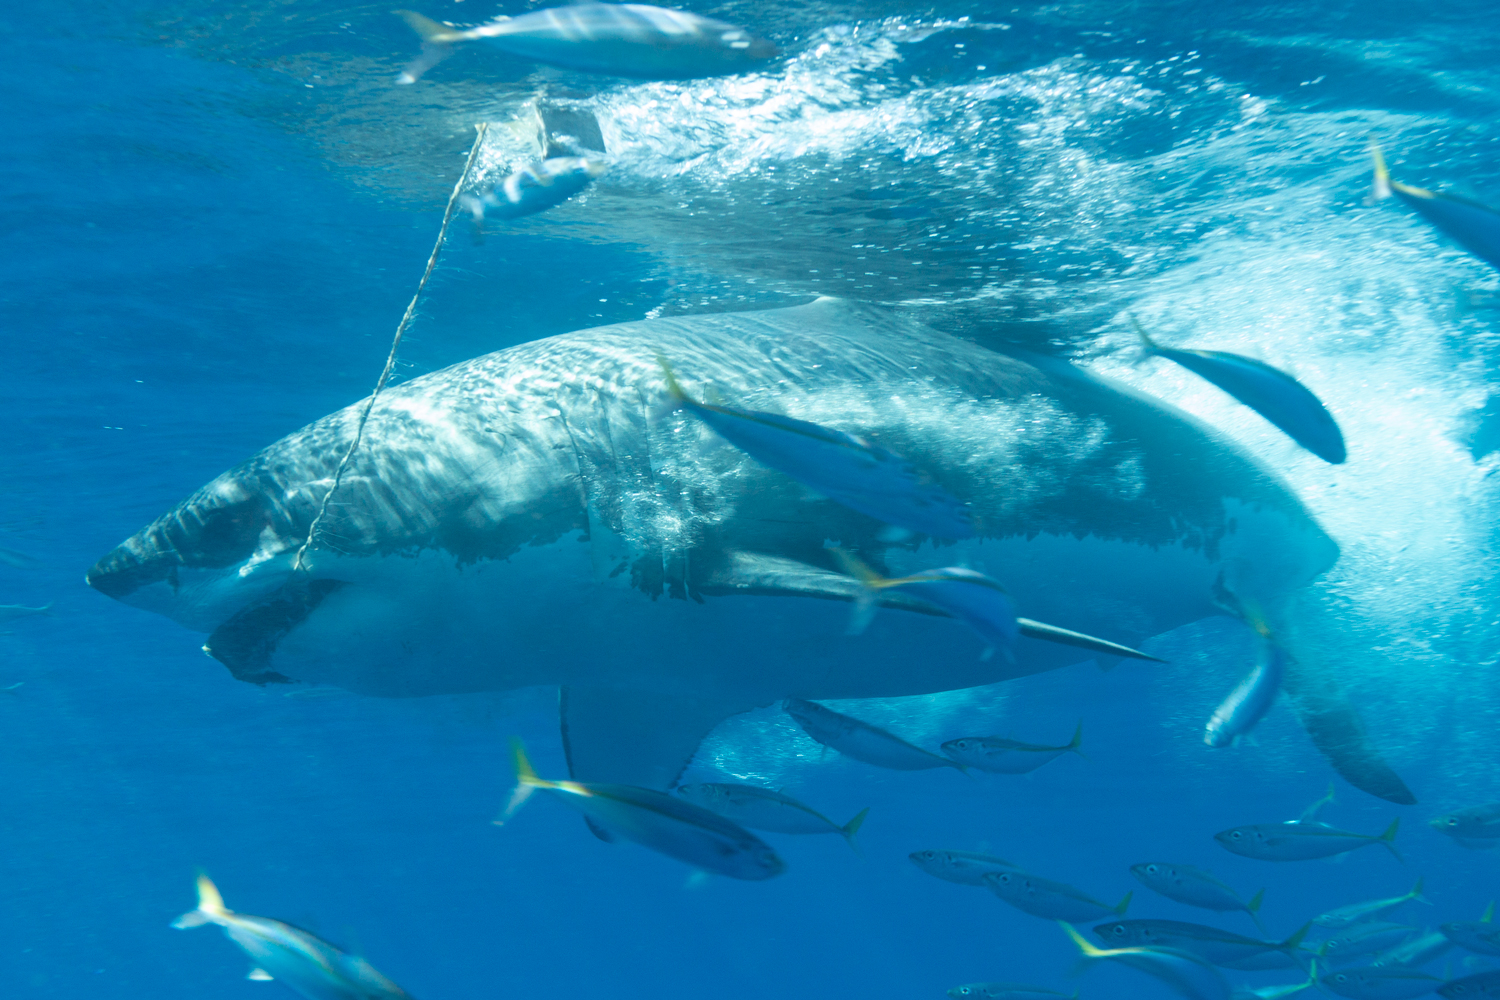
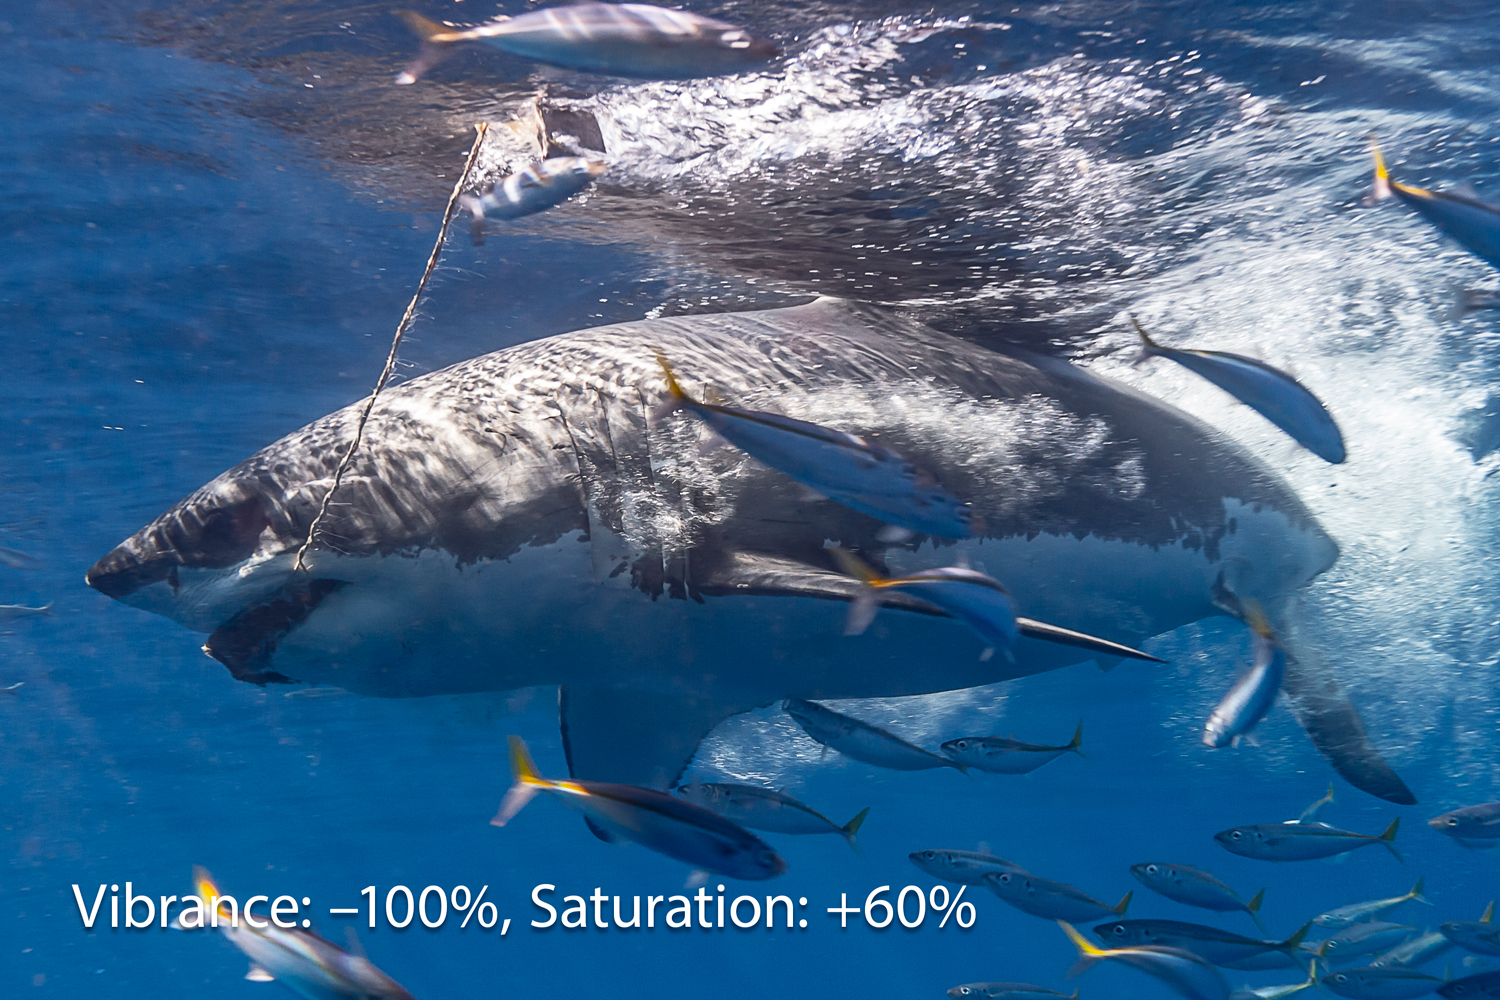
Or this:
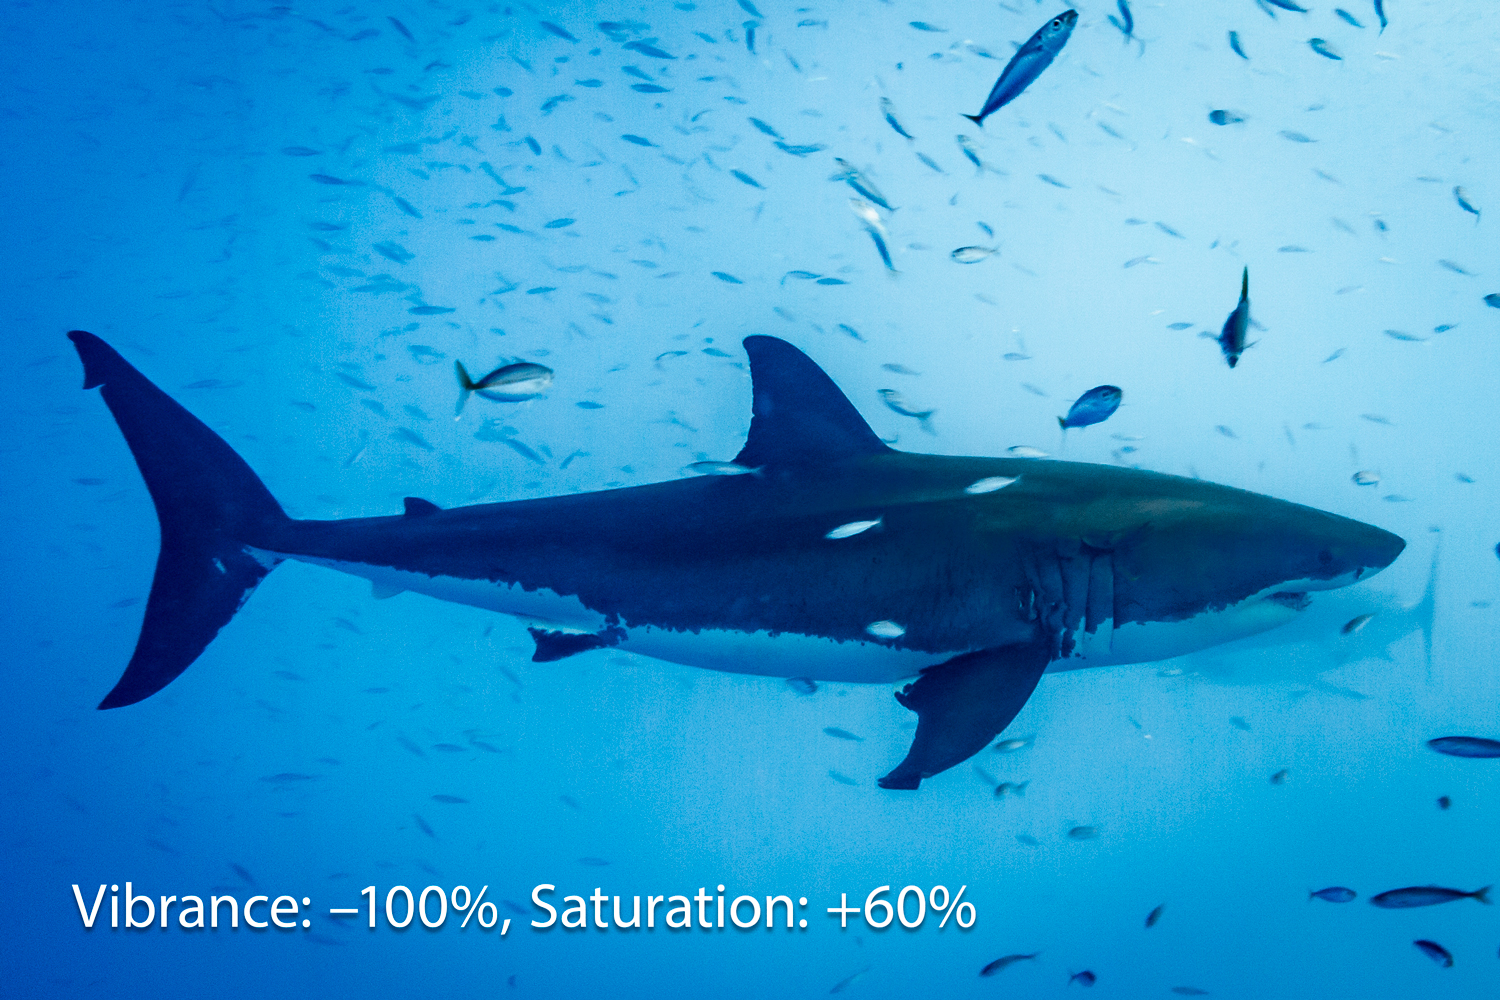
To this:
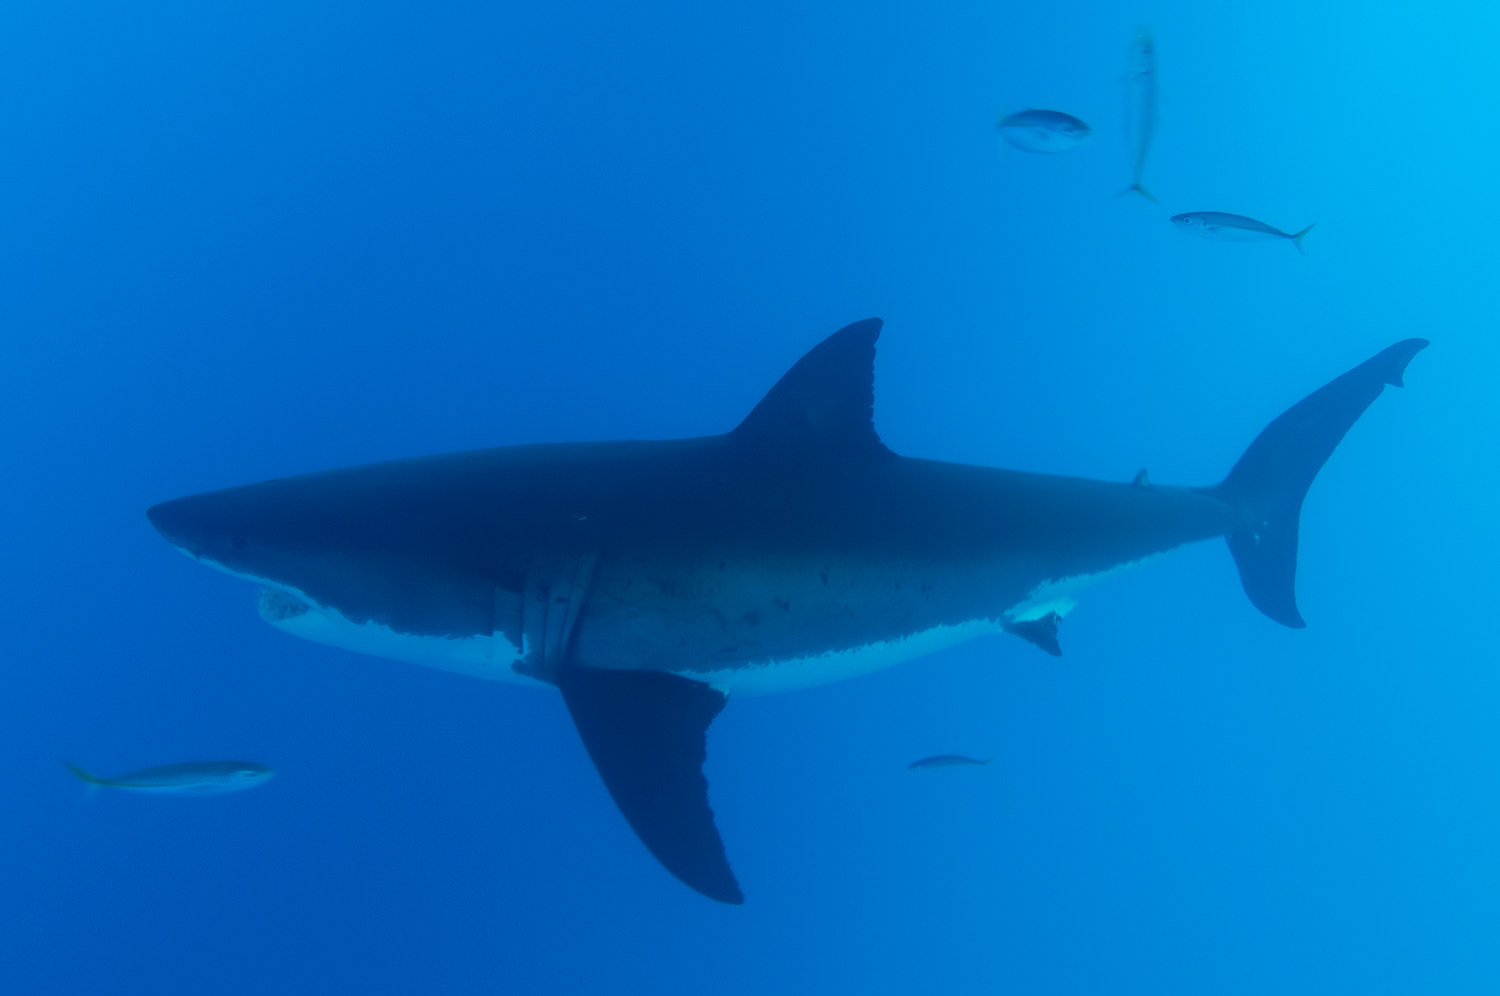
If you’re a member of LinkedIn Learning, Deke’s got a follow-up movie in which he shows you how to add sharpening (a dash from Camera Raw and a heaping spoonful from Photoshop) to the recipe, turning this:
to this:
Deke’s Techniques, swimming with the sharp sharks!


