In this week’s free Deke’s Techniques episode, Deke shows you how to create a flexible multi-color vignette in Photoshop. Now, while there are a few different ways to create vignettes, this particular project calls for a specialized approach—-adding a multi-colored gradient in the form of a well-feathered vector-based shape layer.
This technique allows for the addition of custom colors (something Camera Raw would not provide) and the application of the vignette to only the visible part of the image (without having to crop or flatten anything). .
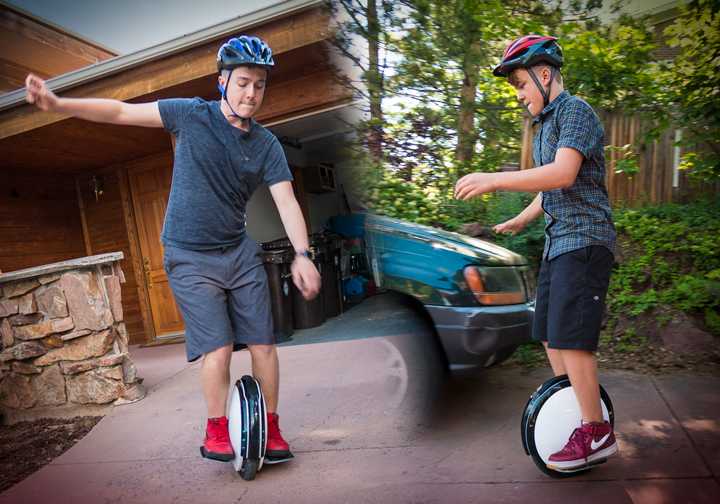
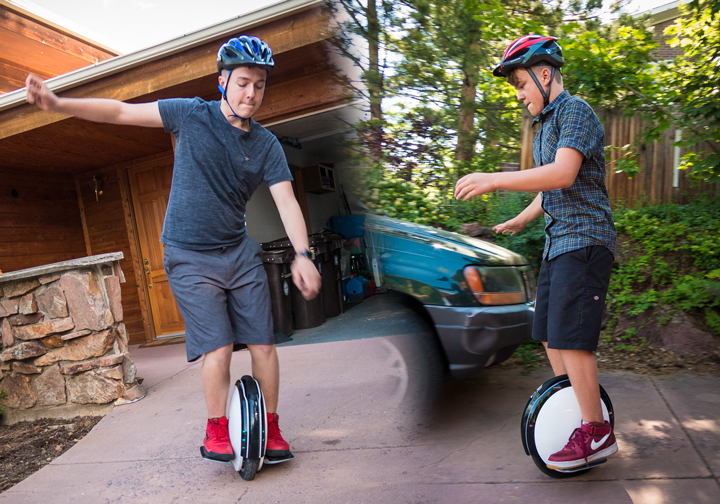
He starts with this composite of the boys that he created in last week’s episode. .
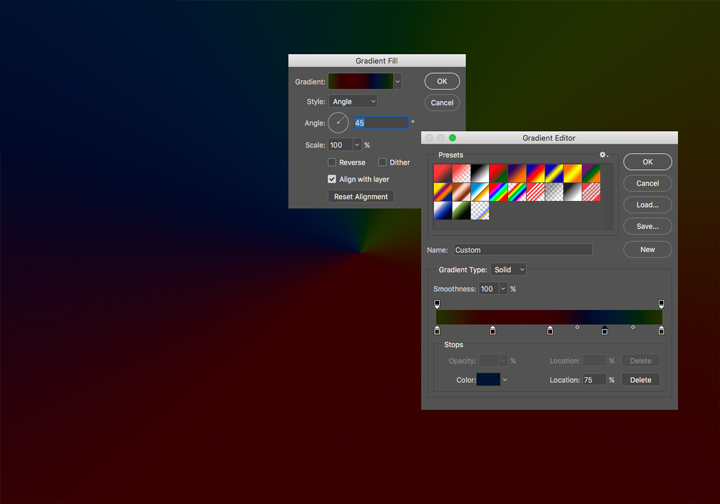
Then, he adds a gradient fill layer with custom colors that match the elements of the photo: green in the upper right to match the foliage, red across the bottom to match the driveway, and blue in the upper left to make that blown-out sky actually blue: .
Next, he carves out a vignette by converting that layer to a shape layer: an ellipse subtracted from the center of the colors. .
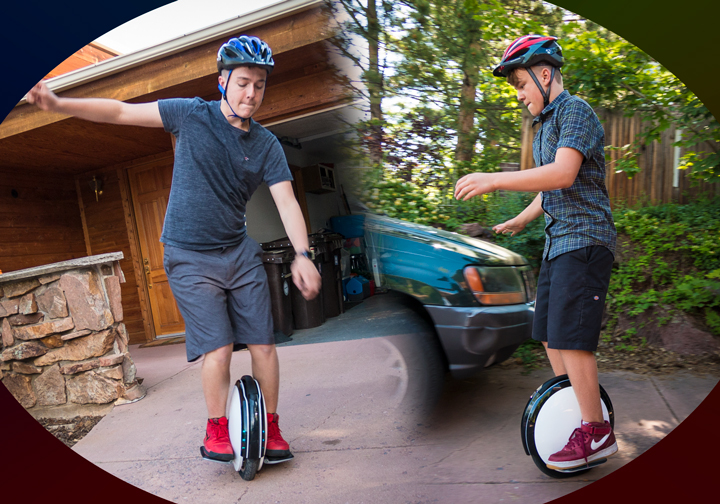
Finally, he feathers the ellipse-shaped hole (which is essentially an incorporated vector mask) and changes the blend mode and opacity. .

If you’re a member of Lynda.com, Deke’s got an exclusive movie in which he adds a pixel-based layer mask to that vector-based shape layer in order to remove the vignette colors from his children’s extremities.
Deke’s Techniques, custom coloring the corners of your world!


Be the first to drop some wisdom...