In this week’s free Deke’s Techniques (and by this week, I mean last Tuesday’s, which was delayed due to the technical difficulty of Deke being too industrious and dedicated), Deke shows you how to quickly change the number of steps in an Illustrator blend.
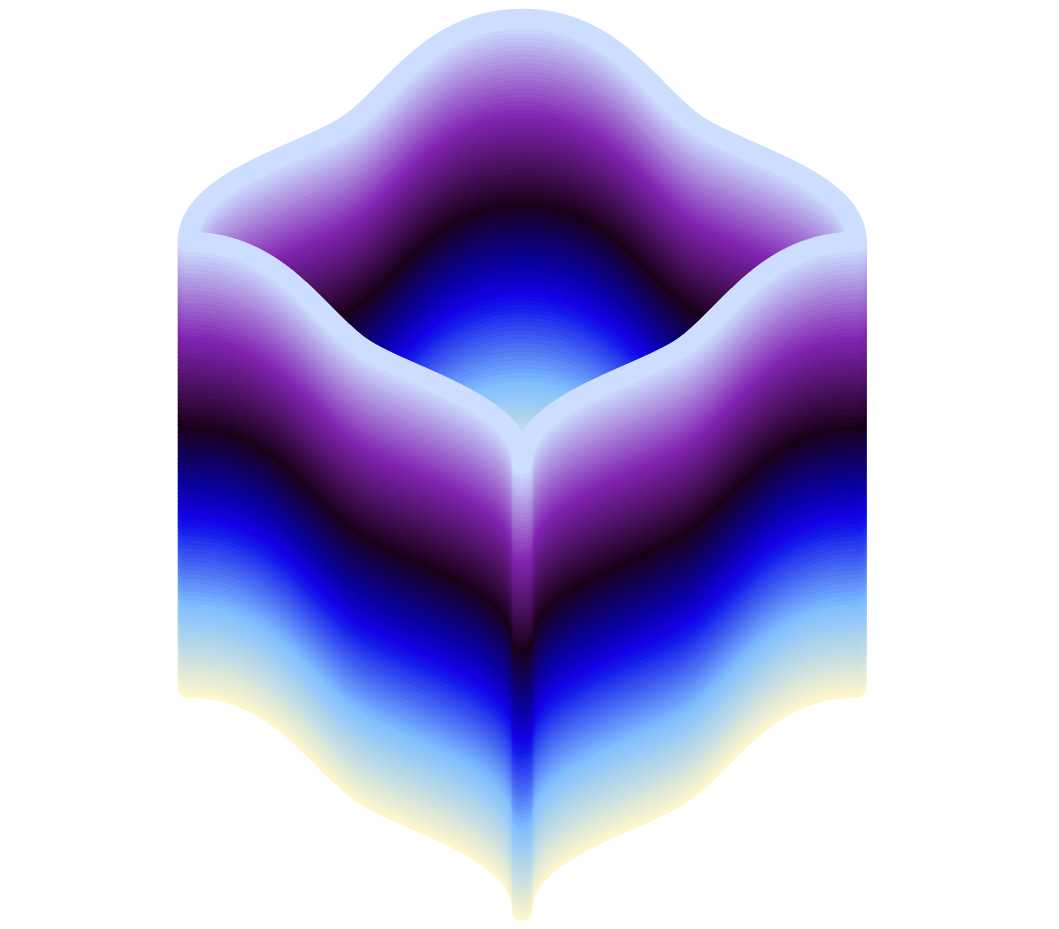
Blending in Illustrator really means calculating increments between two objects. So, in the service of making the gradient colored volumetric candle-from-the-1070’s-looking image up top, Deke “blends” a couple of scallop tiles he showed you how to make last week.
This movie also features what I like to call Deke’s visual mnemonic digression in which he takes the B in the word Blend and then turns it into a weird W and then blends the sides of the W. Why? To teach you how to use the keyboard shortcut for Blend which is unintuitively the W key. Now you now.
But the point is that he starts with the scallop tile he showed you how to make last week:
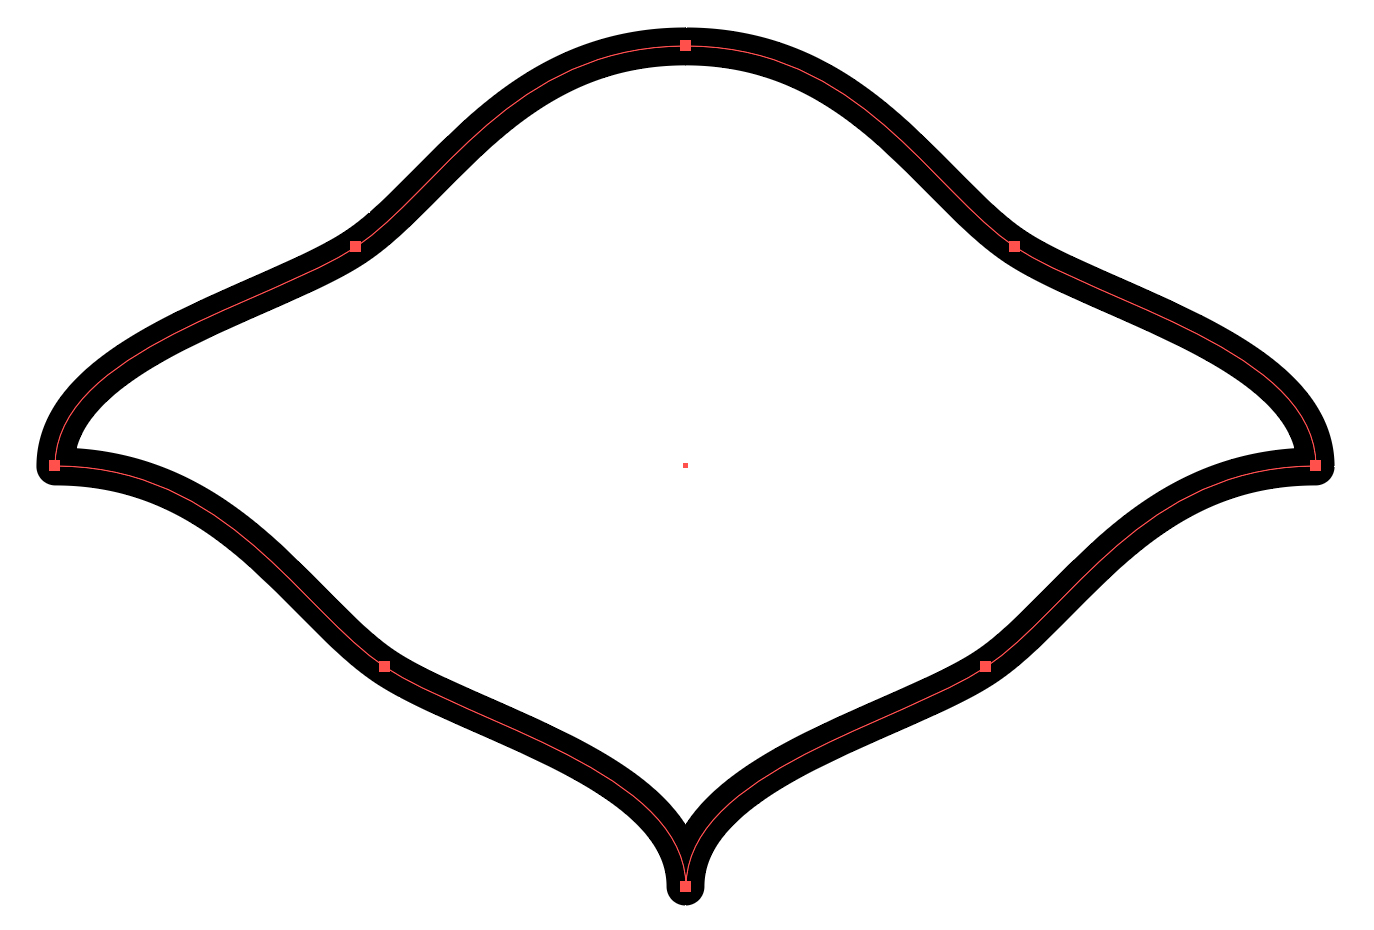
(Note to self: is it really a scallop? It’s starting to look more like a manta to me.)
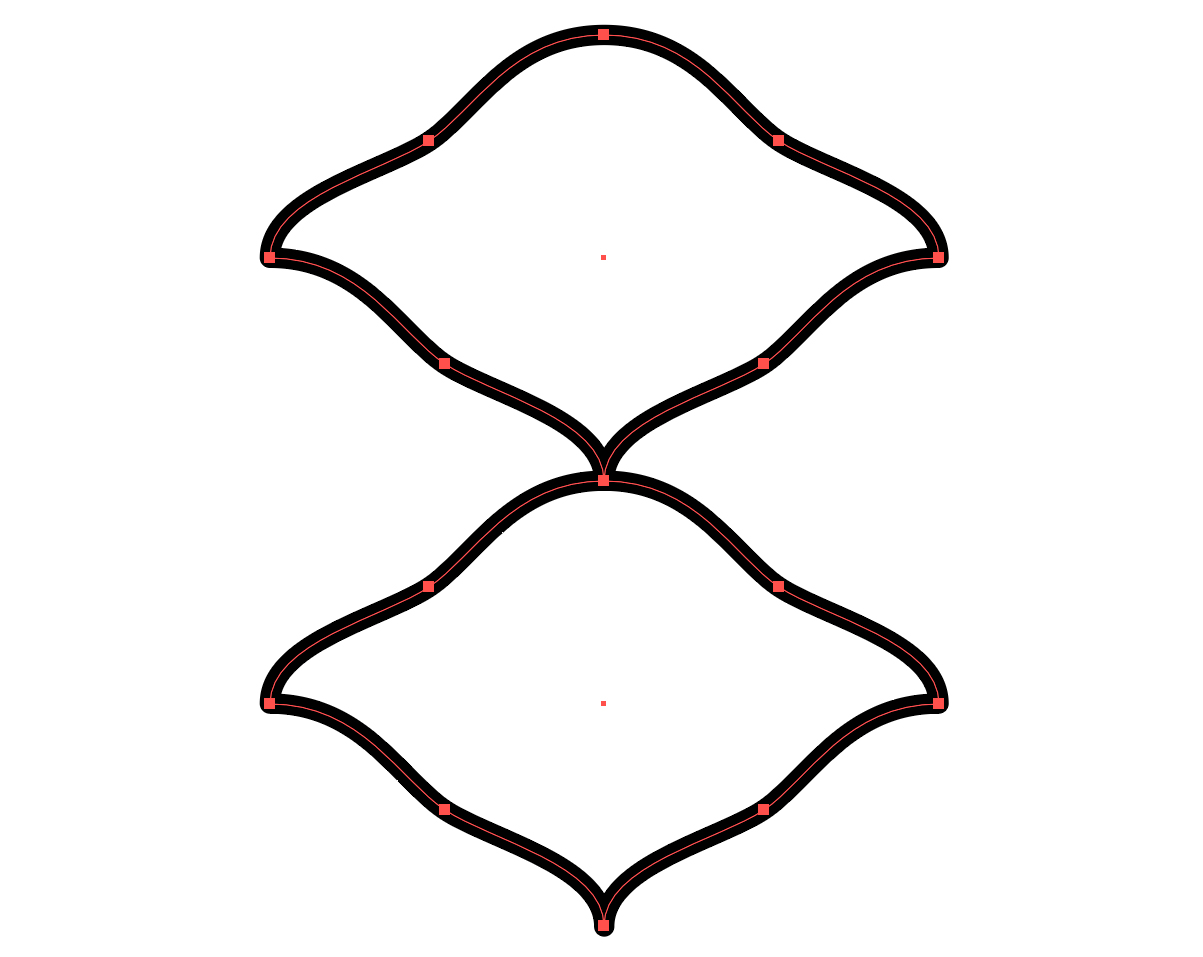
Makes a copy of it:
And then blends those two shapes to get three incremental steps in between:
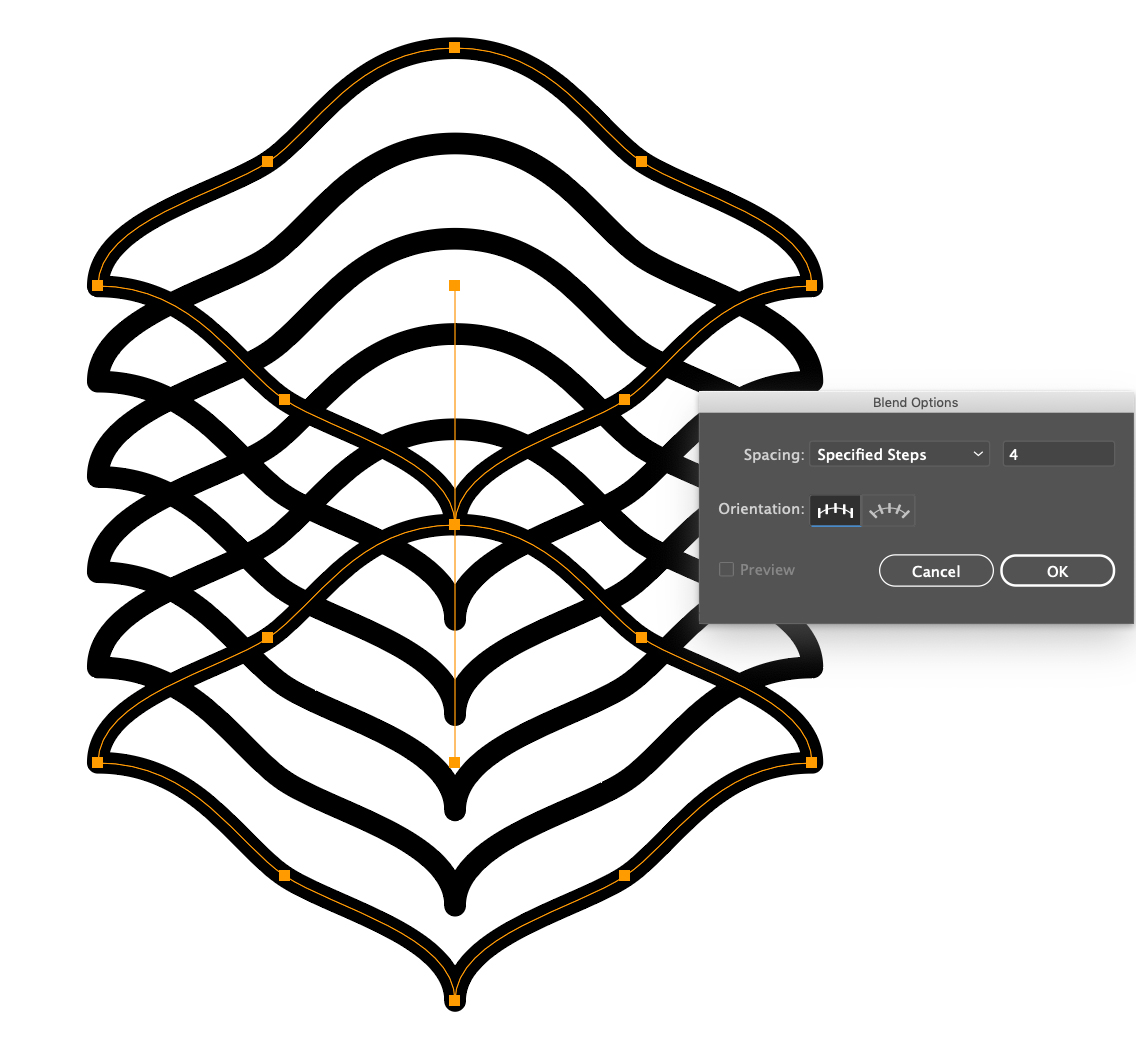
And he shows you how to do it efficiently, via the dialog box that arrives when you actually invoke the blend tool instead of the command (long term fans know Deke hates nested menus), and that is (all together now) via the W key. (See, it worked!)
If you’re a member of LinkedIn Learning, then Deke has two follow-up movies (which may have been what finally put Deke’s Techniques over the edge for LinkedIn’s system). In the first, he shows you how to create a “blend inside of a blend.” Specifically, adding a color blends inside the object blend you already have.
Why is this important, well if you simply color the top object in the blend (and leave the final one it’s original black color), you get this:
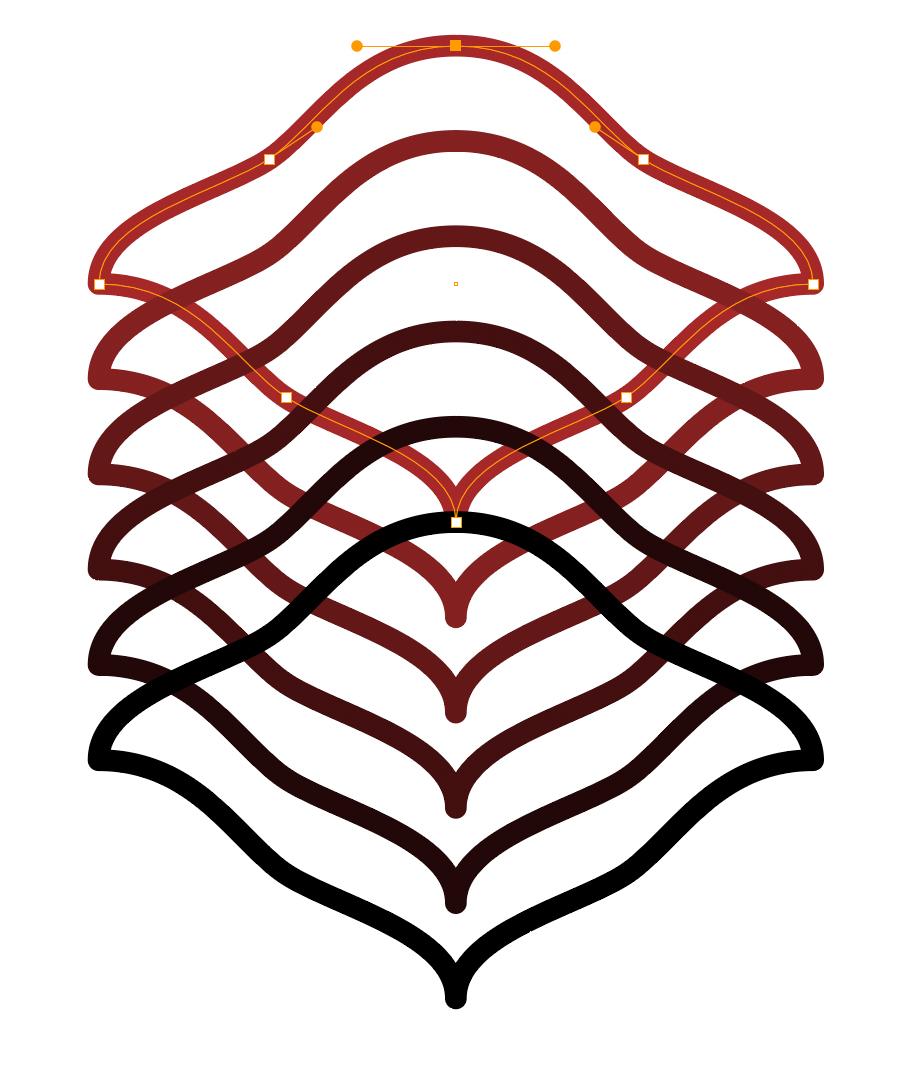
By expanding the original blend effect you give yourself the ability to assign incremental colors to each of the items in the original blended collection. (“Expanding,” in Illustrator-ese, means breaking an effect into its editable path outlines.)
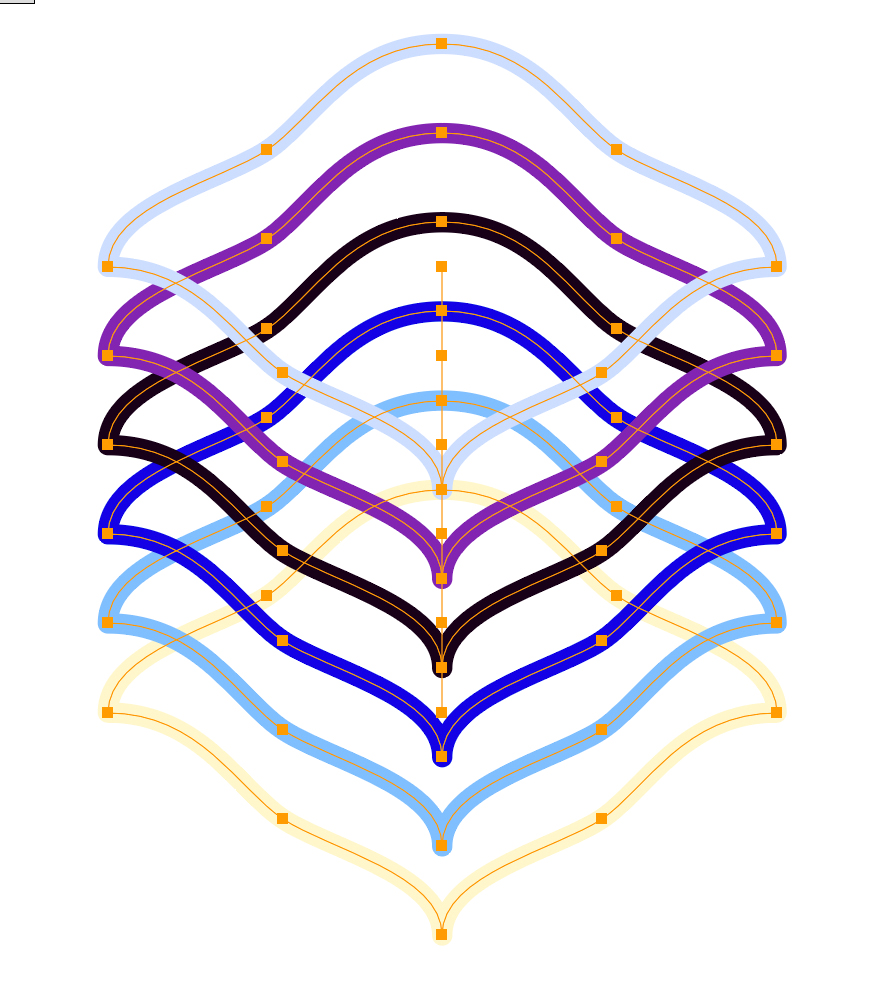
This lets Deke blend the different colors to create the gradient effect you see up top.
Of course, this complicated gradient effect exactly right is…complicated. So in the second exclusive movie this (previous) week, Deke shows you how to reverse the stacking order of the objects (not as uncomplicated as it sounds) to get the effect we see up top. It’s a terrific lesson in how to understand how Illustrator thinks.
Deke’s Techniques, blending, expanding, coloring, and arranging your creative world.
Note: If you’d like to check out Deke’s files to get a head start (or analyze the outcome), you can download them here:
Related downloads
- Exercise files for Deke's Techniques 917-919
- Log in to download these files.


Comments