In this week’s free Deke’s Techniques movie, Deke riffs of his own contour map project from last week by inverting and adjusting the image into a new layer of cool, using a second displacement map culled from the same project.
So, here’s our (already very cool) starting point for this week’s modifications:

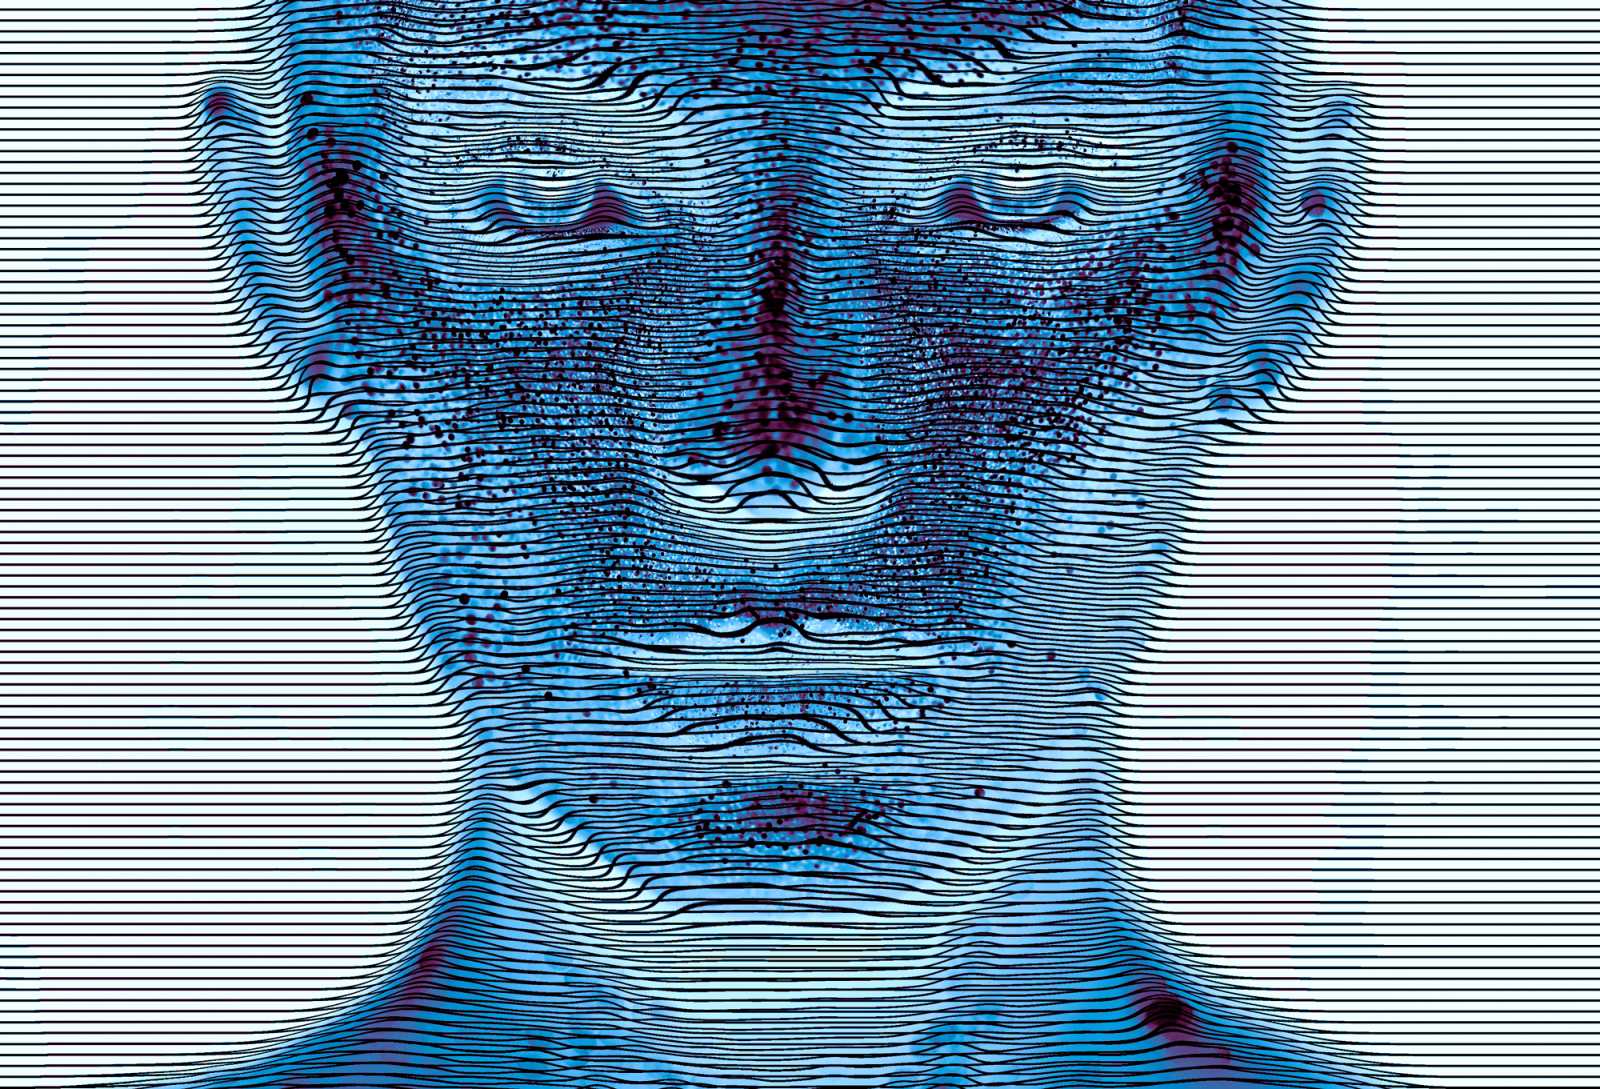
Then, by applying an extra displacement map (the one he created last week from the blue channel of the original image), and then blending and augmenting the original the original effect, Deke arrives at the blue cool you see at the top of the post.
If you’re a member of Lynda.comor LinkedIn Learning don’t miss Deke’s exclusive movie on how to smooth out the effect, taking the unfortunately aliased and unpalatably jagged lines on the right (below), and making them smooth and sultry as those on the left.
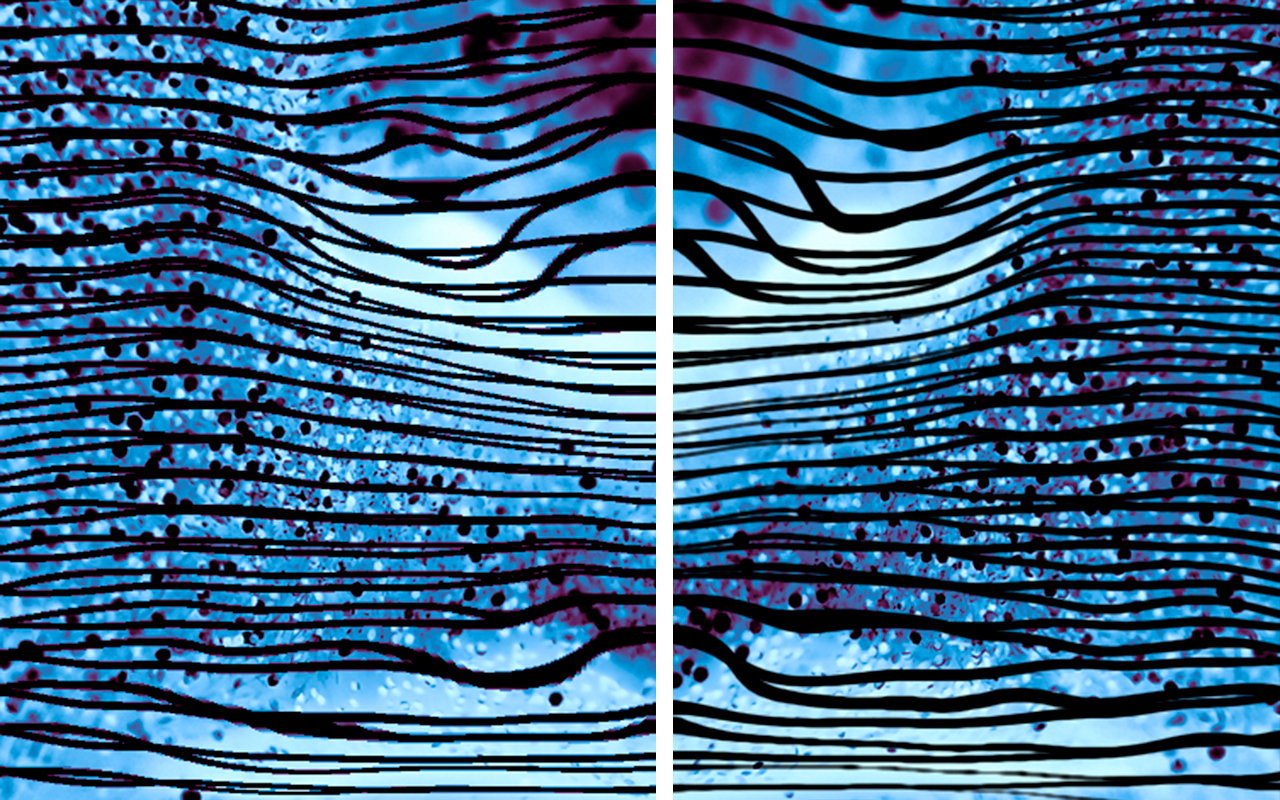
Deke’s Techniques, smoothing out your inverses. Whatever that means.


Be the first to drop some wisdom...