In this week’s free Deke’s Techniques episode, Deke shows you how to add shading to last week’s coffer illusion project in Photoshop. You know, the one with the circles you can’t unsee:
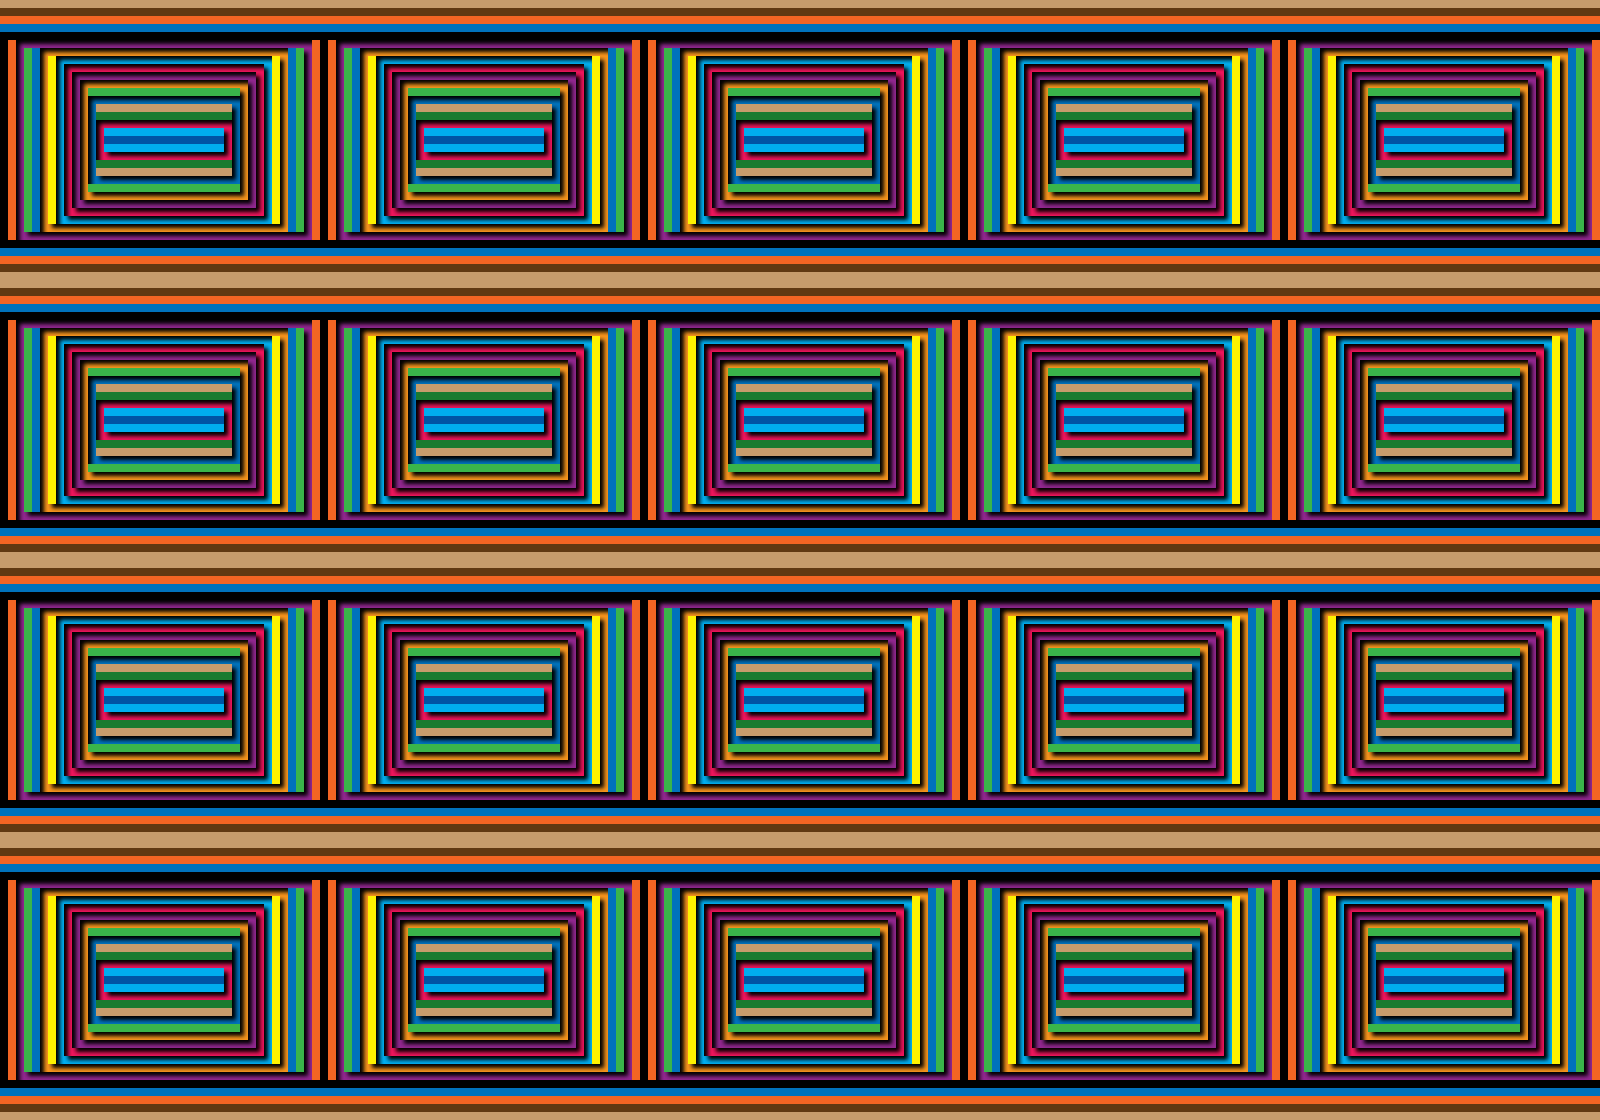
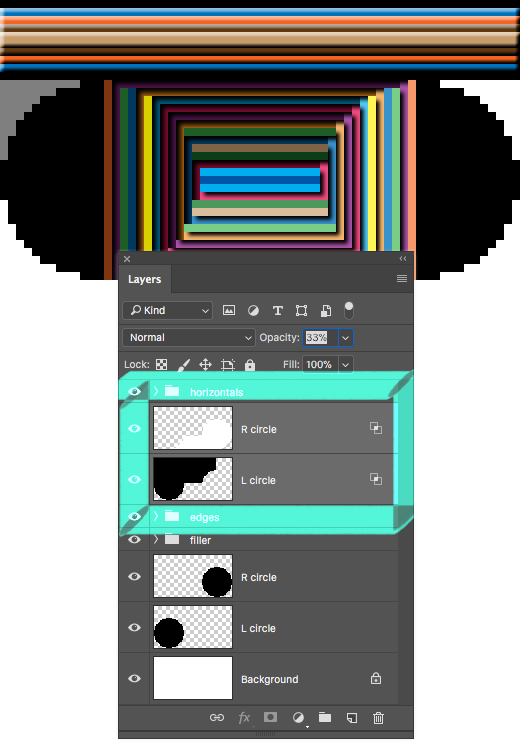
Deke starts by returning to the original “build” file (which you can grab at the bottom of this post if you want to play along), from which last week’s pattern was created:

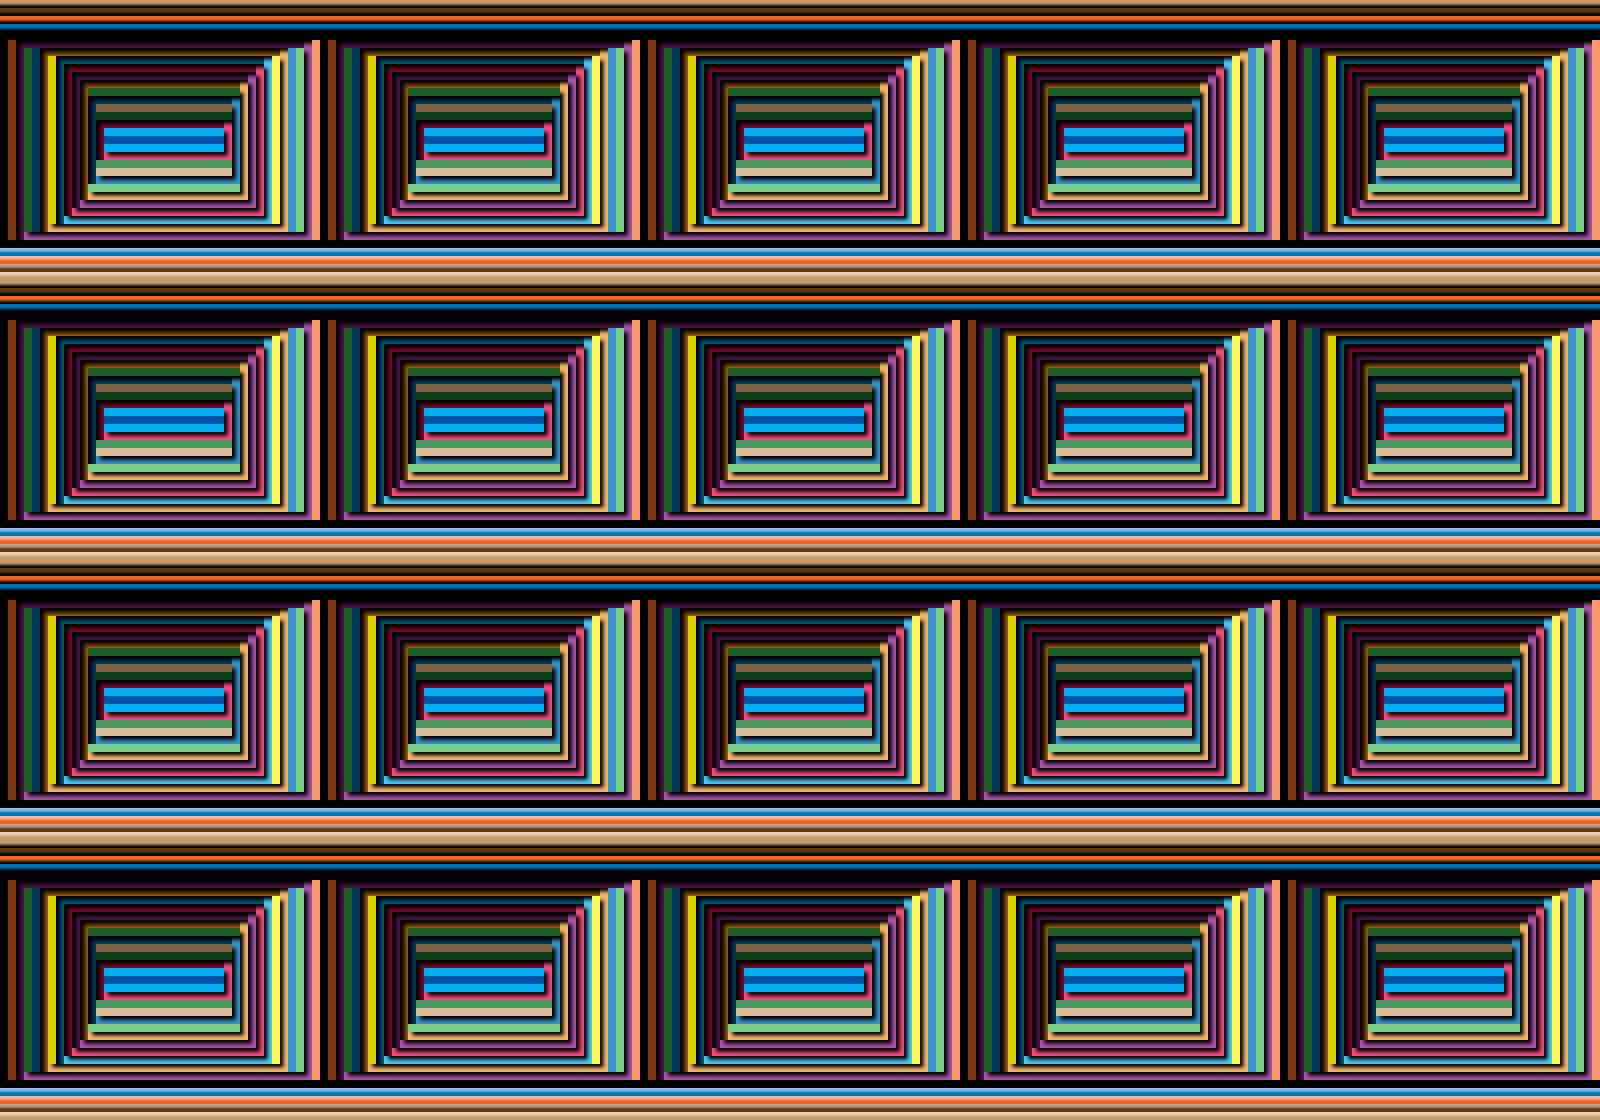
He then adds light and dark layers (appropriately fine-tuned in the Layer Style dialog box) along with a few other bits of shading:
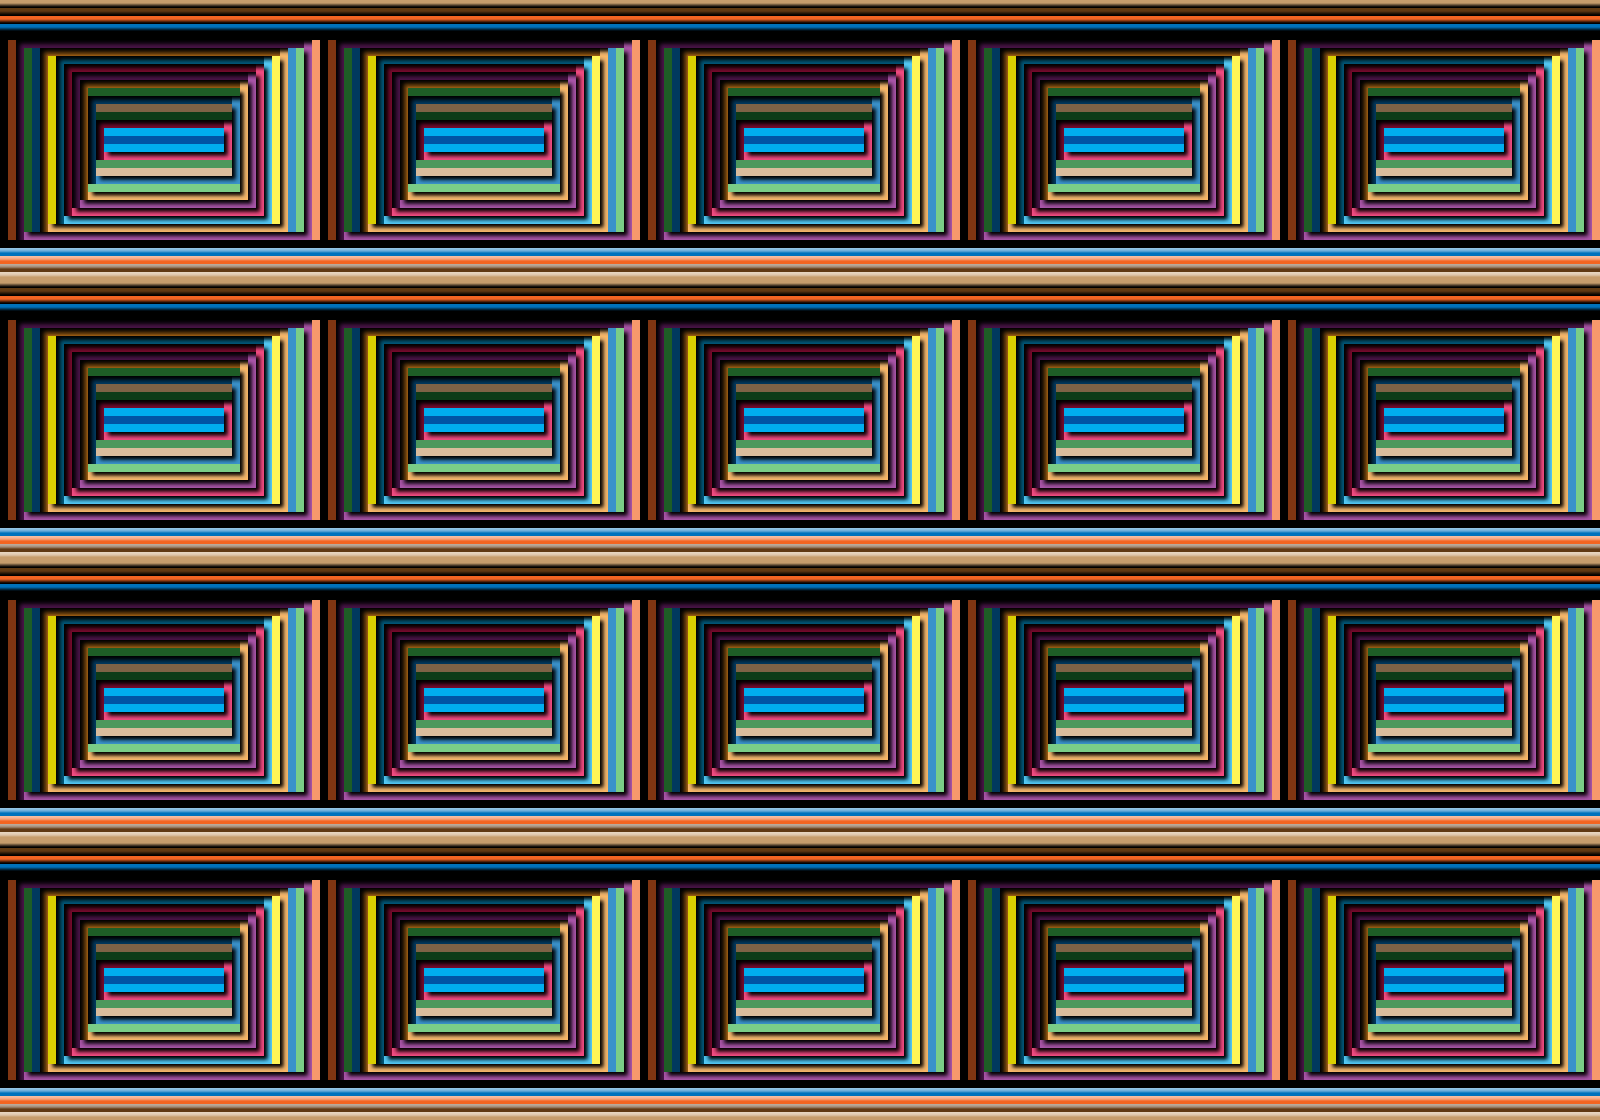
Then once again creates the pattern, resulting in this volumetric variation of the coffer illusion, one that actually looks like the architectural feature the illusion was named for:
If you’d like to try this yourself, I’ve attached all the practice files from last week and this week at the bottom of this post.
Deke’s Techniques, trying to make your illusions even more realistic.
Related downloads
- Deke's Techniques 673 Exercise Files
- Log in to download these files.


Saw This Image Today and Thought of Deke
Not weird, Thomas. Awesome.
AAAIGH!