
Hello, my deke-A-las. In this week’s free Deke’s Techniques episode, Deke finishes up his Photoshop mandala project by showing you how to add color to your design via some custom color gradient layers.
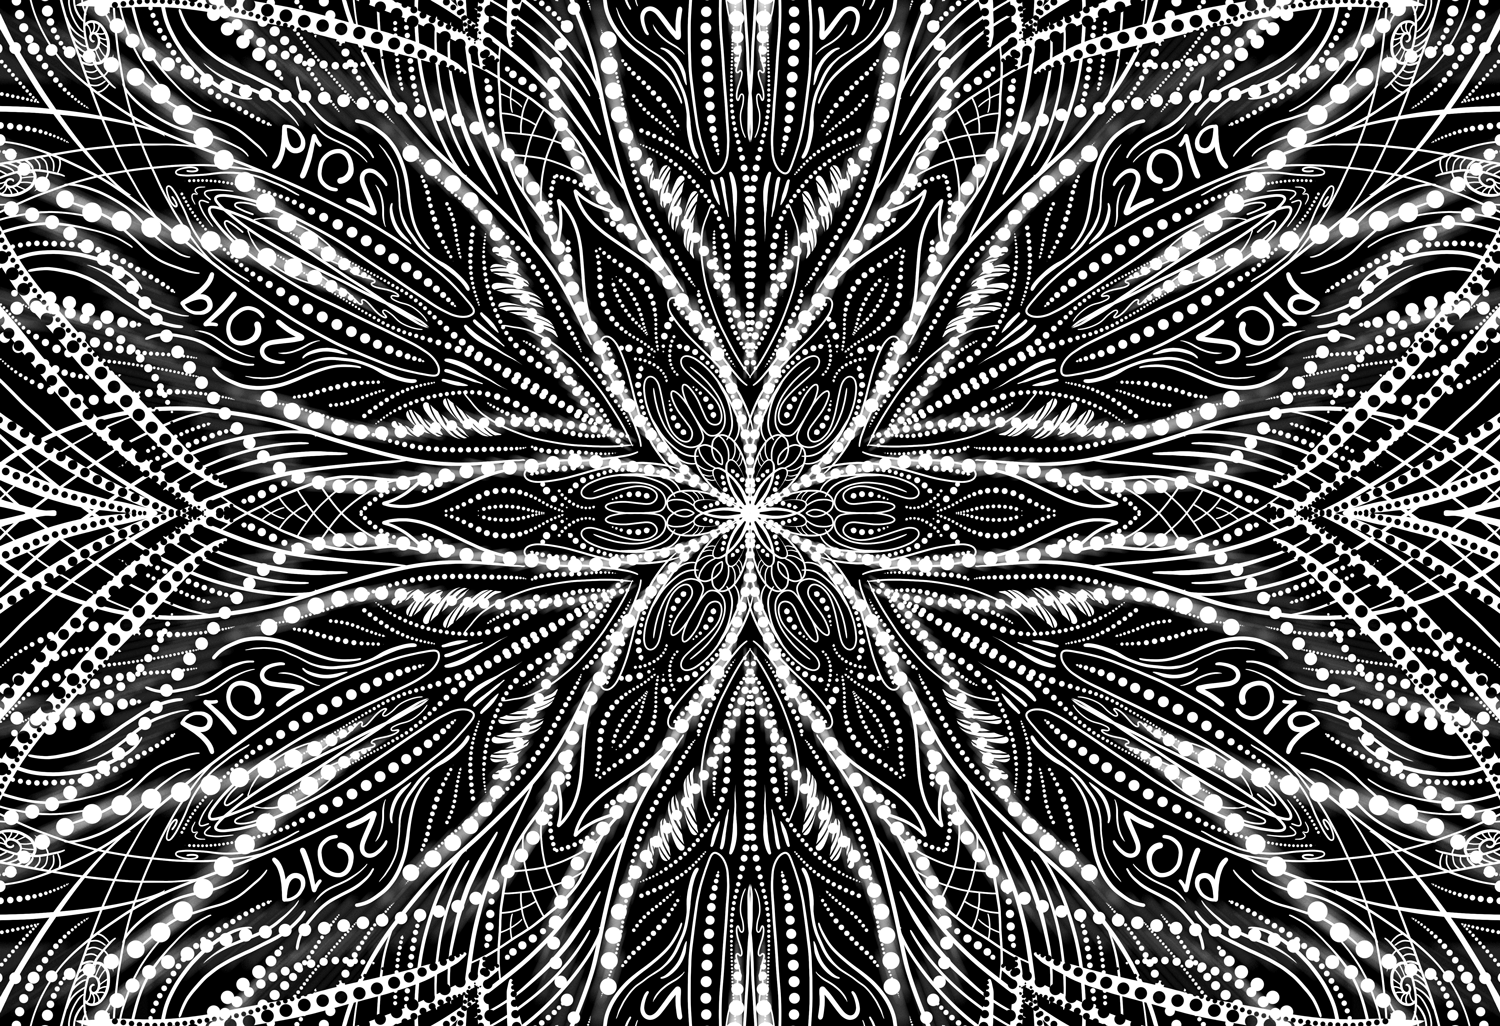
He begins where he left off last week, with this black and white design created using Photoshop’s new mandala painting feature.
Next, a custom radial gradient clipped to the main design layer adds some initial color.
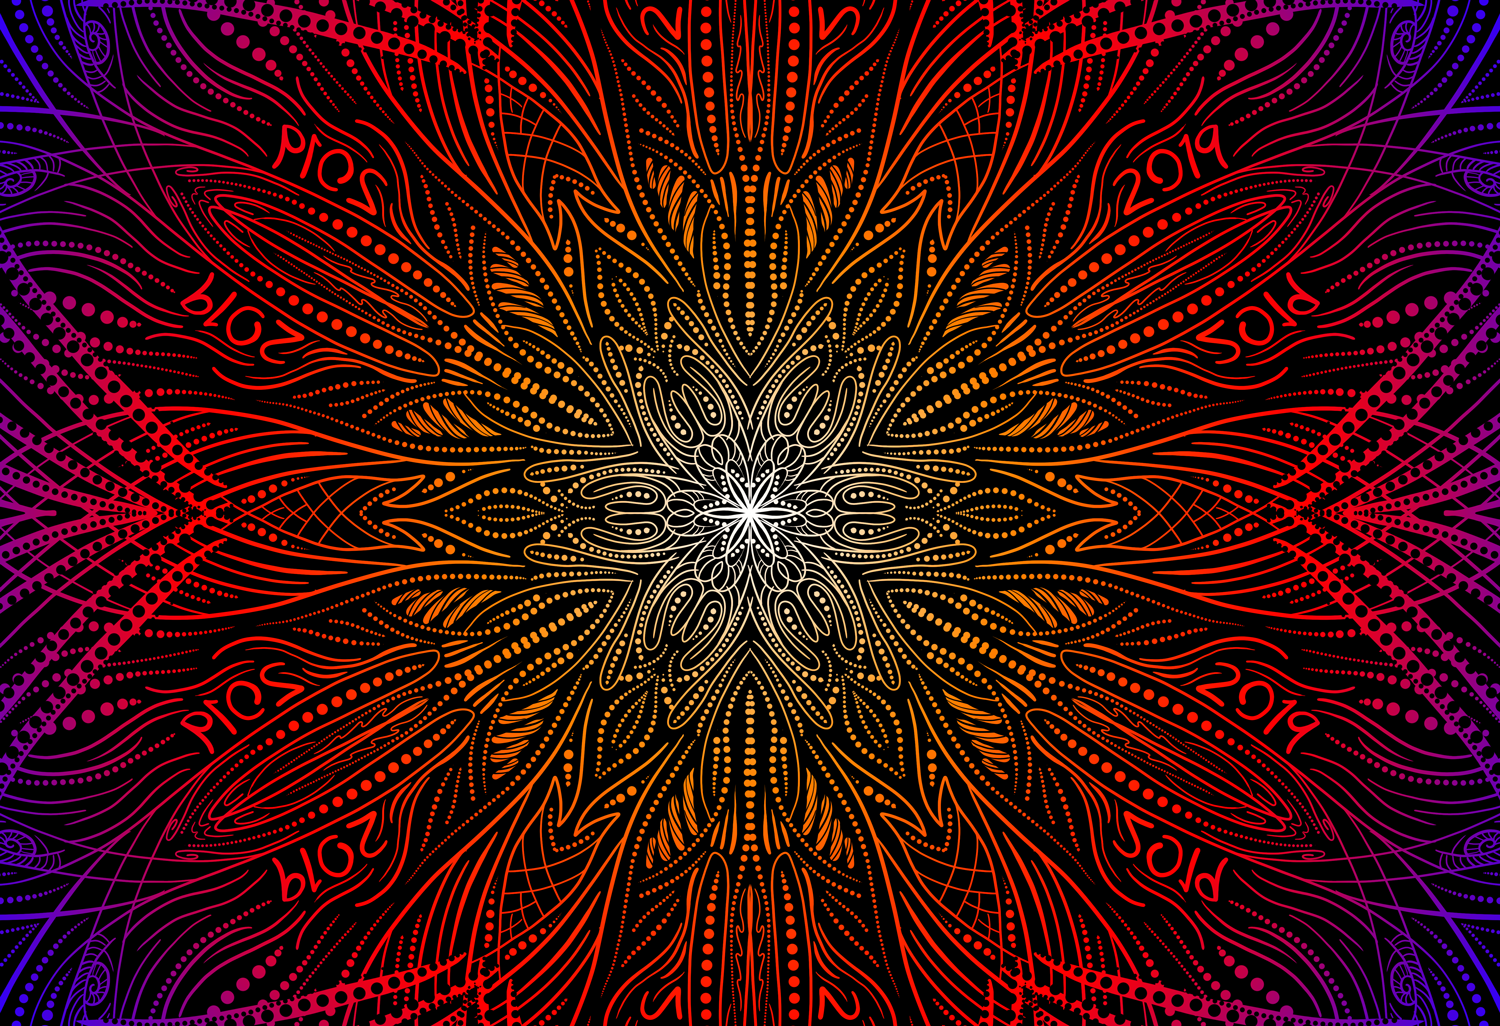
Then he uses a different radial gradient applied to the background layer, which adds another, well, layer of color.
And if you’re a member of LinkedIn Learning (or Lynda.com), Deke’s got an exclusive movie this week in which he shows you how he both applied color and a radial blur to the “dots” layer of the design, resulting in the final image you see up top.
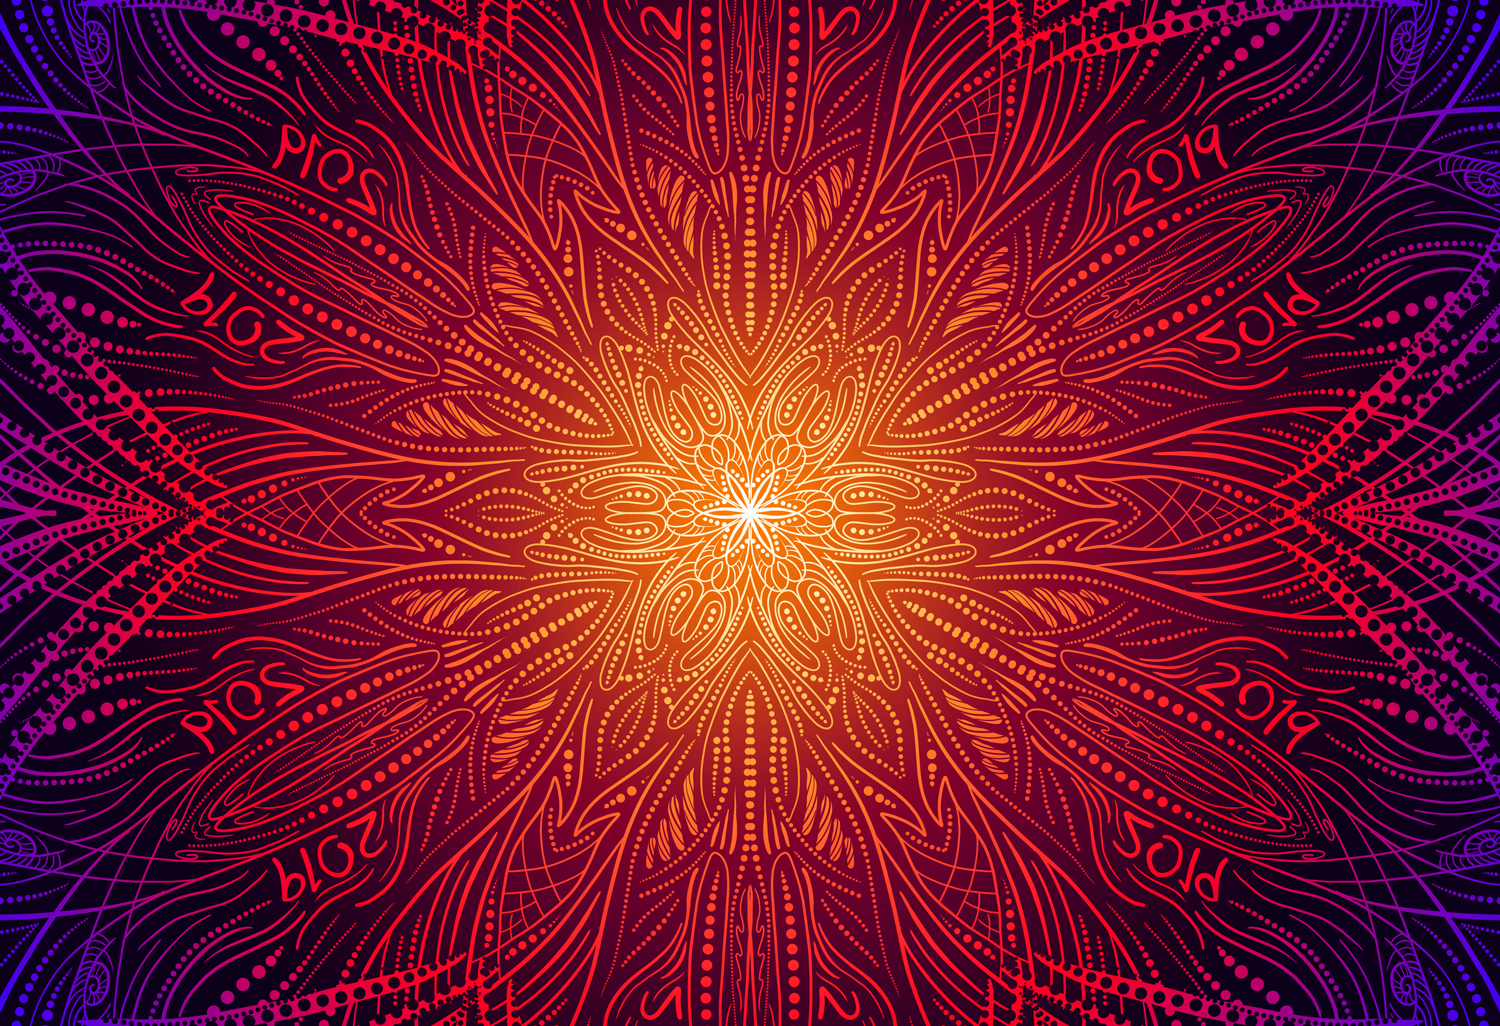
And interestingly, if you follow Deke on Facebook, you’ll have noticed that last week he decided he liked the black and white version the best. While you may not agree (and Deke may change his mind again), all the color added this week comes in a completely reversible adjustment layer package, so you can change your mind (or your gradients) as often as Deke does.
Deke’s Techniques, custom coloring your world and your designs, or not!


Deke
https://www.statusvideo4u.com/
Dating
Assignment help
Proofreading Services